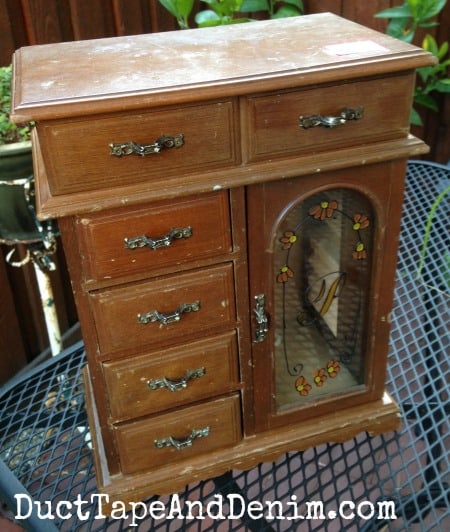
This DIY jewelry cabinet makeover started with one of the most unique cabinets I’ve ever found at a thrift store. It doesn’t look like much when I found it, right?
This post contains affiliate links. You won’t pay any more when you use these but I will earn a small commission on any purchases you make after clicking on them and I greatly appreciate it. Thanks for helping support my little blog!!!
It was dirty and stained, inside and out. With some “beautiful” stained glass detail.

{{{ Read my Ten Favorite Jewelry Cabinet Makeovers }}}
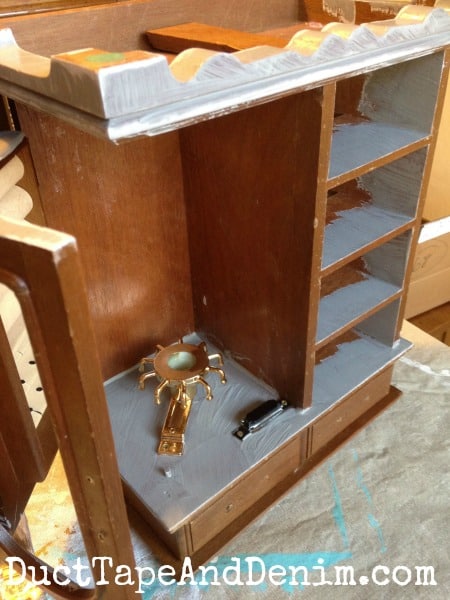
I started by removing the handles. Sometimes I don’t do this but these were screwed in with tiny screws and easy to remove. Then I turned the jewelry cabinet upside down before starting to paint. That really helps me to find places and paint places I often miss.
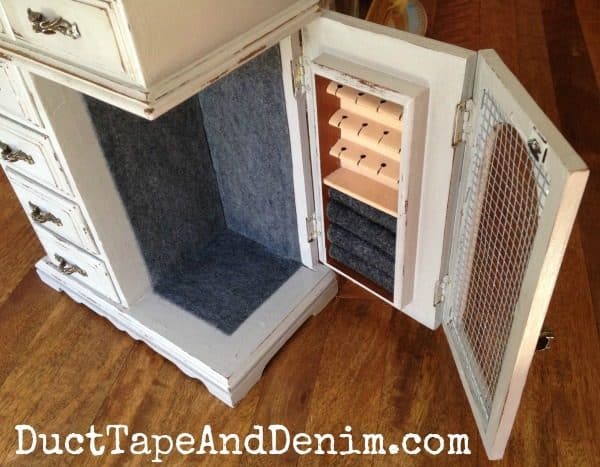
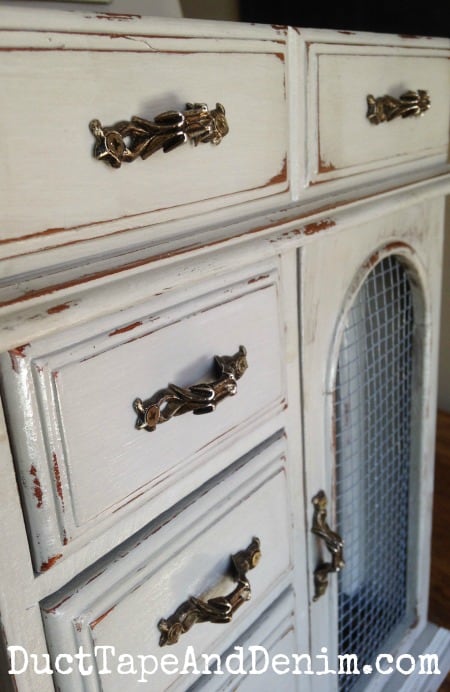
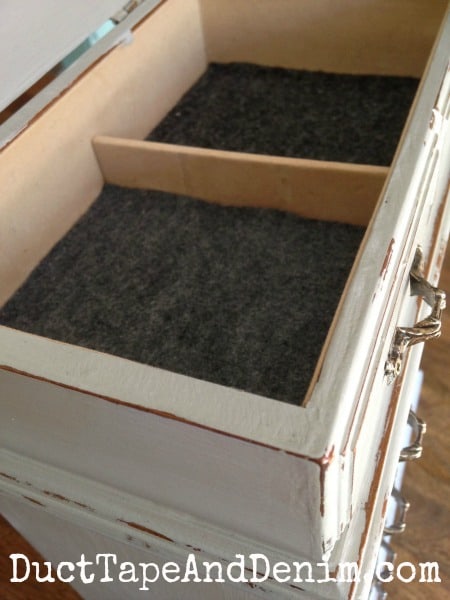
I gave it two coats of CeCe Caldwell’s natural chalk and clay paint in Seattle Mist, lightly wet distressed it, and finished it off with Minwax polyacrylic. Then I screwed the handles back in. The glass front was replaced with some hardware cloth and I covered the stained fabric inside with some darker gray felt. I just measured, cut, and glued it in with some of the Gorilla super glue that I got in my Snap Conference swag bag.
See the tiny screws?
The top sections needed some new felt, too.
If you liked this DIY jewelry cabinet makeover, take a look at these!
- DIY Jewelry Cabinet with Missing Knob
- Thrifted Jewelry Cabinet in a Bright Color
- Green End Table, The 36th Avenue
- Spray Painted Folding Metal Chair
- Painted Jewelry Cabinet with Hardware Cloth
Here are a few supplies you might need if you try this project:
Leave a comment and let me know which jewelry cabinet makeover you like best.
‘Til the next project,
KT says
Great project! Is there a picture of the finished jewelry box in its entirety? Its hard to see the finished project with the partial pics.
ducttapeanddenim says
KT, I was sure that I took a picture of the completed project but I couldn’t find it when I wrote the blog post. I’m going to keep looking… maybe I saved it into the wrong folder.
Mimi says
Ann, this is gorgeous! I see these all the time at thrift stores, but never really know how to rescue them. I’ll be snapping them up now! I wonder if you’d come and share this at my Five Star Frou-Frou linkup that runs from Fridays each week. I’d love to showcase this post! Mimi
ducttapeanddenim says
Thanks, Mimi! I’ll take a look at that and see if we can fit it in.
leah says
OMG I have the same jewelry box. 🙂
Brandy says
I do too! It was my mothers! Same flowers, ours just has an S.
Glenda C says
I just finished a redo on my first jewellery box and just picked up a 2nd one today. I chalkpainted, decoupaged and did a lace spray on the top and rub n buff on the pulls. I enjoyed redoing it so bought another.
ducttapeanddenim says
Sounds beautiful! I’d love to see a picture of it.
Sheila Durham says
I have one just like it with the floral etching…I got it for Christmas from my husband in the 80’s..was looking for a way to redo it!! Thank you!
ducttapeanddenim says
Sheila, I’d love to see it when you finish. If you post a photo on Facebook or Instagram make sure you tag me!
Lynn says
hello Ann – I came across your jewelry box post tonight and I have been doing some of these makeovers myself. I am wondering if you have any suggestions on where I could find some of the tiny screws that are used in the hinges of these boxes. I cannot seem to find them anywhere and have such a wonderful jewelry box that just needs some new screws!!
ducttapeanddenim says
I recently found some little handles at Hobby Lobby. I’m pretty sure there were screws in the package and they might have had packages of just the screws. They were in the woodworking section.
Lynn says
Thank you Ann!! I will have to try and get to a Hobby Lobby, but unfortunately we do not have them in Ontario.
ducttapeanddenim says
Awww…. I’ll let you know if I ever see them online. Hope you find them! And I’d love to see your project.
Lynn says
I would love to share a couple that I have done with you. Please let me know the best way to do this!
ducttapeanddenim says
I’m emailing you, Lynn.
Becky says
Hobby Lobby has them in the aisle with them with a woodworking things. They also have handles Corners other neat little things.
Patty says
Amazon or a local hardware store.
Joanne Bannister says
I have one that I would like to make over but am worried about removing the felt inlay to remove any screws?
Joanne Bannister says
is it safe to remove the felt inlay to remove the handles?
ducttapeanddenim says
Joanne, I’ve removed the felt before. Especially if it’s dirty. It’s easy to replace it. Sometimes those small handles are just stuck in the front & they don’t go all the way through. If the inside is clean, try wiggling and pulling on them first. If you’re going to replace the felt anyway, just pull it out!
Sam @ Raggedy Bits says
This turned out so lovely!! You have such a knack, Ann! Thank you so much for sharing your project over at Waste Not Wednesday 🙂
ducttapeanddenim says
Thanks, Sam. Just wait ’til you see the next one! I think it’s my favorite so far.
Kimm at Reinvented says
Love this so much Ann! Beautifully finished. I need to send you my boring jewelry box for a makeover! 🙂
ducttapeanddenim says
Sure, Kimm… send it on over! Or just send me a picture when you’re finished. 🙂
Becky Stabler says
Instead of replacing felt I have used Tulip color shot instant fabric color. Dries quickly and the felt or velvet still feels soft. It comes in lots of colors.
ducttapeanddenim says
Someone else mentioned that to me… I still need to try it. I’d love to see a picture of your finished jewelry cabinets.