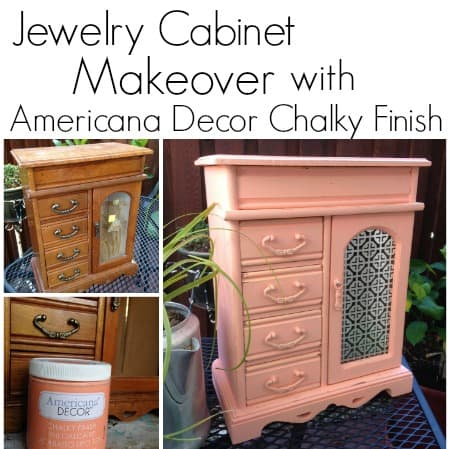
Today’s I’m sharing one of the first jewelry cabinets that I painted with Americana Decor Chalky Finish Paint back in 2015. It was just after I went to my first blog conference, SNAP in Salt Lake City, where I met reps from DecoArt. I’ve been in their Blogger Outreach Program since then. They do provide me with paint but my projects and opinions are always my own. For example, today’s color turned out to be my least favorite. And obviously my customers’ least favorite, too, as it never sold. You’ll see this repainted a different color in a few weeks!
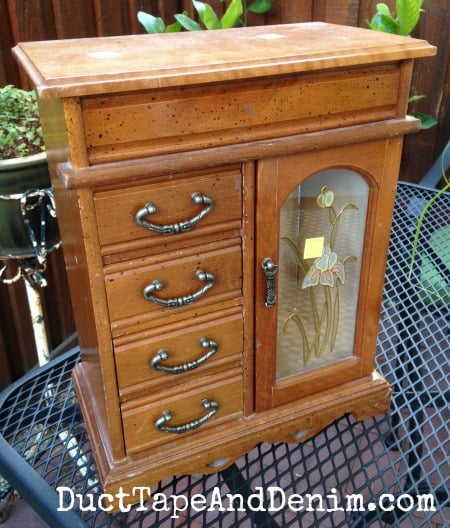
Here’s what I started with. An old jewelry cabinet in pretty good shape. Just a few scratches but inside some of the fabric was stained. I’ll show you what I did to solve that problem, too. And look at that beautiful (NOT) faux stained glass iris on the door. Don’t worry, we’ll take care of that!
This post contains affiliate links. You won’t pay any more when you use these but I will earn a small commission on any purchases you make after clicking on them and I greatly appreciate it. Thanks for helping support my little blog!!!
Painting with Americana Decor Chalky Finish Paint
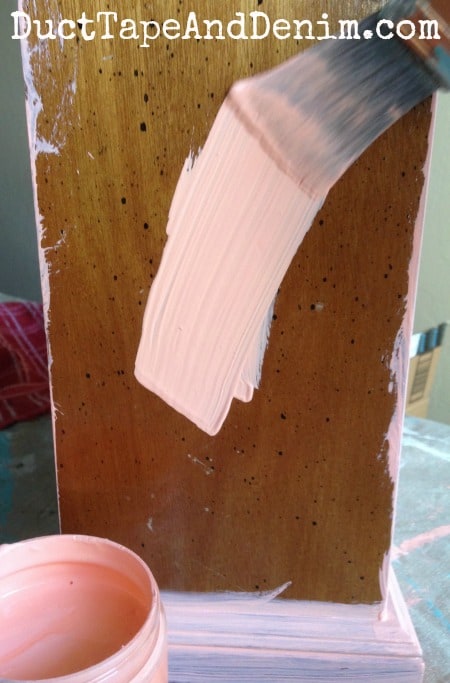
This color is called Smitten. I’m not sure what these black spots were. I don’t think they were supposed to be there since they didn’t appear evenly over the whole piece. They wouldn’t come off but the paint had no problem covering.

I tried to take a picture while I was painting. That’s harder than it sounds! But I did get this shot so you could see how well the paint covers with just ONE coat!
![]()
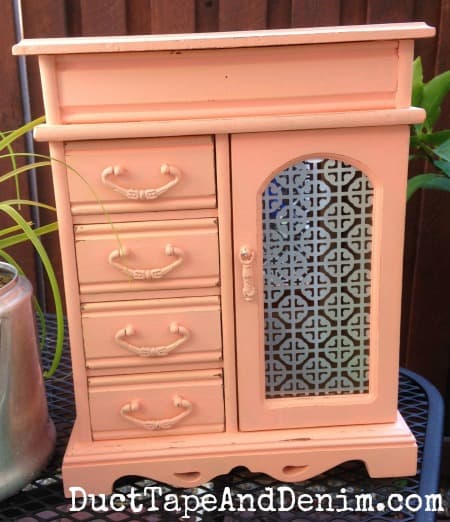
I did a little distressing. This paint distressed easier with sandpaper than the wet distressing I usually do. But the best thing? After sanding with an extra-fine sanding sponge![]() the finish was smooth and hard. So I decided to leave it like that and not add the polyacrylic coat that I’ve been doing.
the finish was smooth and hard. So I decided to leave it like that and not add the polyacrylic coat that I’ve been doing.
What do you think now?
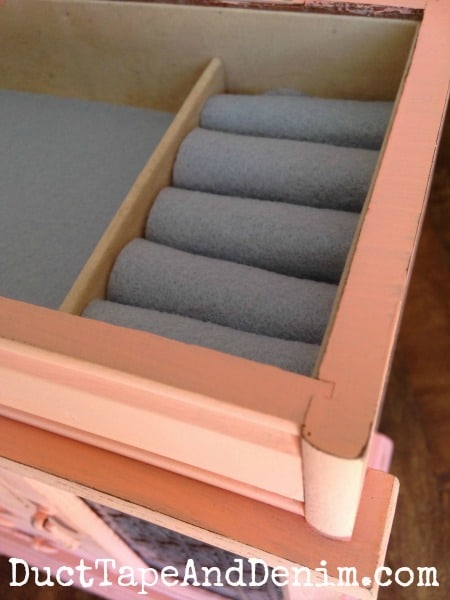
I think some people must get rid of their old jewelry cabinets and boxes because of stains. I run into a lot of them that are in good shape except for the inside. Here’s how I handled the problem this time.
I used my quilt square acrylic ruler to measure the space at the top and the drawers, cut felt to fit, ran a fine line of Gorilla Super Glue around the edge, then placed it carefully in the space and pushed it down firmly. (The glue was a sample that I was given at Snap, too. It worked great and you’ll hear more about that later.)
For the ring storage area, I just measured the width, cut a long strip that size, glued it on the ends and between each roll, firmly pushed the felt in between each roll (starting at one side and working my way across), then cut it off at the end.
Here’s an example of another way to handle a fabric stain in a jewelry box.
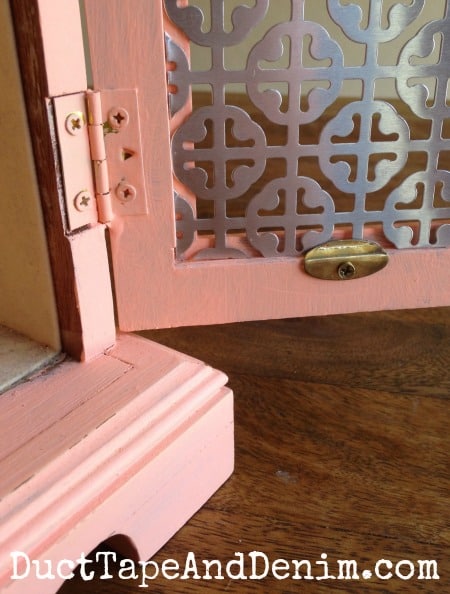
And that “beautiful” iris? Easy to remove. Just unscrew the small metal tab holding it in. I used the glass to trace the size on a piece of decorative metal that I bought on Amazon![]() , cut it with my tin snips, and fit it back by screwing the metal tab back in.
, cut it with my tin snips, and fit it back by screwing the metal tab back in.
Here’s the before and after:

Leave me a comment if you’ve used the chalky finish paint. I’d love to see your projects!
More Thrift Store Jewelry Cabinet Makeovers
- How to Decoupage on Wood Jewelry Cabinet Drawers
- A Turquoise Drip Jewelry Cabinet
- 7 Alternatives to Glass Doors in Jewelry Cabinets
‘Til the next project,
Hope N. Griffin says
So cute. You are so crafty. A skill I have yet to master. Thanks for linking up with #JoyHopeLive Hope to see you again tomorrow
shonee says
Very cute! What a difference paint can make! Thank you so much for sharing this over at Bewitchin Projects Block Party!! Hope you will join us again this week!!
-Shonee
http://www.hawthorneandmain.com
Simple Nature Decor says
Thanks for sharing the chalk cabinet,so pretty at my last Fabulous Friday Party, I have been in Italy and just got back and ready to Party again, hope to see you at my party this weekend, starts tonight and goes until next week! Hugs Maria
ducttapeanddenim says
Thanks, Maria! Hope you had fun in Italy!
Lisa House says
I know I am late at seeing this, just subscribed, I have been looking at all the jewelry boxes you have done. I think this is my favorite which surprised me! I am usually a teal or pink kind of girl but this color is awesome! I was just curious…do you keep any of the stained or etched glass inserts for other uses? Why don’t you etch some of the glass and re-insert? Too much work for the money? I am going to show your work to my hubby because when I mentioned doing similar projects to sell at the towns yearly festival he shot me down, so hopefully showing him what a huge difference a little work can make will change his mind. Keep up the fabulous work!
ducttapeanddenim says
I’m glad to hear you like this color. As you can tell, I usually paint them blue or white so this was different for me, too. They sell pretty well for me at local markets. I do have one waiting to be paint that I’m going to try etching the glass. Hopefully you’ll see it on the blog in the next couple of months. Send me a picture if you try it!
Katie says
Great job! I loved reading about your jewelry box makeover, and you’ve inspired me to get to work on the jewelry boxes I’ve bought at thrift stores! 😉
ducttapeanddenim says
Great! I’d love to see them when you do. Leave a photo on my Facebook page!
Kari Nairn says
I love this idea! I was just wondering what I could do with my jewelry box and now I know thanks to you!!?
ducttapeanddenim says
I’d love to see a photo when you finish it!