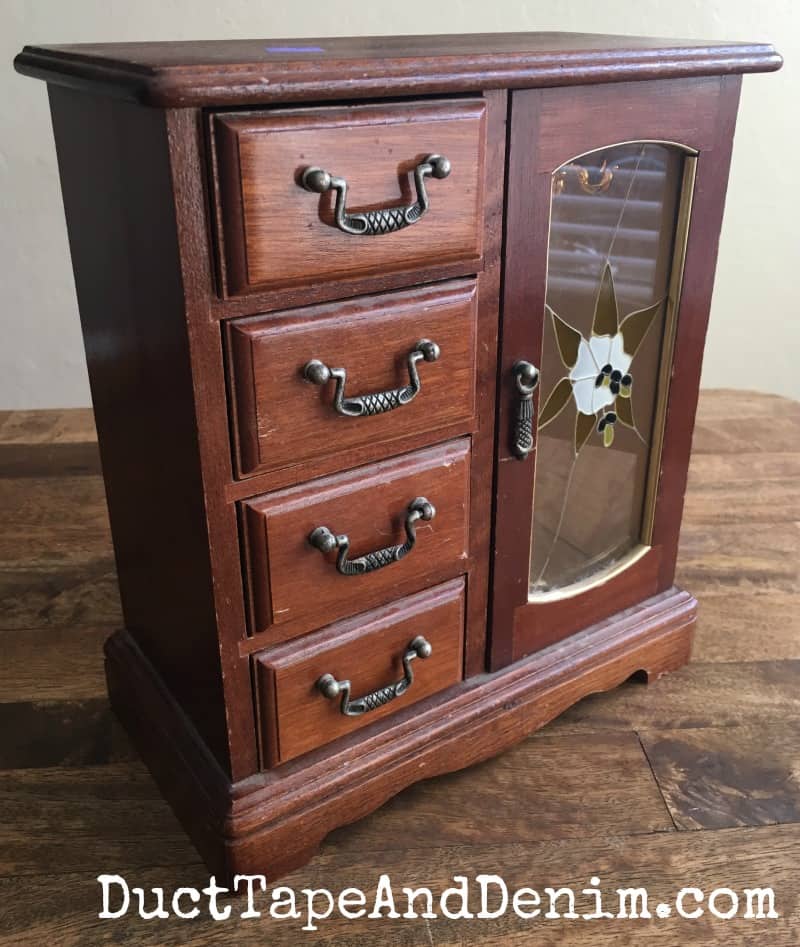
Today I’m sharing another thrift store makeover. These always remind me of the show “Flea Market Flip”. I bought this jewelry box at a local Goodwill store. I think it was $6.99. I’ve seen them often at Treasure Island Flea Market for $10. But Goodwill prices have continued to go up in the last year. Last time I was there I actually saw a cabinet like this for $24.99! What!?! No way!
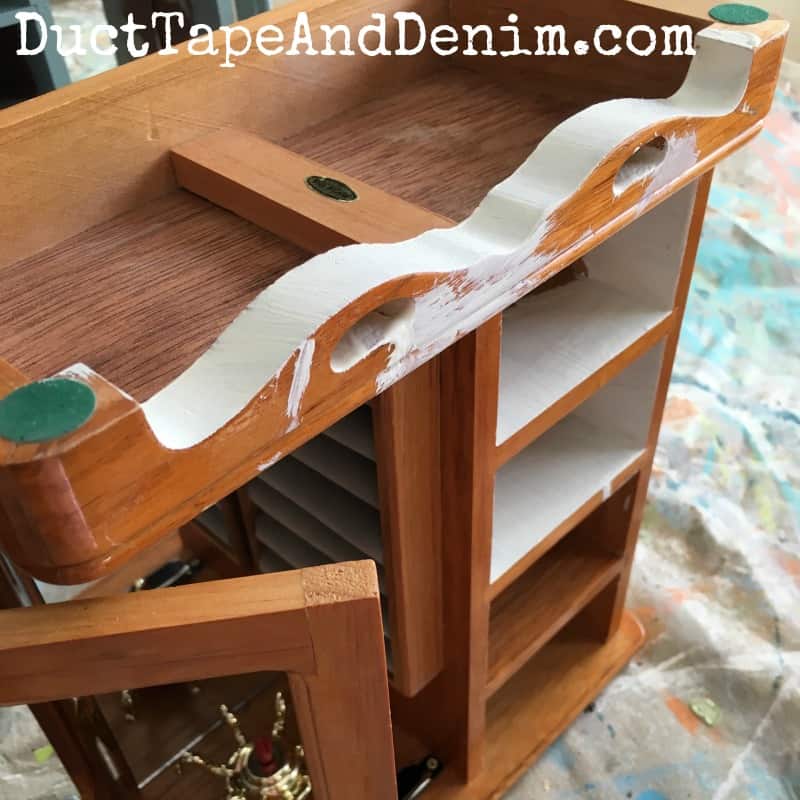
Sorry… off my soapbox now and on to the jewelry cabinet makeover. It was in good condition outside. All the handles were still there. But I didn’t like the glass and the fabric inside was stained and had some water damage which made the cardboard warp.
This post contains affiliate links. You won’t pay any more when you use these but I will earn a small commission on any purchases you make after clicking on them and I greatly appreciate it. Thanks for helping support my little blog!!!
Supplies Needed for this Flea Market Flip
- old wooden jewelry cabinet
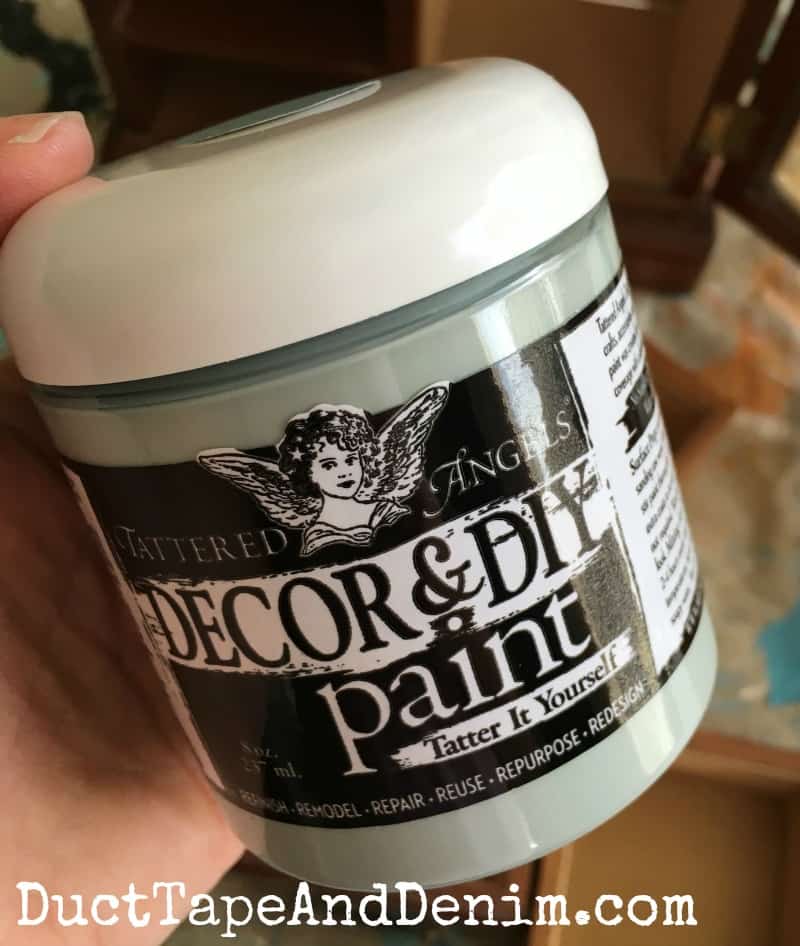
- Tattered Angels Decor & DIY Paint, Mankato
- paintbrush
- metal sheet, cloverleaf pattern
- tin snips
- staple gun & staple
- Canvas Corp Tissuestock, French Script
- craft scissors
- decoupage medium
- small paintbrush
So my first step was to pull out the cardboard and fabric. It wasn’t attached very well, to begin with, so it came out easily.
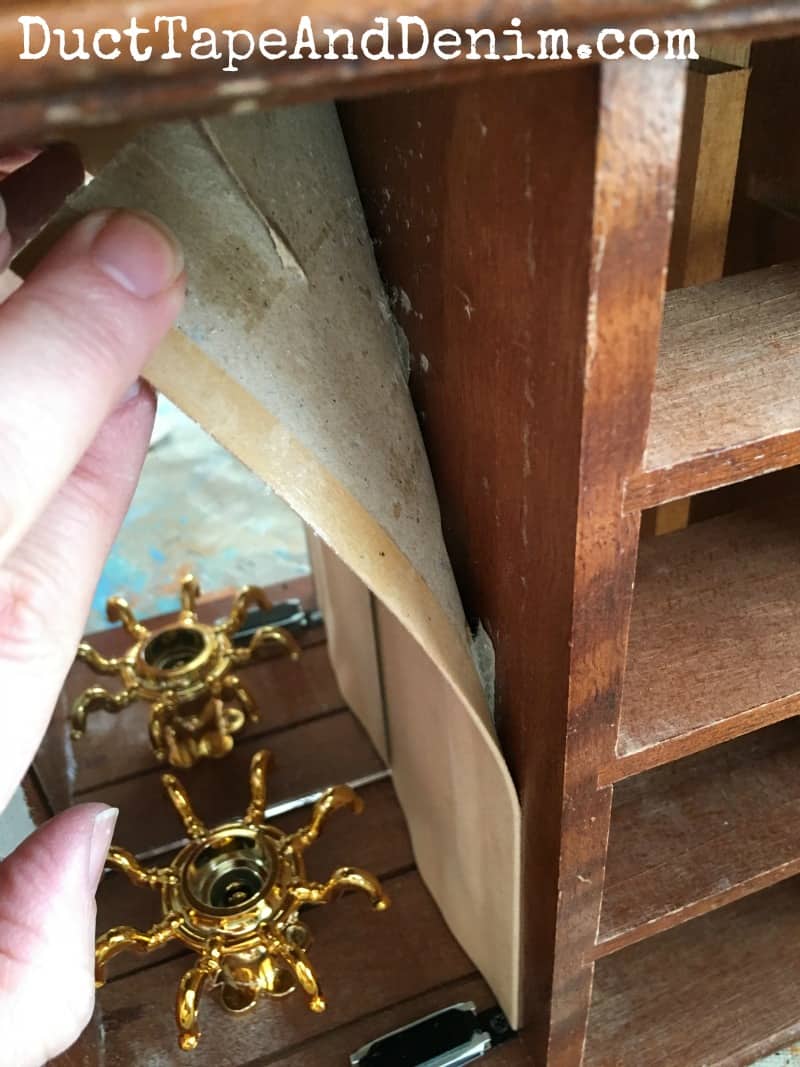
You can see how it stuck a little more on the other side. I knew I was going to cover it with paper so I just pulled off as much as I could and smoothed it down.

I tried out some new paint on this project. Since I’m on the Canvas Corp Brand Crew (design team) this year they provided me with some supplies. This paint was part of my first order with them.
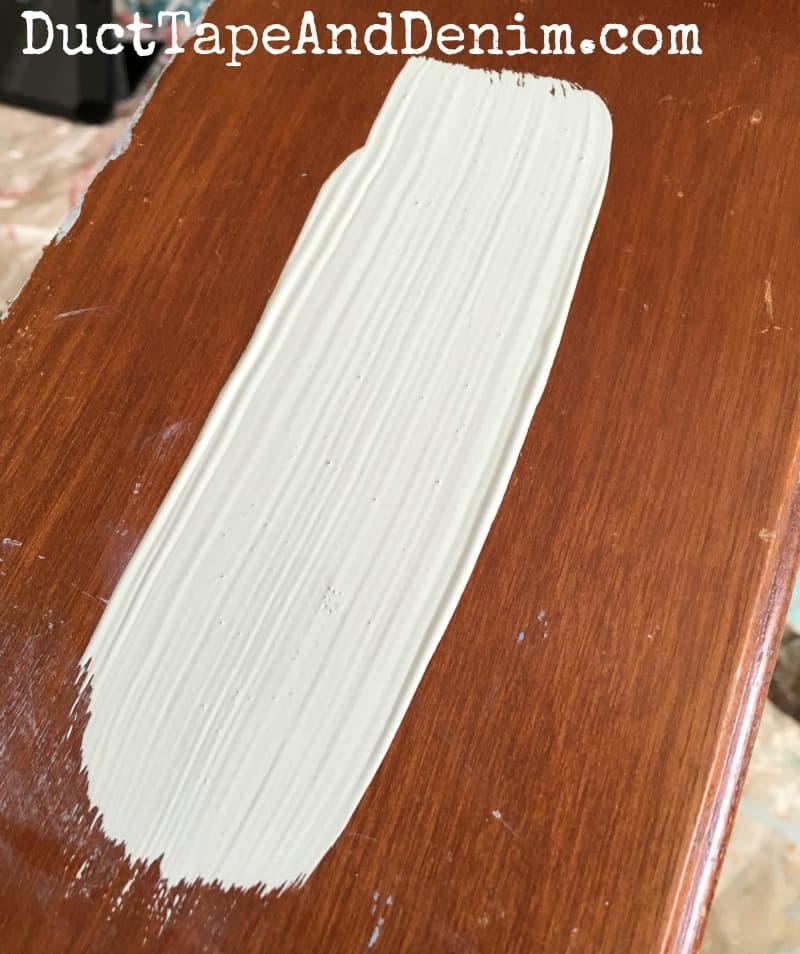
I was impressed by the coverage. This is one brush stroke. I thought it might take several coats for this light color to cover the dark wood but it only took one with a little touch up afterward.
Like with all my jewelry cabinet makeovers, I start with them upside down so I don’t miss anything.
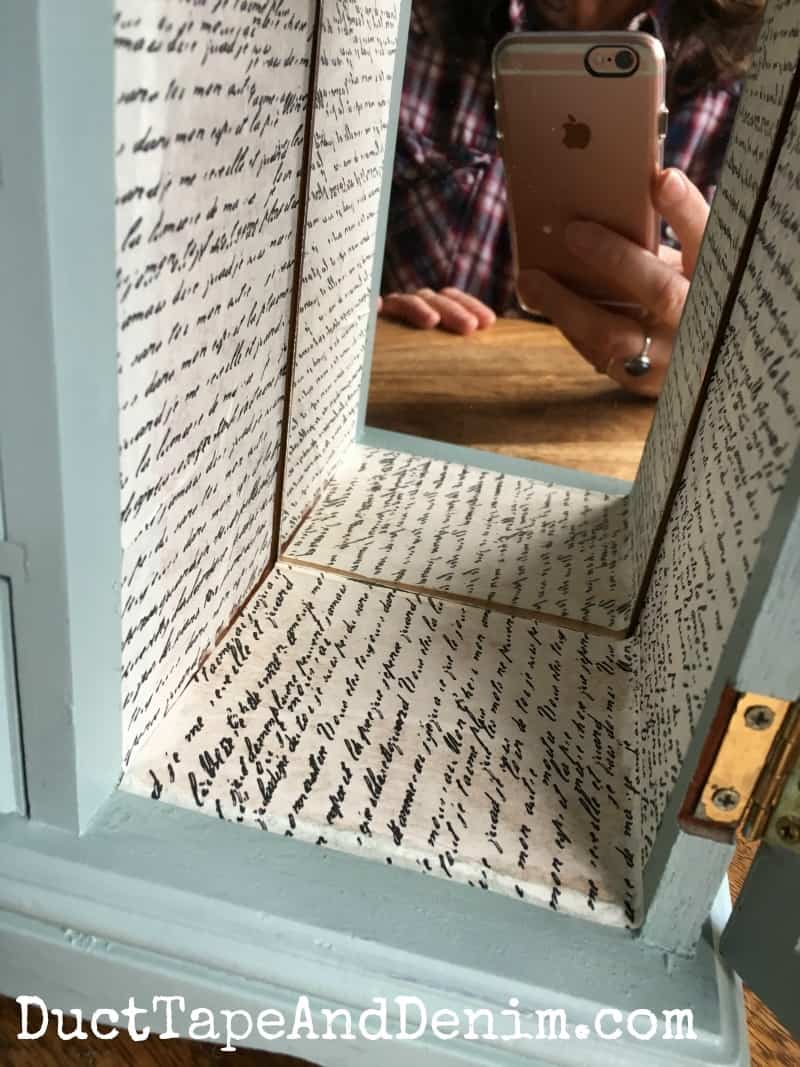
Here’s the inside after I applied the Canvas Corp Brands tissuestock. And you can see my fancy photo set up. Yep, I just use my iPhone!
I measured and cut the tissuestock to fit, brushed on a coat of Mod Podge, placed the tissuestock on, and finished it off with another coat of Mod Podge.
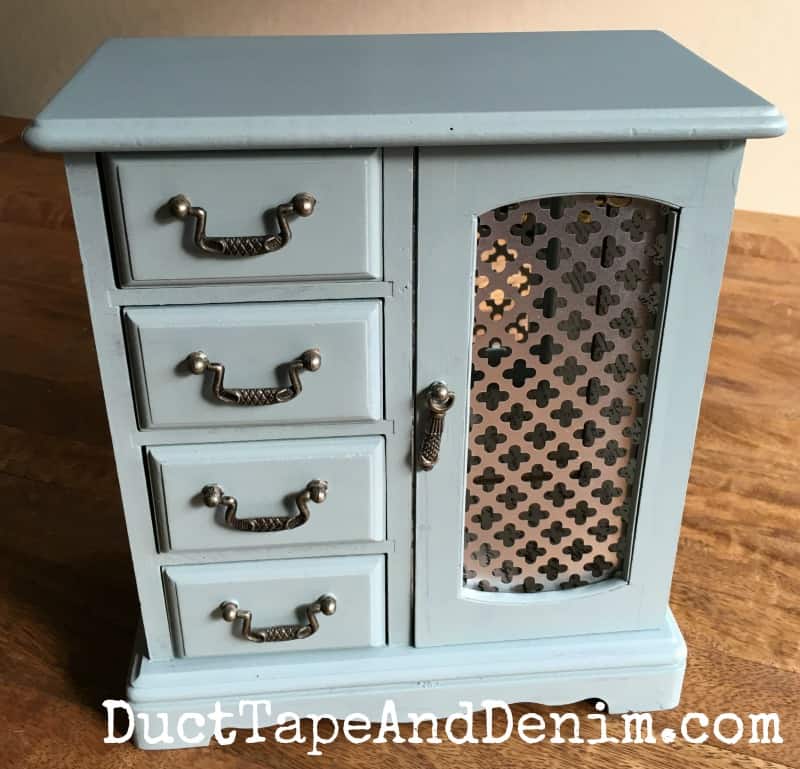
Here’s another close up so you can see the finished door. The glass in these doors is easy to remove with those little tabs at the top and bottom. I traced the glass on the metal sheet, cut it out, and stapled it in.

Finished!
If you enjoyed this flea market flip, you might also enjoy these:
- Jewelry Cabinet Makeover with Folding Door
- Turquoise and White Jewelry Cabinet Makeover
- Teal Pumpkin Project (also uses the DIY Paint)
- From Flea Market Finds to Savvy Storage
- Pink Jewelry Cabinet
- DIY Cake Stand
I’d love to see anything you’ve painted with this paint, too. Let me know about your experience below and leave a link back to your blog. Thanks!
‘Til the next project,
Barbie Robertson says
love the way it turned out!
ducttapeanddenim says
Thanks, Barbie!
Sherry says
What did you do to the inside of the little drawers? I loved the way this turned out!
ducttapeanddenim says
Oops… sorry I forgot I didn’t take pictures of the drawers. They were actually in pretty good shape so I just cut some tissuestock squares and decoupaged them onto the bottoms of the drawers so they’d match. I’ll try to remember to show photos of the drawers next time. Thanks!
Sherry says
I appreciate the response. Thank you!
I have Upcycled A few jewelry boxes and have realigned the drawers in velvet but it was a real pain. I like your idea better!
ducttapeanddenim says
I’d love to see them… do you have a blog? Or photos posted somewhere ?
Sherry says
Hi. I only have one photo of my Upcycled jewelry box. It’s posted on my Instagram @upcycledtoo. It started life looking like the one you posted. I sandblasted the glass to give it an opaque finish. I purchased new velvet for the drawers from Beaversmith Tools.
Cheryl says
I have been redoing some jewelry boxes, also. I take them all apart, clean ,sand, etc. I think I spend as much time on them as a full size piece! Our GW has gotten really pricey, too. Thanks for sharing !
ducttapeanddenim says
Cheryl, I’d love to see them… leave me a link!
Marigene says
I hear you on thrift store prices being ridiculously high in the last few months…they seem to think they are selling retail!
Your jewelry box came out fantastic.
Have a great rest of the week!
ducttapeanddenim says
Thanks!
Betsy says
Darn, why did I get rid of my sad old jewelry box? I had one just like this. LOVE the color and the beautiful update. Thanks for sharing with us at Talk of the Town.
Cheryl says
I don’t blog, etc., so not sure how I could do that.(?) I have photos of a couple, need to take some more.
ducttapeanddenim says
You could email them… ducttapeanddenimbyann@gmail.com
Cheryl says
Yes I did think of that ! Better get some good photos, for sure!
Florence says
That is really a cute makeover! Love the paper you chose for the inside! Where did you get the metal grate that you used in place of the glass? Is that chalk paint?
ducttapeanddenim says
Florence, Thanks for pointing out that I forgot to share my source for the metal sheet. Here’s my Amazon affiliate link: http://amzn.to/1VEgRad The paint is a mineral based paint, similar to chalk paint.
Florence says
I was just wondering if it went on like chalk paint as in no sanding or other prep?
Linda Plants says
I was just wondering about the drawers. The handles or pulls were removed? Or did you just paint around them. I have been doing some jewelry boxes myself and have been painting over them. However, I wondered how to remove them. I don’t want to ruin the box by removing them and then no being able to get them back on. The ones I have are not attainable from the inside of the box, so prying off is the only way. What do you do?
ducttapeanddenim says
Hi, Linda, Thanks for your questions. On this jewelry cabinet I just painted around the handles. They were the type that can’t be removed. Sometimes I just paint over them. Like in this cabinet: http://ducttapeanddenim.com/national-craft-month-blog-hop-turquoise-jewelry-cabinet-makeover/ If they’re attached with screws (like this one: http://ducttapeanddenim.com/thrift-store-makeover-jewelry-cabinet-with-folding-door/ ) I remove them. Then sometimes I use Rub N’ Buff on them.
Please let me know if you have any other questions. And I’d love to see your finished project!
Linda plants says
I would love to show you but I do not know how to post a photo here.
ducttapeanddenim says
You could email it to me… ann@ducttapeanddenim.com
Brenda says
Your post and great results have given me the courage to try one of these makeovers myself. I really like the tissue paper you used on the inside. Thank you!
Susan Homeroad Stevenson says
I used to have that jewelry box! I love the way you upcycled it 🙂
Linda at Mixed Kreations says
Nice job! Love the color and how you replaced the glass with metal! Very pretty!
I take all my photos with my smart phone. They turn out so much better than when I used my camera. Not perfect but my camera shots were bad. 😉
Maria says
I love this kind of project. I have the perfect jewelry box too.