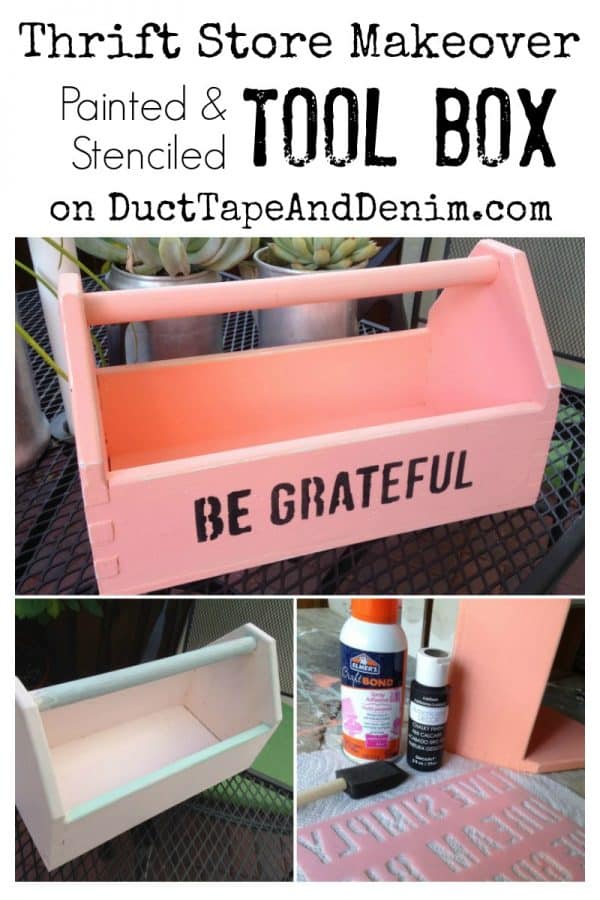
Remember the Americana Decor Chalky Finish Paint that DecoArt supplied me with for my jewelry cabinet makeover? Well, I had a lot of it leftover so here’s another project with the same paint… a stenciled toolbox makeover.
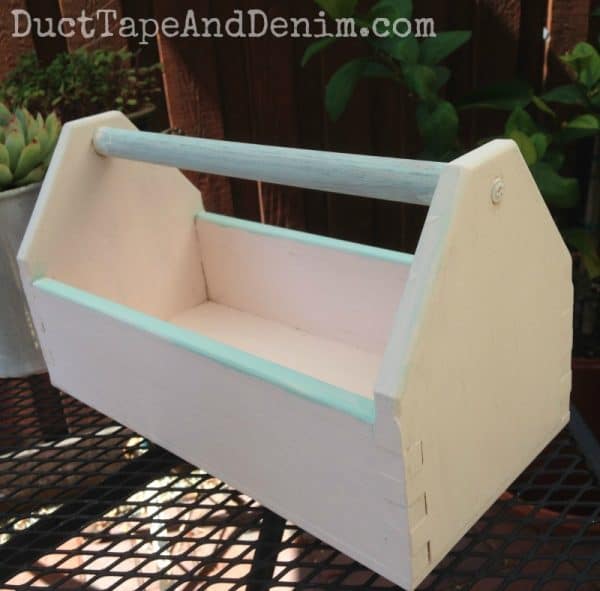
This stenciled toolbox was raw wood when I found it at my favorite thrift store. It got painted once on our last painting day at my house. We wanted it pink but I didn’t think it turned out pink enough.
So out came the paints again!
This post contains affiliate links. You won’t pay any more when you use these but I will earn a small commission on any purchases you make after clicking on them and I greatly appreciate it. Thanks for helping support my little blog!!!
Supplies for Stenciled ToolBox
- Americana Decor Chalky Finish Paint in Smitten
- Americana Decor Chalky Finish Paint in Carbon
- Elmer’s Craftbond Spray Adhesive
- Teresa Collins stencils, Dream (on sale at Joann.com
 )
) - sponge brush

Stenciled Toolbox: How To
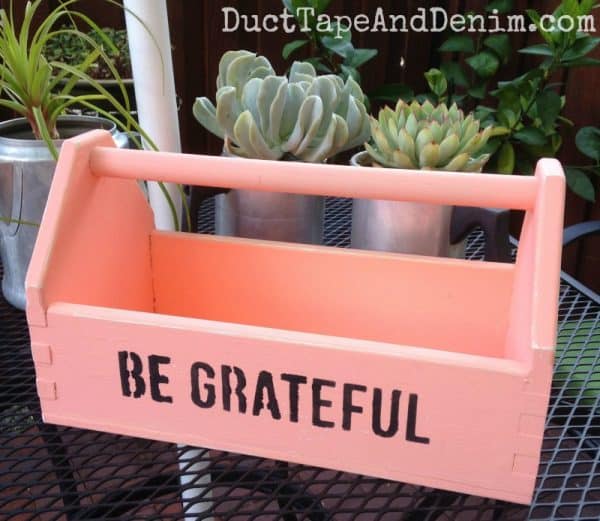
First, I gave it two light coats of the Chalky Finish paint. This is really more of a peachy color but I still like it better than the super light pink it was, to begin with.
After the paint was dry I lightly sprayed the back of the stencil with the spray adhesive and let it sit for about 5 minutes. The adhesive will then be tacky and can easily be removed after painting. (If you apply it immediately after spraying it will be a permanent bond.)
I centered the phrase on the side of the toolbox, stuck the stencil down firmly, and dabbed a small amount of paint on with my sponge brush. It doesn’t take much at all.
In fact, when I was done I thought it was too dark so I went over the wording lightly with a piece of sandpaper to soften it up a bit.
This piece won’t be getting heavy use so I didn’t finish it with anything. The chalky finish has a nice feel to it even without varnish or wax.
I forgot to take a picture of the other side but I used another phrase from this same stencil. It says “Live Simply” on the other side.
Note to Thrift Store Flippers
5/20/20 UPDATE: The color on this stenciled toolbox was a stretch for me. If you are a regular reader of my blog you know that I paint a LOT of things different shades of blue, white, and gray. The thrift store finds that I paint white usually sell fastest. Gray would be a close second. I use a lot of blue because that’s one of my favorite colors but it doesn’t sell well for me.
This color, Smitten, was NOT a good seller. In fact, I ended up painting the jewelry cabinet over in another color because it sat so long in the shop. I have another jewelry cabinet that I painted with Smitten in my stash right now to be repainted also. It has been in our shops here for over a year!
This wooden tool caddy did finally sell but not for very much. Luckily, I didn’t have much money in it.
I just wanted to share that information with you because I know a lot of resellers read my blog. This just emphasizes the fact that you have to give your customers what they want… not what you want.
I’ll keep stepping out of my box from time to time. Remember — it’s paint. You can always paint over it.
More Thrift Store Makeovers
- DIY Stenciled Serving Tray
- How to Organize Your Craft Desk with a Tool Caddy
- 21 Painted Thrift Store Frame Makeovers
I might have just enough of this color to do one more project. Leave me a comment and let me know what you think I should paint next. Or maybe what color I should get next! (Originally published on August 5, 2015.)
‘Til the next project,
Ann @ Duct Tape and Denim
Pinterest | Instagram | Facebook | Twitter | Etsy | YouTube

[…] BE GRATEFUL Stenciled Tool Box Makeover […]