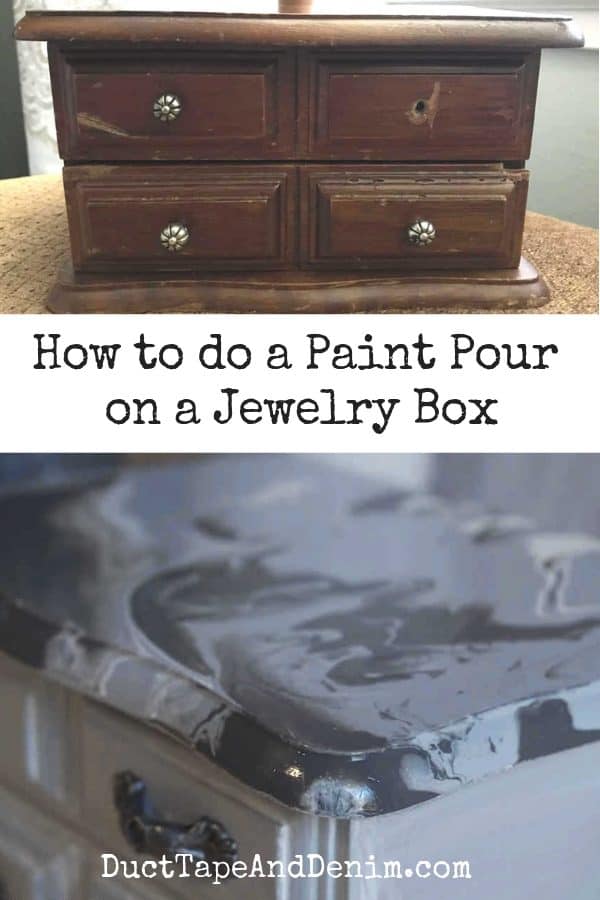
This old jewelry box is one that I NEVER would have picked up a few years ago. I thought painting jewelry boxes was boring! But then I started stenciling them. Now I’ve done a few paint pour jewelry box projects and I’m hooked. One great thing is that these jewelry boxes are usually CHEAP. Especially when they’re missing a knob like this one was. I paid $3 for it.

This post contains affiliate links. You won’t pay any more when you use these but I will earn a small commission on any purchases you make after clicking on them and I greatly appreciate it. Thanks for helping support my little blog!!!
Supplies Needed for Paint Pour Jewelry Box
- old wooden jewelry box
- 5-7 colors of paint
- pouring medium
- small cups (2-4 oz) – 1 for each color
- 1 larger cup (6-10 oz)
- tongue depressors
- paint brush
- varnish
- sanding block
- metallic wax
- jewelry box handles – Read “Where to Find Jewelry Box Hardware”.
- tissue paper
- decoupage medium
- scissors
On my first paint pour project I painted the body first and then the top. This time I did the paint pour first. Both options worked. Make sure you read about my first project to get all the details.
Prep the paint for pouring:
You’ll need a small cup for every color. Mix an equal amount of paint and pouring medium. You may have to adjust this depending on the thickness of the paint. I was using chalky finish paint and a couple of them I’ve had for a while. They were thicker so I added a bit more pouring medium. Just play around with it ’til it pours smoothly.
Mix each color individually with a tongue depressor.
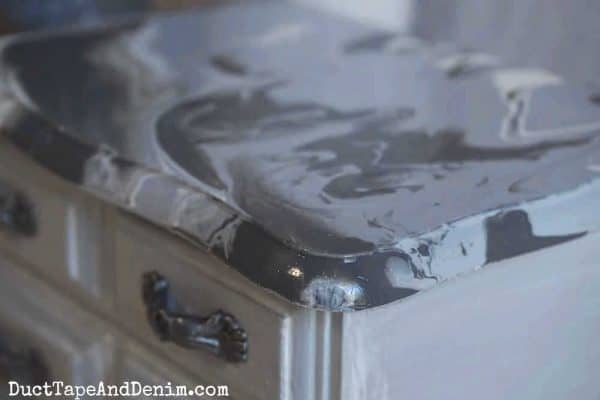
Next, the part that still terrifies me. Pour all the colors into one big cup! This is called a dirty pour.
Here’s a video from the pouring medium manufacturer. I haven’t been able to get a good video of myself doing this… way too messy!
Finish the Jewelry Box:
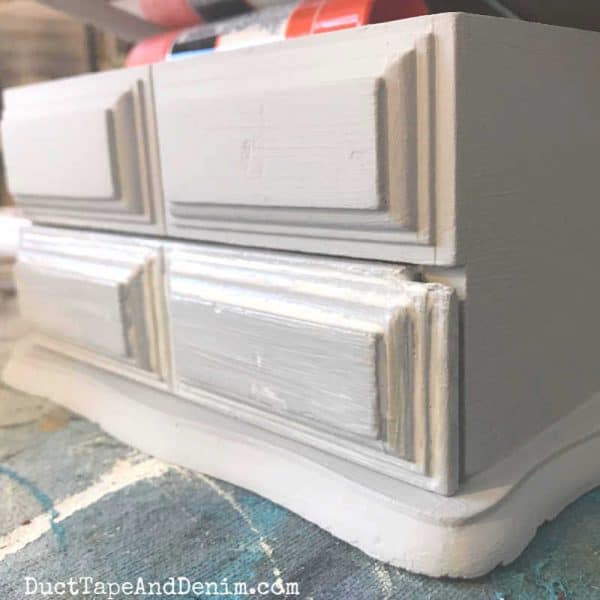
At first, I painted the jewelry box white. But that was too stark of a contrast. The picture below shows where I filled the holes with some wood putty. I was missing one of the knobs and I didn’t have any more that style. So I bought some new handles that looked good on the gray. They were antiqued brass but I used some silver metallic wax on them.

I decided that a light gray matched the top better so I used DecoArt Yesteryear and added a whitewash over it.
You can see the difference before and after the whitewash below.
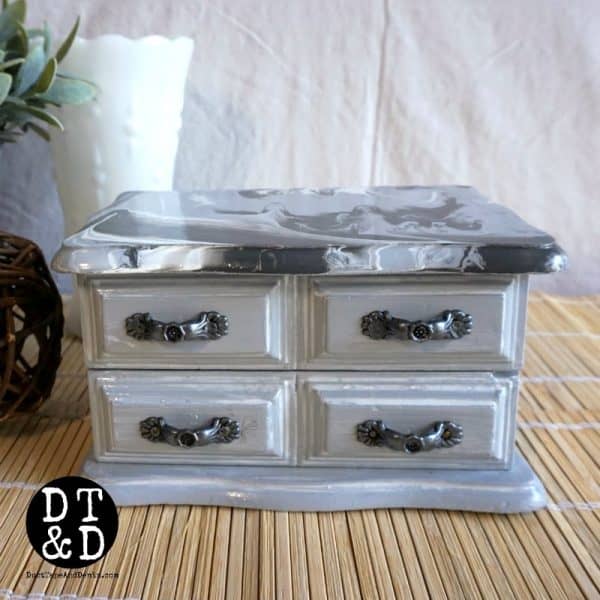
Ta da! It’s finished.
The inside had some stains so I decoupaged some tissue paper in it.

What do you think? Do you like the monochromatic paint pour or a brighter multi-color one?
If you enjoyed this post, you might also like these:
- Turquoise Paint Pour Jewelry Box
- The Ultimate Guide to Thrift Store Jewelry Box Makeovers
- Why You Should Shop at Thrift Stores
- How to do a Paint Pour on a Chair
- How to Paint Pour with Milk Paint
Thanks for reading! Leave a comment and let me know if you’ve tried paint pouring.
‘Til the next project,
Ann @ Duct Tape and Denim
Pinterest | Instagram | Facebook | Twitter | Etsy | YouTube
Evelyn says
I don’t usually like shabby chic but I really like your monochromatic paint pour. That looks really nice!!!