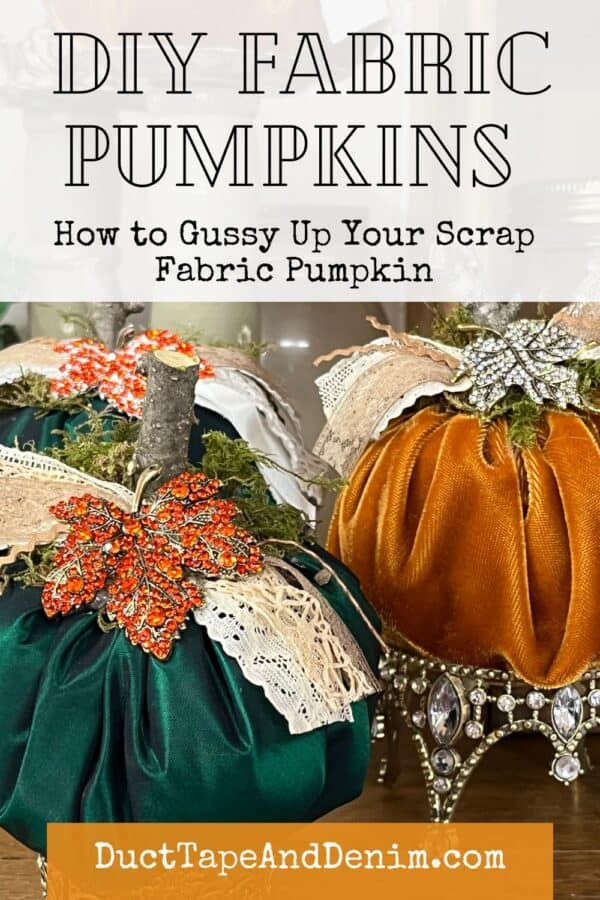
I have a confession to make. I’m a hoarder. A fabric hoarder. I’ve been hoarding these beautiful velvet and satin fabrics for YEARS, waiting to make fabric pumpkins. Well… this year I finally did it. And I’m so glad that I did. They turned out gorgeous!!!
This post contains affiliate links. You won’t pay any more when you use these but I will earn a small commission on any purchases you make after clicking on them and I greatly appreciate it. Thanks for helping support my little blog!!!
Supplies for Easy Fabric Pumpkins
I was lucky to find a bag of beautiful luxurious velvet and satin at the thrift store. But keep your mind open. I’ve used vintage quilting cotton and feed sack materials. Also, sheets, lightweight blankets or duvet covers, towels, quilts, and even clothes such as corduroy, old sweaters, or flannel shirts would make great pumpkins!
- scrap fabric
- dinner plate or other round object to use as a pattern
- pencil
- fabric scissors
- stuffing or fiber fill
- heavy-duty thread, embroidery thread, or embroidery floss
- needle – If using heavy fabric, an upholstery needle would be handy
- stick, real pumpkin stems, or cinnamon stick
- sheet moss
- old scraps of lace, ribbon, or other trims
- rhinestone embellishments <=== This is a link to the ones I used.
- hot glue gun — I have the Surebonder detail glue gun… love it!
- glue sticks
{{{See a complete list of what’s in my toolbox and supply cabinet.}}}
Instructions to Make a DIY Fabric Pumpkin
Scroll down if you’d rather watch me make one on a video.
Cut a Circle
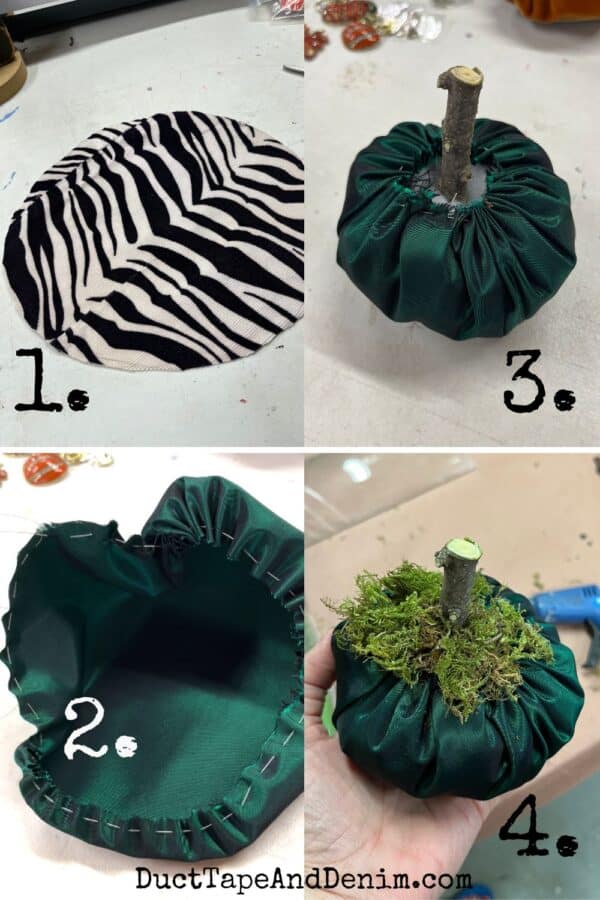
You don’t really need a fabric pumpkin pattern. Just draw a light circle on the back side of the fabric, around a plate. Use different plates to make different sizes.
The circle in Photo #1 below is the same size but cut from an old corduroy cheerleader outfit. (I forgot to take a picture of the satin circle.) I’ll show you how it turned out below, too.
Gather the Edge
Thread your needle with a heavy-duty thread. I usually tie a knot in one end just so it doesn’t accidentally pull through. Then run a long running stitch or gathering stitch about 1/4″ in from the edge.
Pull gently until you get a cup shape as in Photo #2.
Stuff the Fabric Pumpkin
Stuff your pumpkin with fiberfill. I sometimes use scraps of fabric and yarn in the center of my pumpkins, too. We don’t let anything go to waste around here!
This always takes more stuffing than I expect it to. Don’t skim or your pumpkin will look like it’s rotting…lol… Hopefully, no one else has rotting pumpkins sitting on their porch in December. But it’s happened a few times around here.
Finish the Top of the Pumpkin
Pull the thread as tight as you can and tie a surgeon’s knot. Cut off the ends.
Add the Stem
Put a blob of hot glue on the end of your stick or down into the pumpkin. Stick in the stick and hold it for a minute until the glue cools.
“Hide the Mechanics”
At this point, your pumpkin may look like Photo #3. You may have a little stuffing or thread sticking out the top. That’s where the sheet moss comes in. Add a little hot glue around the stem and cover the top with moss. I usually do this one half at a time.
The moss will hide any little mistakes you might have made.
Embellish
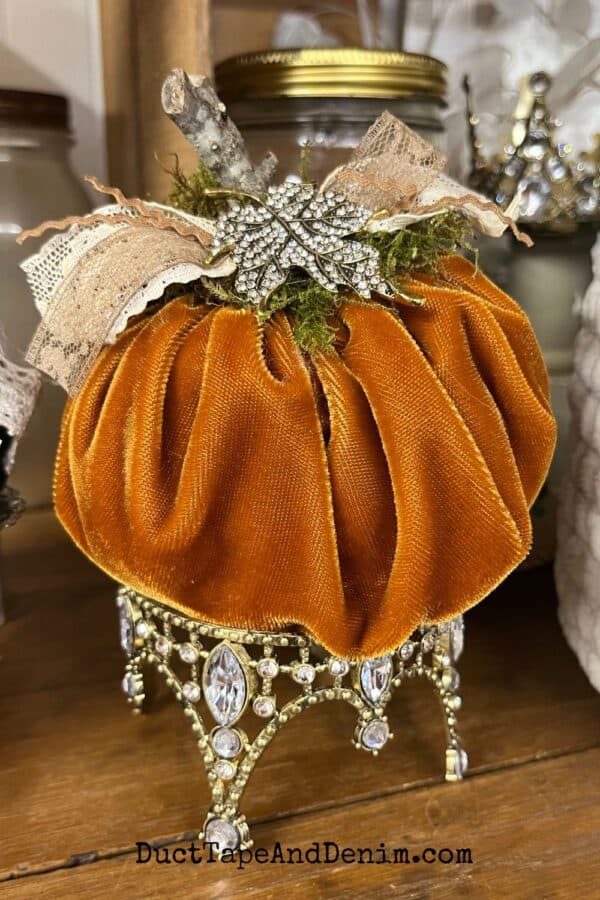
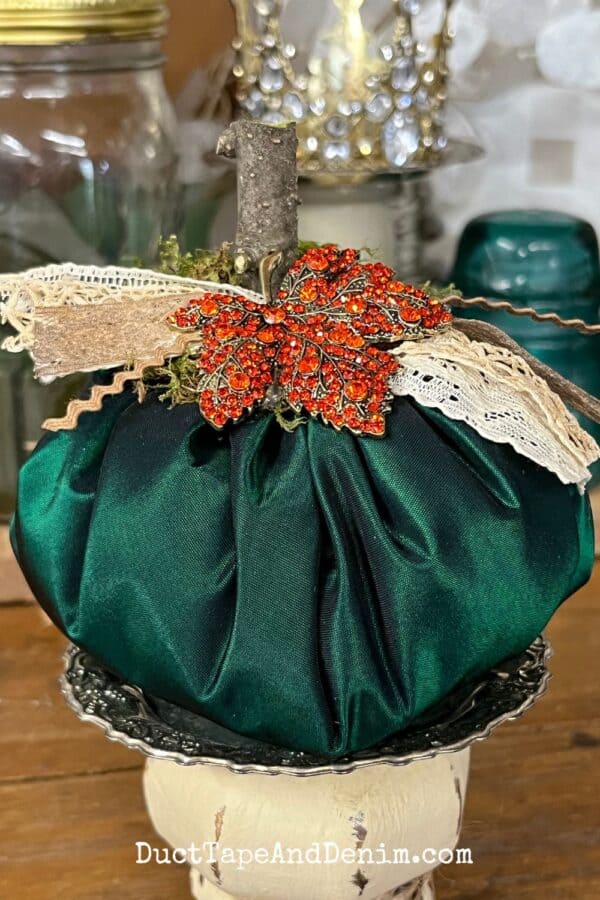
I added both a rag bow AND rhinestones to these to really gussy them up!
To make the bow, I just cut 6-8″ pieces of old lace and other trims then tied them together in the middle with another piece.
Then I took the rhinestone fall leaves out of the fall pack from Totally Dazzled and just hot glued them on top of the bow.
Other ideas:
- new or vintage rhinestone buttons
- tassels
- raffia
- jute
- bundles of little sticks
- large vintage buttons
- wired ribbon
{{{ Sign up for our email newsletter and get ALL my future projects sent straight to your inbox! }}}
Facebook Live Video Tutorial
If you’re more of a visual person, check out the live video I did on Facebook. WARNING: My grandson was helping me and he talked a lot. This is also why we had a “guest” who complained that the kid was distracting and annoying. I left the comment she wrote on Facebook but I did send her a little message too. Never heard back from her.
Finished Pumpkin Photos
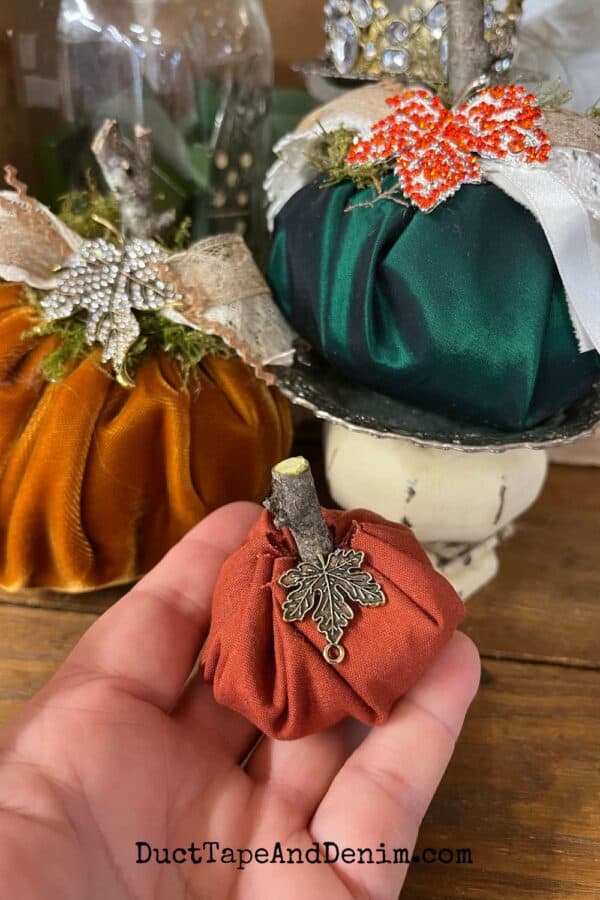
Here are the finished fabric pumpkins. What do you think? These are probably the fanciest pumpkins I’ve ever made! But they look great mixed in with the amber glass, brown drip pottery, and other vintage pieces in my booth at With Willing Hands, in Waxahachie, Texas.
These rhinestone crowns make gorgeous risers, too!
This one was green satin.
Leo made this little one all by himself!
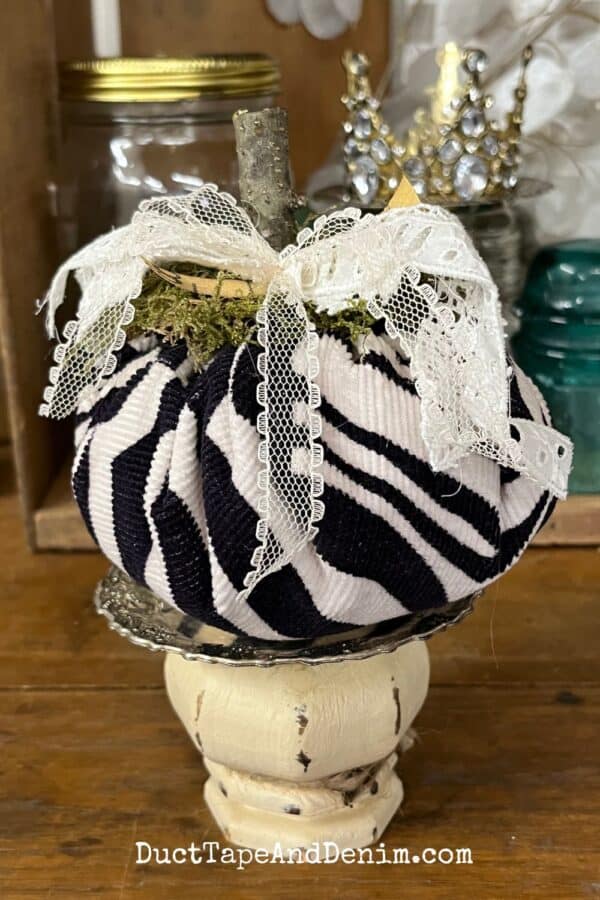
I made the zebra pumpkin for my granddaughter’s school teacher. Their school mascot is a zebra and you should see all the black and white stripes at their school! She loved it!
I hope you decide to make LOTS of these easy pumpkins for your inside fall decor or hostess gifts. I share some outdoor pumpkin ideas in other articles on my blog:
- How to Make an Easy Pumpkin Patch Sign {VIDEO}
- Easy DIY Pumpkins Made with Crates — Coming soon!
Tips & Tricks
This is only one of MANY ways to make fabric pumpkins. Get creative and use your imagination! Here are a few hints for you:
No-Sew Pumpkins
My project above only requires a very easy running stitch but if you don’t want to sew at all, cut the sleeve off a flannel shirt or sweater, tie the bottom, stuff it, and tie up the top with twine.
Machine Sew Fabric Pumpkins
If you do have a sewing machine handy you could cut a rectangle, fold and put the right sides together, seam one short edge, gather the bottom of the pumpkin, and then finish as above.
Adding Pumpkin Segments
If you’d like a more divided look, you can use a large upholstery needle to run the heavy thread through the pumpkin and up around the outside. I may come back and do another video on that method later. Six to eight segments look good.
Adding a Pumpkin Leaf
I added metal and rhinestone leaves but you could easily cut out leaves from felt or even old book pages.
More DIY Crafts & Thrifting Ideas
I hope you enjoyed this project. These will make great decorations for Thanksgiving, Halloween, or just fall in general.
If you enjoyed this DIY fall craft project, you might also like these:
- How to Make Jello Mold Pumpkins Out of Old Junk
- The Easiest Way to Make Cute 2×4 Pumpkins
- How to Make a Wood Pumpkin Candle Holder for Fall
- 25 Easy Repurposed Junk Pumpkins You Can Make for Halloween & Thanksgiving
- 25 Things You Should Buy at Thrift Stores
Thanks for reading my blog! I’d love to know if you make fabric pumpkins — let me know if you have any other suggestions.
‘Til the next project,

Leave a Reply