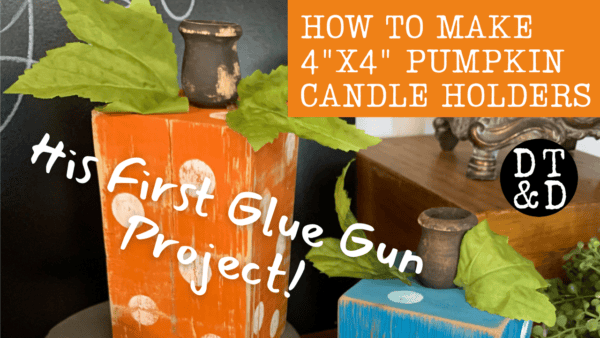
This fun DIY fall craft project is a great idea to use up some of your scrap wood to make a pumpkin candle holder. These will hold a tall candle or taper candle but with a little alteration, you could also create a votive candle holder. SCROLL down to watch the video tutorial!
Back in the spring we built a chicken coop and had quite a few wood scraps left over. I thought that instead of returning the extra building supplies and scrap wood we could just make things with it, sell them, and make back part of the money we just spent on the building project!
(‘Cause if you’ve ever had chickens you know… “free” eggs are some of the most expensive around. We only have 4 chickens yet have spent over $800 on them already this year!)
The corners of this project were 4″ x 4″ wood so we started our fall decor project by turning these pieces of scrap wood into wooden pumpkin candle holders.
Don’t forget to scroll down and watch our video tutorial!

Pin This to Pinterest
This post contains affiliate links. You won’t pay any more when you use these but I will earn a small commission on any purchases you make after clicking on them and I greatly appreciate it. Thanks for helping support my little blog!!!
{{{ Sign up for our email newsletter and get ALL my future projects sent straight to your inbox! }}}
Supplies for Wood Pumpkin Candle Holder
- 4″ x 4″ wood scrap – Use whatever size you have, we cut ours 4″ and 6″ tall.
- wood candle cup
- one screw
- orange paint
- brown paint
- jute
- hot glue gun
- 2 fake leaves – We pulled ours off some sunflowers we bought at Walmart.
- taper candle
{{{See a complete list of what’s in my toolbox and supply cabinet.}}}
How to Make Pumpkin Candle Holder
Step One: Cut
We cut the remaining 4″ x 4″ wood scraps into 4″ and 6″ lengths. There were some odd sizes at the ends of some of the boards. We used those also.
(Sorry, I got too excited to start painting and forgot to take a picture before.)

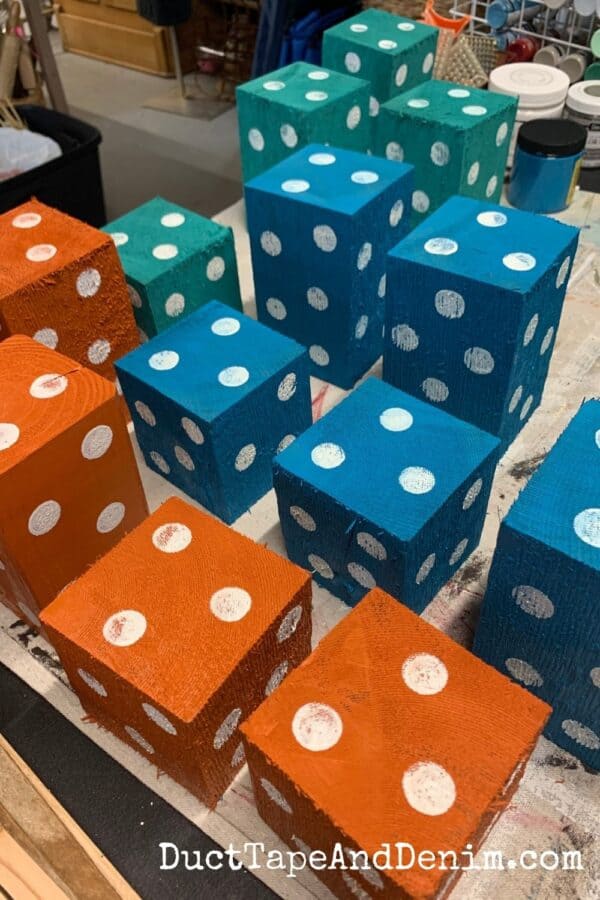
Step Two: Paint
Paint the wood scrap orange and paint the candle cup brown.
If you watch the video below you’ll see that I used some thick textured paint. That’s not necessary, it’s just what I had in the color that I liked. Choose whatever orange color you have or mix your own.
I did NOT sand these before painting. You could if you wanted to but I knew I wanted a rustic look so I left them rough. Then later, when I sand, more of the wood color would come through.
After making the original orange pumpkins I went outside my box and painted some teal and turquoise. Then I added white polka dots with a round foam brush/pouncing sponge brush.
Step Three: Distress
This step is unnecessary, but I wanted a rustic wood candle holder for my fall decor. So Bikeman took the scrap wood pumpkins out to his shop and ran them over his electric sander. When he does a lot of small projects like this, he sets up a jig, flips his sander over, and uses it upside down.

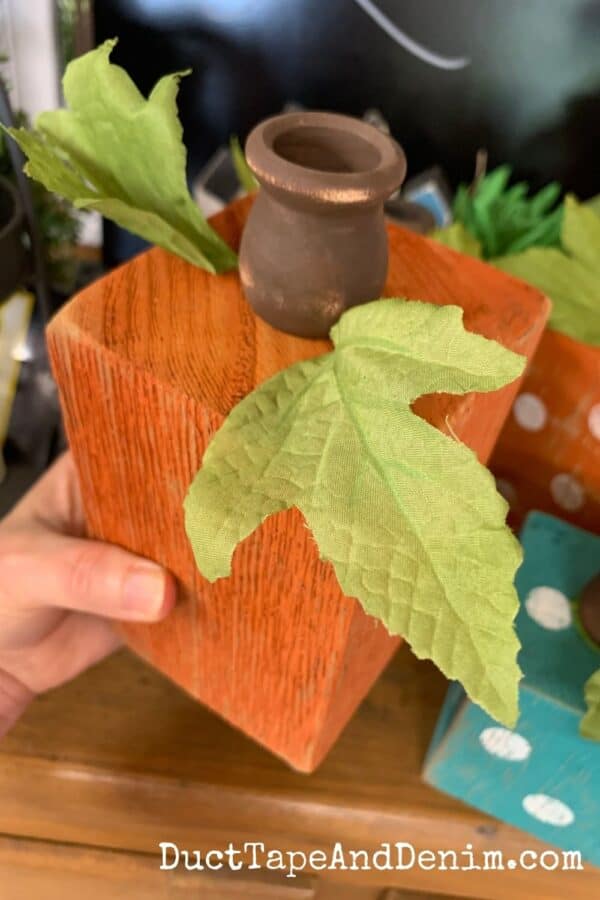
Step Four: Attach Candle Cup
I’ll be honest with you. Before this DIY project, I didn’t even realize that wood candle cups already had holes in the bottom. That made this even easier to put together. Just screw the painted candle cup into the top of the 4″ x 4″ piece. (See video below.)
Step Five: Decorate
Now it’s up to you how you want to decorate your wood pumpkin. We added leaves and jute.
The pumpkin leaves came from fake sunflowers that we found at our local Walmart. I looked online but it doesn’t look like you can order them online.
Optional: If you want a Halloween candle holder, make a Jack O’Lantern face on the back. Then you can just flip it around after Halloween to have a plain fall candle holder.
Pumpkin Candle Holder Video Tutorial
We do lots of live videos over on our Duct Tape and Denim Facebook page… and have even more videos on YouTube. Come join us! Here’s where Bikeman showed us how to make these pumpkin candle holders.
IF that video isn’t working you can always go watch on YouTube!
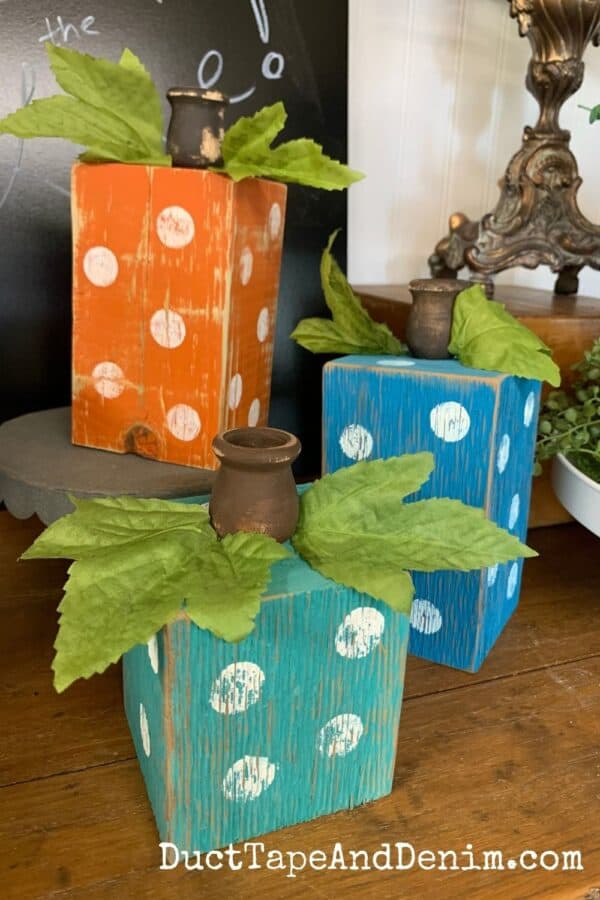
Finished Wooden Pumpkin
Now they’re all done and ready to go to the house… and our booth in Waco! We’ve also sold a few on our monthly Facebook Live sales… make sure you watch those if you want to buy some of our projects.
More DIY Fall Pumpkin Decor & Crafts
If you enjoyed this DIY fall decor project, you might also like these:
- How to Make 2″ x 4″ Pumpkins
- Make Jello Mold Pumpkins!
- DIY Pumpkin Patch Sign
- 21 Easy Pumpkins You Can Make From Junk
- 21 MORE DIY Wooden Pumpkins
Thanks for reading about our DIY fall craft project! Leave a comment and let me know if you have any other ideas to make pumpkins out of scrap lumber.
‘Til the next project,
Ann @ Duct Tape and Denim
Pinterest | Instagram | Facebook | Twitter | Etsy | YouTube
Originally published on Sep 9, 2020.
Ivory says
I love this diy. I would have never thought to do this. Very creative. Thanks for sharing. Loving it!
Rebecca Payne says
So cute and creative.