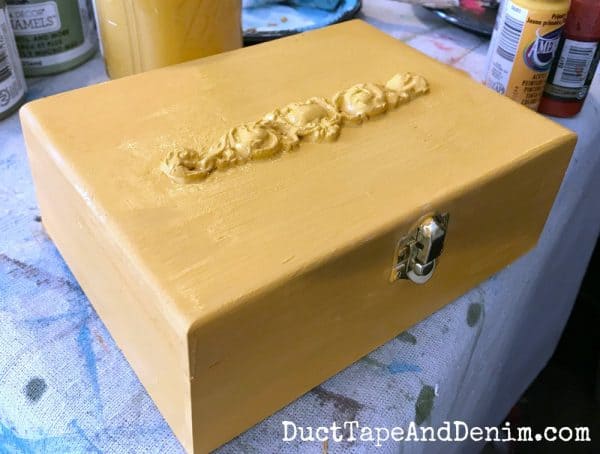
Remember back a few months ago when I shared my turquoise boho paint finish? Well, I wondered if I could do it with other colors, too, so I tried it out on this painted jewelry box project. Unlike most of my jewelry boxes, this one started with a NEW wooden jewelry box. It looked like this before I painted it.
This post contains affiliate links. You won’t pay any more when you use these but I will earn a small commission on any purchases you make after clicking on them and I greatly appreciate it. Thanks for helping support my little blog!!!
Yellow Painted Jewelry Box
- wood box – I used this one.
- Paint colors:
- yellow
- turquoise
- coral
- green
- white
- burnt umber
- metallic gold (for inside)
- glazing medium
- Iron Orchid mold
- paper clay
- wood glue
- felt
- spray adhesive for felt (or just use the wood glue)
- paint brushes
- palette knife
- heat gun
{{{Click here to see a complete list of what’s in my tool box and supply cabinet.}}}
I started by making my paper clay casting. Check out this project for a video if you missed seeing how I made these on Facebook Live.
One of the things I like about this paper clay is that you don’t have to wait for it to dry before glueing it on. That makes it easy to mold to the shape of your piece. But this project was a flat surface so… even easier. I still glued it on before it dried.
After the glue had dried I painted the entire box yellow.
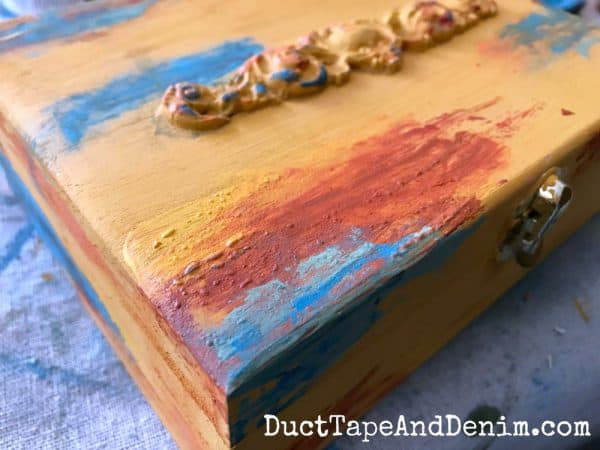
Then I came back and added all the other colors randomly with my palette knife, drying them with my heat gun. This caused the acrylic paints to bubble slightly. Yes, you actually want it to do that for this paint finish.
Check out this project for a step-by-step video of the turquoise version of this paint finish.
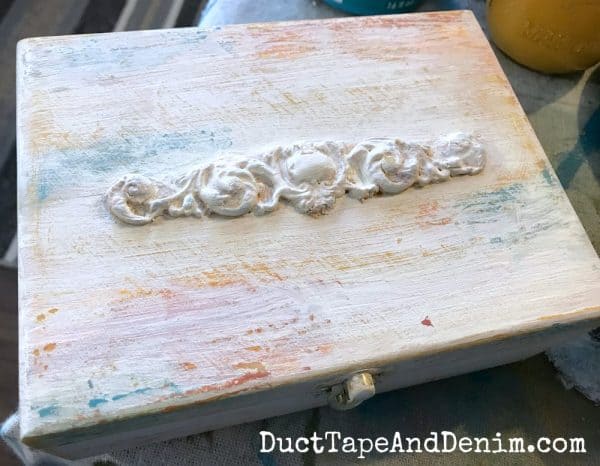
Next came a white wash. I mixed the white paint with water and brushed it on.
Then, when I sanded it, a beautiful texture came through because of the bubbly paint.
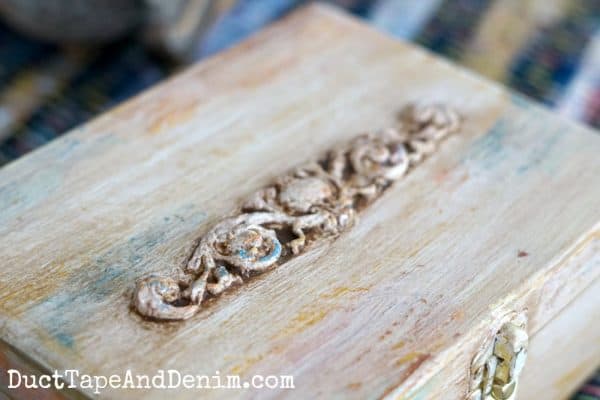
After wiping off the dust from sanding, I mixed a little burnt umber with some glazing medium, brushed it over the whole piece and wiped it off with rags.
Here’s the finished look.
Be careful with the paper casting if it hasn’t completely dried. I’ve knocked off a few pieces when wiping off glaze before. But it’s easy to stick them back on.
Instead of painting the bottom, I covered it with felt. You could also add felt to the inside if you wanted.
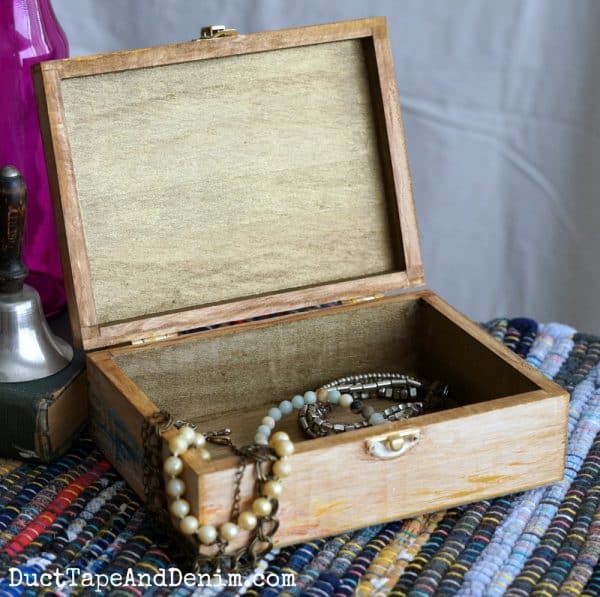
But for this project, I used my new metallic gold paint.
Notice that I didn’t paint the edges of the box but I did use the glaze so the raw wood wouldn’t show.
Now yellow isn’t one of my favorite colors but I loved how this wood box turned out!
Next time I’ll probably add some metallic wax to the latch to make it look older. But this jewelry box sold before I could go back and wax this latch!
If you enjoyed this painted jewelry box project, you might also like these:
- Simple Black Jewelry Box Makeover
- My $5.00 Corner Table Makeover
- Wooden Tea Box Makeover with Iron Orchid Molds
- DIY Tea Towels
- More Iron Orchid Molds
Thanks for reading and I hope this inspired you to go paint a wooden box!
‘Til the next project,
Ann @ Duct Tape and Denim
Pinterest | Instagram | Facebook | Twitter | Etsy | YouTube

We join these blog parties.





Christine says
I love it, it looks like it’s fifty years old and can fit into any decor. You did a great job.
Jenny says
What a pretty box! Thanks for sharing at Merry Monday.
Jann Olson says
I love the vintage feel of this box! The layers of paint are just perfect!! Thanks for sharing with SYC.
hugs,
Jann
Cheryl Atkinson says
love the Boho style and you can’t even tell this was a plain raw wooden box. I’m going to buy some molds because i have been painting boxes and trays. Do you ever add little feet to them? Do you think these would sell on FB market Place?
ducttapeanddenim says
I think they might sell on FB Marketplace. I’ve found that different areas have different styles. Try it and let me know. I haven’t added feet yet, but I do have some in my stash… that’s on my “to do” list. Thanks for reading!