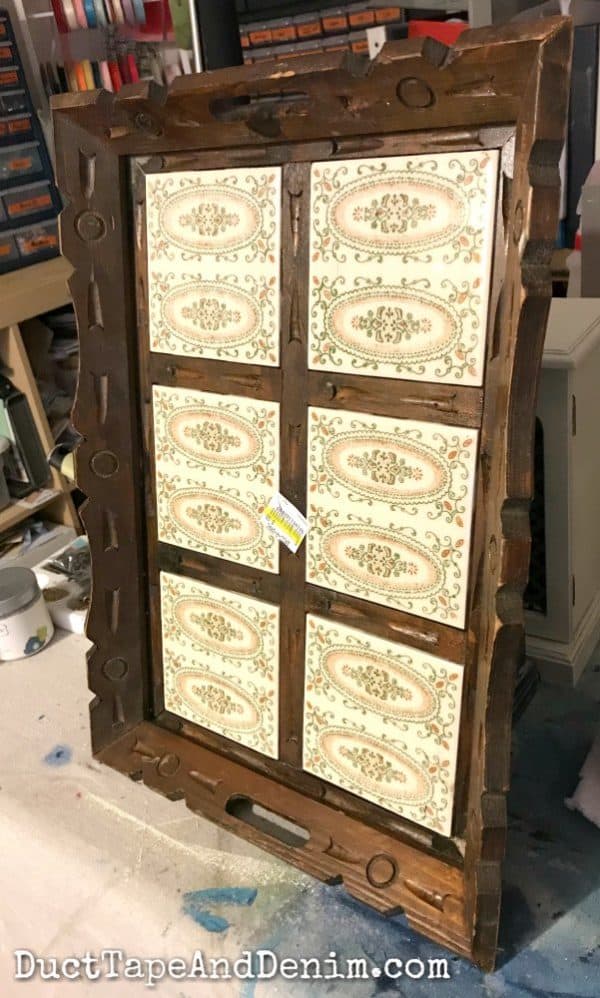
Even just a few months ago I probably would have passed on this ugly wooden tray that I found at my local Salvation Army. It’s so dark and outdated! But one of my Thrift Store Makeover Facebook Group (join us HERE) members recently shared a tile tray project. It was so cute that when I saw this one for $6.99 I had to get it. That’s a little more than I’d usually pay for a thrift store tray but this one is HEAVY and I had a feeling that the green in those tiles would perfectly match the shade of green I used on a recent jewelry cabinet makeover.
Here’s what the wooden tray looked like when I found it.
This post contains affiliate links. You won’t pay any more when you use these but I will earn a small commission on any purchases you make after clicking on them and I greatly appreciate it. Thanks for helping support my little blog!!!
Supplies Needed for Wooden Tray Makeover
- wooden tray from the thrift store
- Americana Decor Chalky Finish Paint in Enchanted
- Chalky Finish Paint in Carbon
- Glazing Medium
- paintbrushes – I used this 1.5″ angled brush.
- sanding sponges
- Americana Decor Light Satin Varnish
How to Paint the Wooden Tray
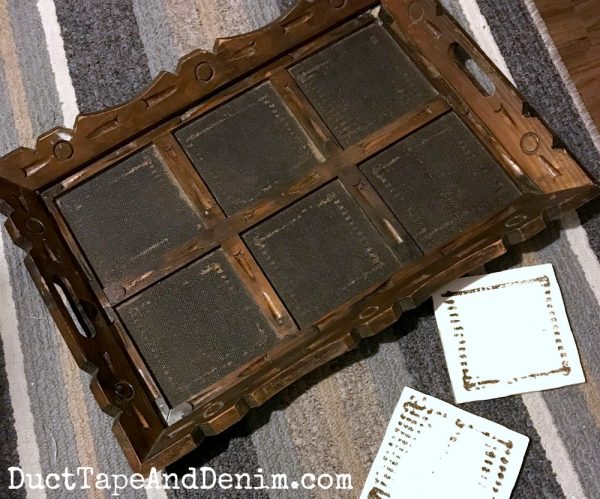
I started by cleaning the tray with a rag and spray cleaner. My plan was to just paint around the tile but when I turned it upside down 2 of the tiles fell out. It just took a little tap on the floor to knock the rest of them out. That actually made painting MUCH easier!
I just gave it one messy coat of green paint. I knew I wanted it to be highly distressed, so why put on more paint if you know you’re gonna take it off again?
Once it was completely dry, I sanded it hard with my sanding block.
Then I mixed some black paint and glazing medium, painted on a coat, and wiped it off with a rag. This left the dark color in the recessed areas and made them stand out.
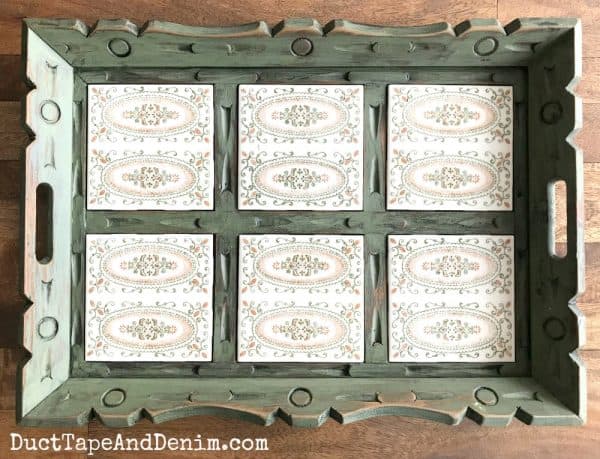
My Finished Tray Makeover
What do you think? That green paint matches pretty good, right?
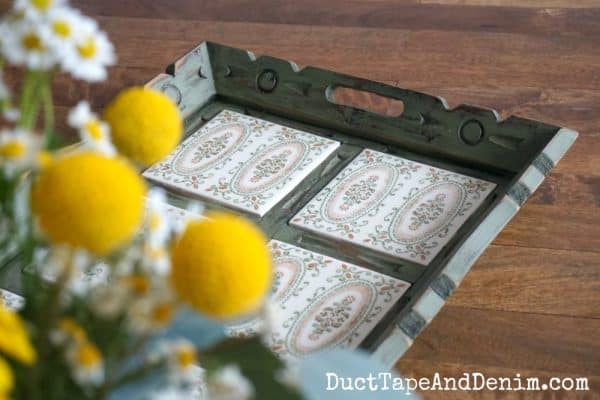
Now the green tile tray is sitting on my kitchen table with a mason jar of flowers that I put together at a baby shower last week. BTW, if you’re planning a shower any time soon, that was a FUN thing to do. Much more fun than playing a game. At least in my opinion. The hostess sat out buckets of flowers and a bunch of jars and old vases. We all got to put together a bouquet to take home.
If you enjoyed this wooden tray makeover, you might also like these:
- DIY Condiment Tray
- Remote Control Tray Makeover
- My Favorite Tray Makeover
- $2 Thrift Store Tray Makeover
- TV Tray Makeover
Have you bought a thrift store wooden tray recently? I’d love to hear about it. Leave a comment and let me know what you did to update it. Thanks for reading! We share with these blog parties.
‘Til the next project,


Gina says
I love the detail on that tray! I’m really glad you left the tiles in it – adds so much character. Beautiful shade of green, too!
Kathy A says
I’m not much of a green fan and I really like your tray! What a lovely match for those tiles. Much more country French/farmhouse/cottagey looking now. I keep finding ideas on your blog of stuff I need to start looking for during summer yard sales!
Julie says
Oooo I love this. I’ll have to keep my eyes open for a tile tray myself. This looks fabulous.
Karen Reyna says
Wow! What a good eye you have! I wouldn’t have had that vision. It turned out very well!
Karen
Debrashoppeno5 says
What a great makeover. It is so updated with the new paint job.
Sheri says
Love this and will feature it this week. Pinned. Thanks for sharing at the To Grandma’s House We Go Link party!
Jann Olson says
The green color is perfect. I love it!! Thanks for sharing with SYC.
hugs,
Jann
Linda at Mixed Kreations says
Oh this turned out so pretty! Love the color and the detail work.
That’s sounds like a fun idea for a shower. I would much more enjoy making something then playing games.
Christina Woodcock says
Oh my goodness so much better! The green is so pretty with the tiles! ❤️❤️
ducttapeanddenim says
Thanks, Christina!
Billie says
What is glazing medium
ducttapeanddenim says
It’s something you add to the paint that keeps the paint from drying so fast so you can wipe it back. It only stays in the crevices and brings out the details in the piece. Here’s an affiliate link to the brand I use: https://amzn.to/2OfyVd7
Anita holland says
You did a fabulous job.