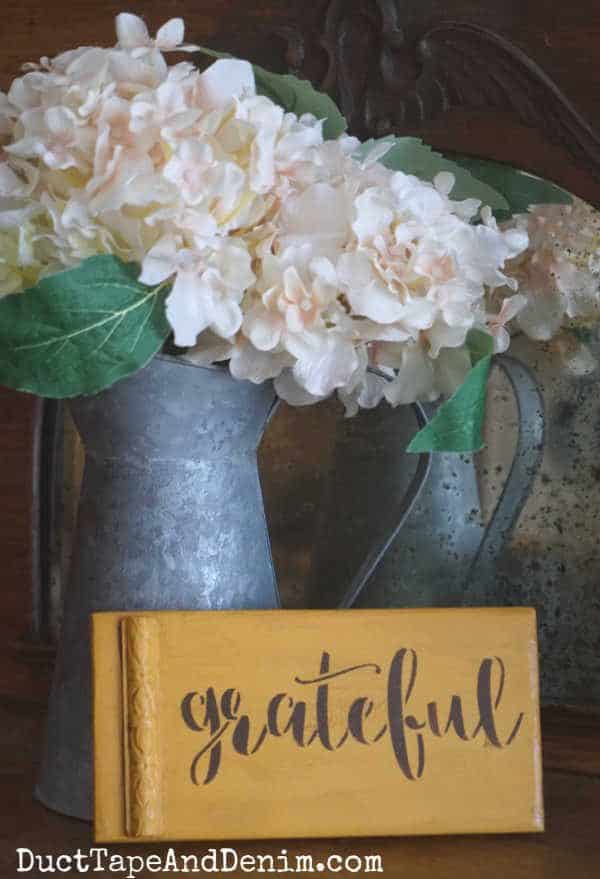
Y’all know I LOVE decorating for fall. And that I get a little upset when Thanksgiving is forgotten between Halloween and Christmas. I try to switch out my decorating a little after Halloween so we have something special for the month of November. These little grateful and thankful signs are what I made this year. They’re quick and easy. Perfect to tuck in a vignette on the mantel or bookshelf.
You could also make them in other colors and leave them out all year long to remind yourself and your family to be grateful and thankful!

This post contains affiliate links. You won’t pay any more when you use these but I will earn a small commission on any purchases you make after clicking on them and I greatly appreciate it. Thanks for helping support my little blog!!!
Supplies Needed for Grateful and Thankful Signs
Here’s what I used to make my simple grateful and thankful signs.
- scraps of 1″ x 4″ boards
- grateful stencil
- thankful stencil
- stencil brush
- scraps of wood trim – I found mine at Hobby Lobby
 .
. - wood glue
- paintbrush
- white paint
- yellow paint
- crackle medium
- brown paint – I used Dixie Belle in Chocolate!
- glazing medium
- hammer & sawtooth hanger (if desired)
{{{See a complete list of what’s in my tool box and supply cabinet.}}}
Bikeman cut and sanded my wood signs for me. Each sign is about 7″ long.
I found a fun package full of these thin decorative wood trims at Hobby Lobby, cut them to fit, and glued them on with wood glue. The package included about 5 different patterns. My mind was going wild with so many ideas of how to use these!
When the wood glue was dry I painted each sign, either white or this golden yellow color.
The signs seemed a little dull after that, so I kept adding details.
First, I brushed on a thin layer of crackle medium.
When that was completely dry, I mixed a little of the Dixie Belle paint that I won with some glazing medium, brushed it on, and immediately wiped it off with an old washcloth.

The brown glaze made the detail of the decorative wood trim and the tiny cracks really stand out. Well… the crackle medium was very subtle. You can’t even see it in most places. But that was the effect I wanted for these little signs.
This size is perfect to tuck into a bookshelf, mantel, wreath, or other fall or Thanksgiving vignette.
If you enjoyed these grateful and thankful signs, you might also like these:
- 21 Easy Fall Signs to Make Yourself
- Upcycled “Be Grateful” Signs from Scrap Wood
- 5 Thanksgiving Tablecloth Ideas
- 50 Cozy Decorating Ideas for Thanksgiving
- Thankful Grateful Blessed Sign with Leather and Pallet Wood
Thanks for reading about my project… I’ll try to remember to take “before” and “during” photos next time!
‘Til the next project,
Ann @ Duct Tape and Denim
Pinterest | Instagram | Facebook | Twitter | Etsy | YouTube

[…] How to Stencil Grateful and Thankful Signs […]