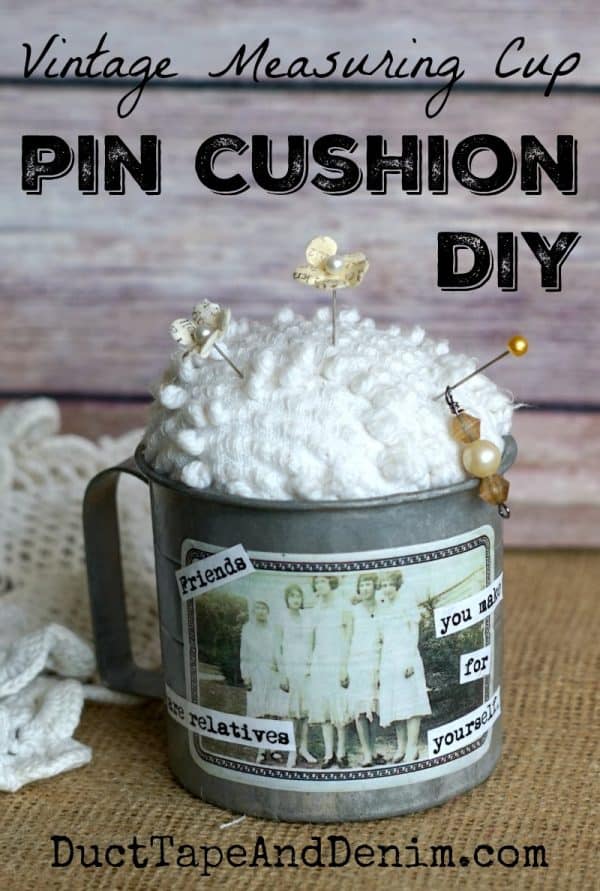
My grandmother, who loved to sew, inspired this month’s upcycled project. I took an old measuring cup, a stained chenille bedspread, and my grandmother’s photo and combined them into a DIY pin cushion in honor of Mother’s Day. If you’ve ever wondered how to make a pin cushion… keep reading.

This post contains affiliate links. You won’t pay any more when you use these but I will earn a small commission on any purchases you make after clicking on them and I greatly appreciate it. Thanks for helping support my little blog!!!
{{{ Sign up to receive all my thrift store makeovers in your inbox! }}}
The Rules:
- Upcycle an item(s) from a thrift store, resale store, or garage sale into a new piece of decor.
- There’s no monthly theme.
- There’s no budget to stick to.
Meet the Hosts
Amanda | The Kolb Corner Erlene | My Pinterventures Kim | Made in a Day
Dru | Polka Dot Poplars Maureen | Red Cottage Chronicles Pili | Sweet Things
Debra | Shoppe No. 5 Marie | DIY Adulation Havalah | Sisters, What
Chelsea | Making Manzanita Ann | Duct Tape and Denim
Molly | Just a Little Creativity Ashley | 3 Little Greenwoods Kimm | Reinvented
Kim | Farmhouse Made Victoria | Dazzle While Frazzled Sara | Twelve on Main
Chelc | Inside the Fox Den Michelle | Our Crafty Mom Jeannee | Shepherds and Chadonnay
Jennifer and Vicki | 2 Bees in a Pod Lora | Craftivity Designs
Ali | Home Crafts By Ali Denise | My Thrifty House Kathleen | Our Hopeful Home
Toni | Small Home Soul Jeanie | Create & Babble Michelle | Michelle James Designs
Make sure you follow our board on Pinterest for more upcycled decor inspiration!
How to Make a DIY Pin Cushion
- vintage tin measuring cup (or any other small container)
- fabric scrap (I used a piece of an old chenille bedspread.)
- stuffing
- needle & thread
- hot glue gun
- image & text
- decoupage medium
- paintbrush
- scissors
- copy paper
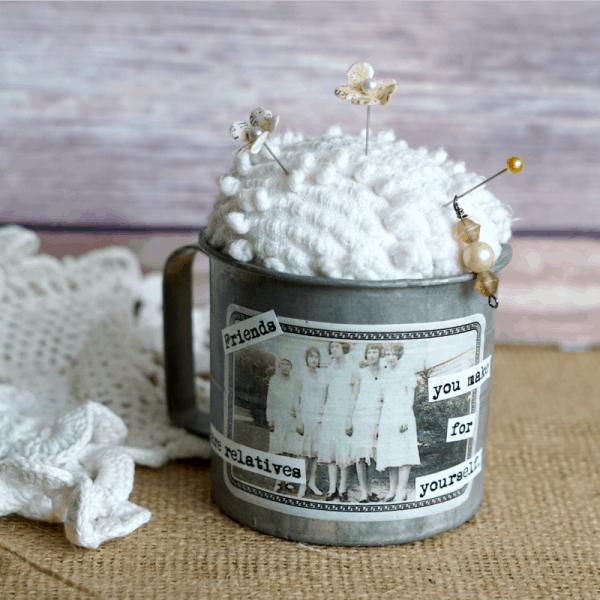
Scan and print a copy of a vintage photo or other image. Type out quote and print it. Cut out both. Decoupage onto old measuring cup.
Trace a 7″-8″ circle onto the fabric of your choice. I used a piece of an old chenille bedspread that had a rip and a stain. A dessert plate makes a good pattern.
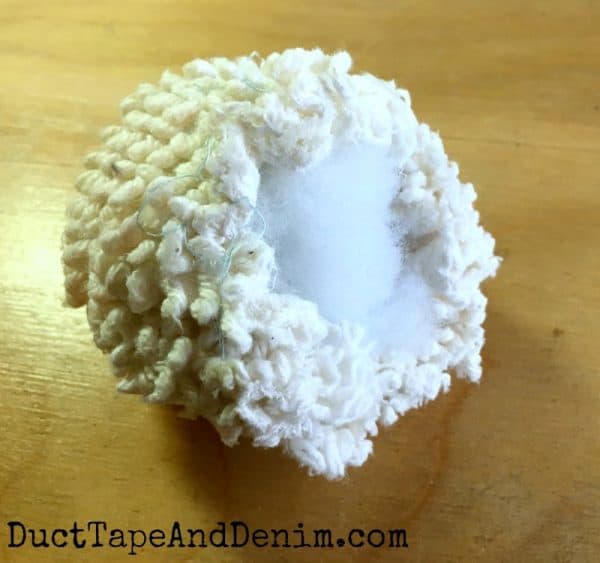
Run a wide stitch about 1/2″ from the edge with the needle and thread. Leave long loose strings on both ends. Place a handful of stuffing in the center of the circle and pull the ends of the strings to tighten. Add or remove stuffing to make it fit your container. Tie strings in a knot and cut off the ends.
Fit the fabric down into the container then use hot glue around the edge to hold it in place.
I added a few pins I decorated with paper flowers and beads from my grandmother’s stash of broken jewelry.
Now I have a reminder of my grandmother whenever I sew… I just need to sew a little more often!
If you enjoyed reading how to make a DIY pin cushion, you might also like these projects:
- Mason Jar Sewing Kit
- My “New” Vintage Singer Sewing Machine
- Hidden Pincushion in a Teapot
- How to Alter a Man’s Shirt to Fit a Woman
- Pincushion Stuffing Options
Now see what other upcycled projects my friends are making:
I’d love to hear if you’ve ever made a pin cushion. Leave a comment and let me know what you made it out of. Thanks for reading!
‘Til the next project,
Ann @ Duct Tape and Denim
Pinterest | Instagram | Facebook | Twitter | Etsy | YouTube
Featured on Craftastic Monday


Charlotte says
Cool idea. I like how it turned out. Might make a nice gift for someone too. It looks vintage-y.. Thanks for sharing at Family Joy Blog linkup.
Marie says
This turned out fantastic! I love the fabric your used. It fits the vintage design perfectly. Thanks for sharing your tutorial with us at Merry Monday this week!
Beverly says
Love this pin cushion. My Dad had a cup similar to that one. He said drinks were just colder in tin. Thanks for sharing your wonderful posts at Over The Moon Party.
See you next week.
Hugs,
Bev
Victoria @DazzleWhileFrazzled says
Very cool! I think I need to upgrade my iconic tomato pin cushion. Visiting from Craft Schooling Sunday party.
Helen at the Pleasures of the NW says
What a fun idea – pinned! I’d be honored if you shared this at the Pleasures of the NW’s DIY party!
http://www.pleasuresofthenw.com/crafty-link-58/
Pat says
I love the pin cushion and want to make it, but I,m having trouble getting the great vintage picture like you have used. I have found lots of them I like but can not get them to print. Where did you find the one you used? I would love to use it. Thanks, Pat
Florence says
I wouldn’t have bought the cup. (I have one just like it, so I wouldn’t have needed to buy it.) But I love how you’ve refurbished it! Makes such a cute pincushion!
Stephanie S. says
Yes I would have bought it. Not really sure what I would do with it.
Paint it and distressed. Make into a vase with flowers.
pat says
So cute! I have a couple of vintage items I’ve upcycled for my sewing/craft room. Don’t know how to attach a pic of it to this comment to be able to show you.
Kathy A says
What a great way to keep relatives close. Much cuter than the snapshot I have of my long-gone grandmother on my fridge door with a dusty magnet!