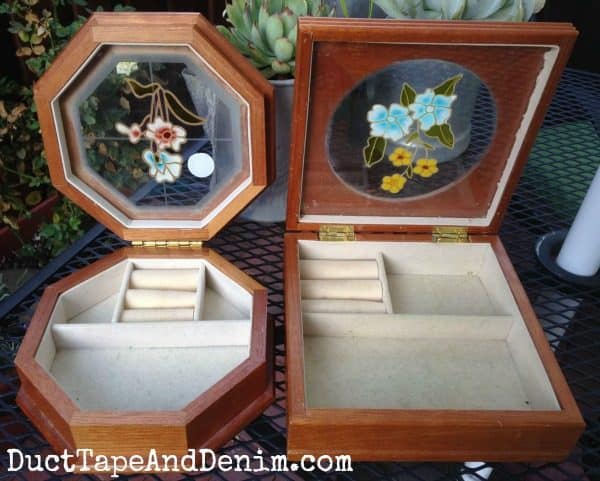
I’ve been getting braver the last few years and buying jewelry boxes and cabinets that I never would have before. Here’s what today’s project looked like BEFORE the makeover! How do you like those fake stained glass lids? I planned to take them out and replace them but this jewelry box makeover took an unexpected turn and I had to come up with something new. But that’s how I learn! And I end up doing something different to show you.
This post contains affiliate links. You won’t pay any more when you use these but I will earn a small commission on any purchases you make after clicking on them and I greatly appreciate it. Thanks for helping support my little blog!!!
Jewelry Box Makeover
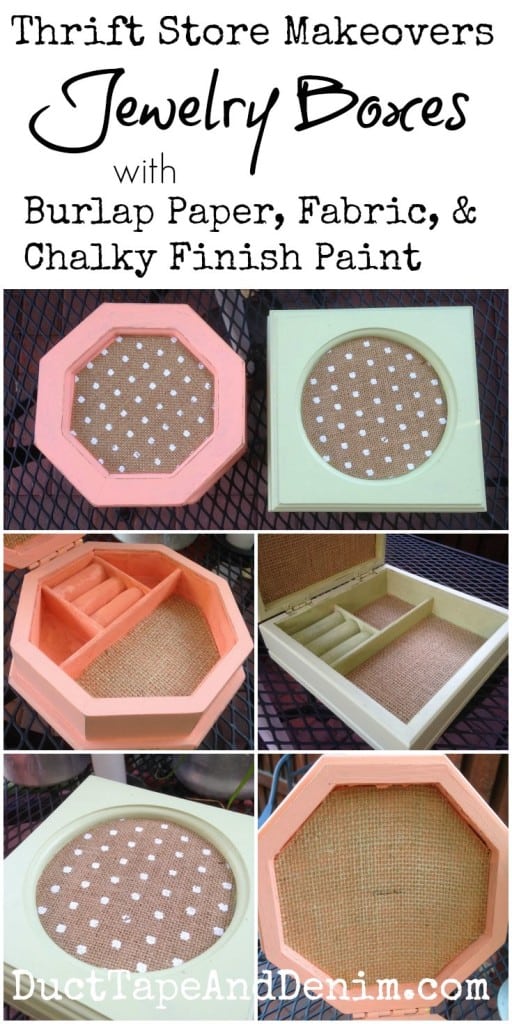
Remember a couple of years ago when I wrote a guest post for Tater Tots and Jello about my 2015 gratitude journal? I received a box full of Jen Hadfield’s Home + Made collection and had LOTS of supplies leftover. I completely fell in love with the polka dot burlap paper and decided to use it in this thrift store jewelry box makeover.
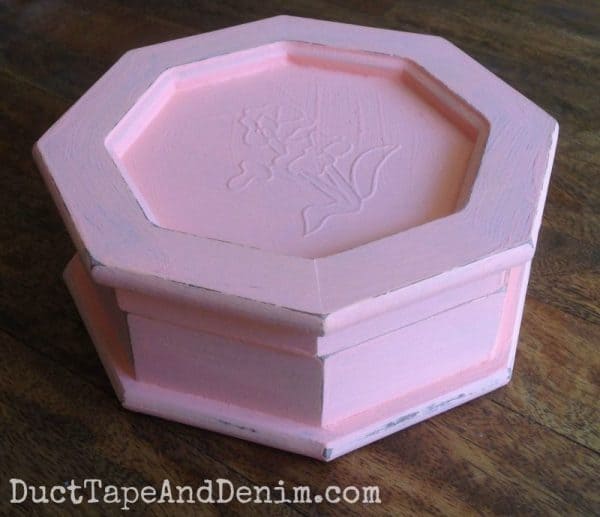
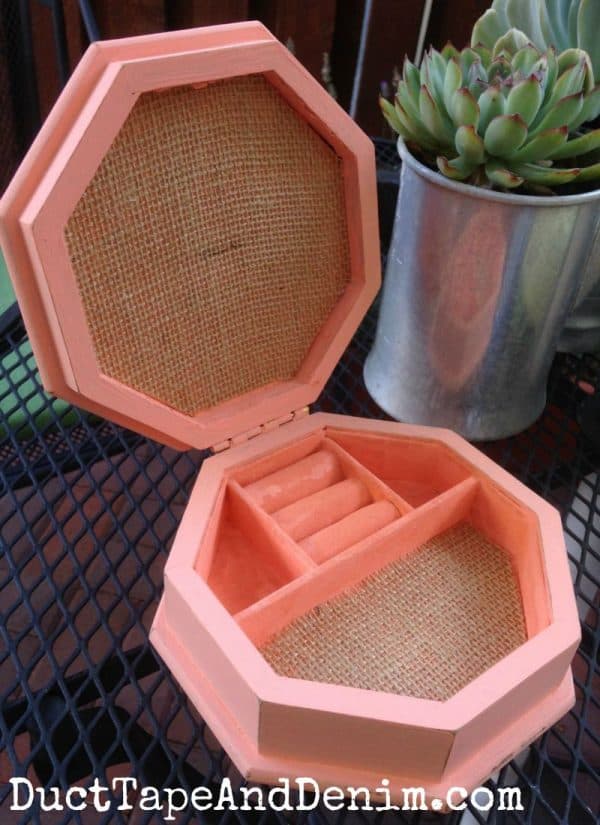
Here’s one of the boxes after I painted it with Americana Decor Chalky Finish Paint in Smitten (which I also received from DecoArt for another blog post).
Now if you watched the video you’ll notice that I said I was going to take the glass out of the tops of these. Well… that didn’t exactly work. There was an extra little strip of fabric-covered wood holding them in so I would have had to break the glass to get it out. I didn’t want to take my life into my own hands so I tried painting it.
That didn’t make me happy either. As you can see in the photo above there was some texture on the faux stained glass that was still very prominent. So I pulled out that super cute polka dot burlap paper.
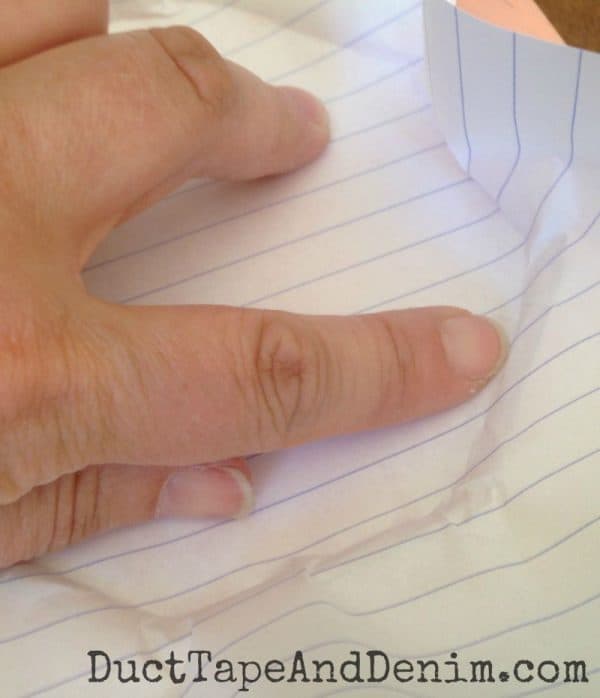
To make a pattern I just pushed a plain sheet of paper up against the sides of the top, cut it out, and used it as a pattern on the burlap paper.
After covering the top glass I still needed to deal with the insides.
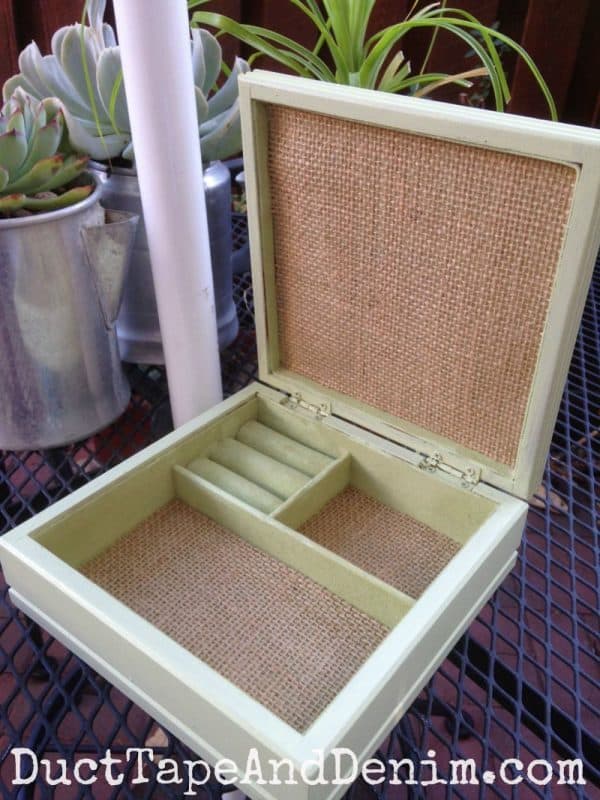
The insides were pretty nasty so I decided to keep the paint going there, too. It covers fabric just fine. I didn’t have enough paper so I just used regular burlap fabric to cover flat sections inside.
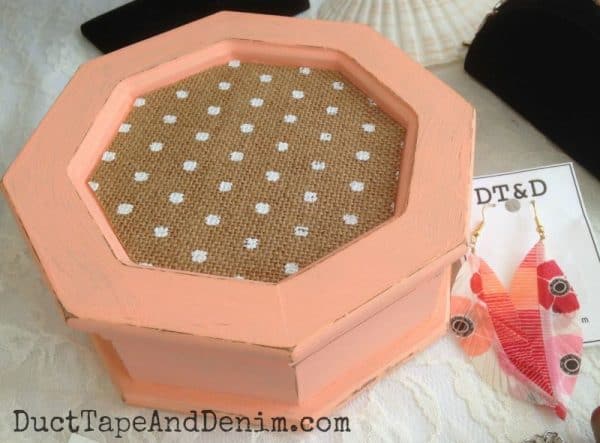
And here’s the completed jewelry box at Treasure Island Flea with my washi tape earrings!
Leave a comment and let me know which color you like better!
If it’s Smitten you’ll like these projects, too!
‘Til the next project,
Ann @ Duct Tape and Denim
Pinterest | Instagram | Facebook | Twitter | Etsy | YouTube
Originally published August 31, 2015.
Shared in these link parties. Featured in Craft Schooling Sunday!



Jeanette says
Love the burlap on the inside too! Hum!!!!
Janice says
Great project. I love both colors!!
Cathey says
Such a sweet idea!!! I think I might hang non-post earrings inside the box, on the inside of the burlap top. Love your ideas!
ducttapeanddenim says
Great idea! Thanks!
Tania says
Those are adorable! Pinned!!
Tania
Brandyn says
So cute! I’ve been doing a lot of projects like this lately, now I have even more inspiration!
#wineddown
Natasha says
Super cute makeover! I love burlap’s versatility.
Jodi says
Hi:) Do you have any jewelry boxes with secret/hidden drawers/spaces/compartments?? For sale?? Ty 🙂
ducttapeanddenim says
No, I don’t have any with secret compartments. And I don’t have any for sale right now. Once we finish building our new studio we’ll get back to painting!
awesome. S. says
I have to say that this is my favorite one you have done.
So cute and burlap awsome.
ducttapeanddenim says
Thanks! and thanks for letting me know.
Debbie says
Great idea! I have a couple of old jewelry boxes I can’t wait to try on. Thank you. I enjoy all your ideas. 😊
Judy Clifton says
They are both very pretty, but I really like the peach colored one!