I’ve been crafting all my life but I still enjoy trying new techniques. This year I learned how to use Chalk Couture chalk paste and transfers. So today I’ll show you how to use Chalk Couture. You won’t believe how easy it is! This craft is especially for those of you who want to make signs but don’t want to hand letter.
If you’re a visual learner, scroll down to my video to see how I made my Today is a Good Day for a Good Day sign.
This post contains affiliate links. You won’t pay any more when you use these but I will earn a small commission on any purchases you make after clicking on them and I greatly appreciate it. Thanks for helping support my little blog!!!
Sign up for our Chalk Couture email group and have all our future projects sent straight to your inbox.
What is Chalk Couture?
Chalk Couture is a new craft company that’s only been around a couple of years. It’s a super simple and quick process that creates very professional results. Even if you think you’re not creative, you can make signs and other home decor with Chalk Couture.
You’ll only need 4 things to create with Chalk Couture:
- a surface – Chalk Couture sells a wide variety of chalkboards, some with frames and some without. I’ve also used my own chalkboards, plain painted boards, and thrift store finds.
- a transfer – These are NOT stencils. These are reuseable, flexible, thin, but very strong and very detailed designs that stick to your surface. I’ve been told that it’s important to carefully clean them and they can be reused 12 times. I haven’t used any of mine that many times yet. I’ll come back and update this when mine finally wear out.
- chalk paste – Chalkology paste comes in a wide variety of colors and new colors come out seasonally. I recommend white + your favorite color if you’re just starting. Or red, white, and green if you’re making Christmas signs.
- a squeegee – Squeegees come in several sizes. The large one with the handle is AMAZING but you don’t really need it to start with.
How to Use Chalk Couture
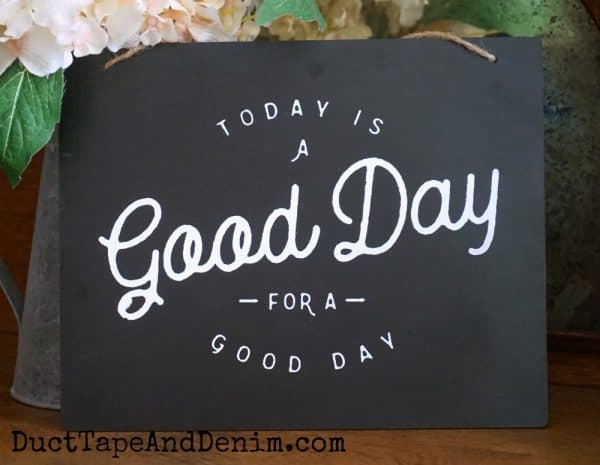
Here are the specific supplies that I used for this simple project. It’s a great easy first project to try.
- blank chalkboard – Also looks great in this 9″ x 12″ frame.
- Today is a Good Day Chalk Couture transfer
- Chalkology Paste, bright white
- small squeegee
- old cake pan (optional)
- alcohol wipes (for clean up)
Step One: Get your supplies together.
Since the chalk paste shouldn’t dry on the transfer, it’s important to have everything ready before you start using the it.
Step Two: Prepare the transfer.
Peel the transfer off the backing. I like to write the name of the transfer on the backing before removing it so I can match them up later.
“Fuzz” the transfer by sticking it onto a fuzzy towel. This prevents the transfer from sticking TOO well to your surface.
Place the transfer on your surface and smooth it out.
Step Three: Add Chalkology Paste
Use a squeegee to dip a little chalk paste out and smooth it over the transfer. Scrape off the excess and return it to the jar. These jars will last a LONG time! If they start to dry out you can add a few drops of water.
Gently remove the transfer before the chalk paste dries and clean.
Step Four: Clean the transfer and squeegee
As you can see in the video below, I like to work with an old cake pan nearby so I can immediately move the transfer to the water. I sometimes leave mine there while I go on to another transfer. Then rinse the transfer and wipe with an alcohol wipe. This removes all traces of the chalk paste and helps the adhesive last longer.
Set the transfer down to dry, sticky side up. Once it’s dry, return to the backing and store.
Step Five: Finish
This step is optional. But if you want to keep your sign, craft, or home decor item and think it might be touched often or get wet, you can paint or spray a light coat of varnish over it.
If you don’t do this step you can come back later, erase the sign, and make a new sign with a different transfer. This makes it an economical holiday sign option. You can purchase a more expensive chalkboard frame and use it for EVERY holiday through the year.
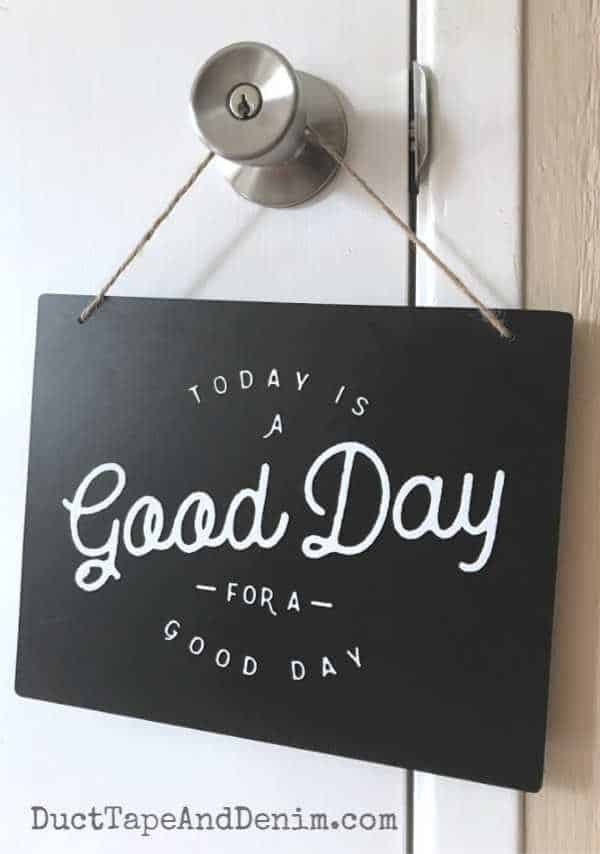
Now for those of you who like to SEE how to use Chalk Couture, take a look at this video. (There will be a short commercial at the beginning… helps support this blog. Thanks for understanding!)
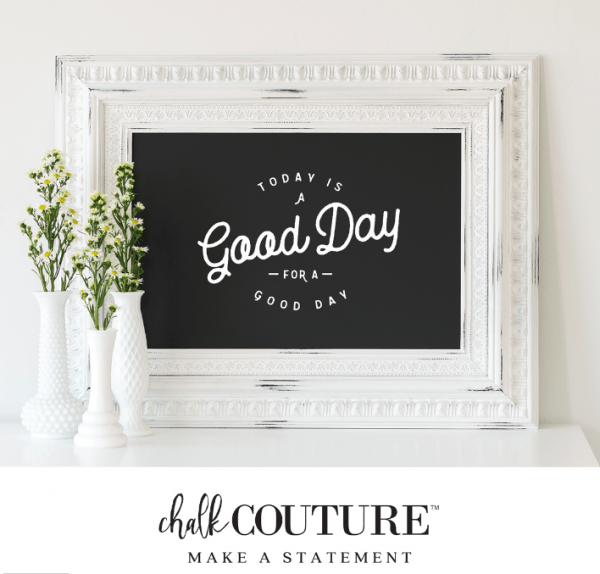
Here’s how it looks in a frame. Even prettier!
More Cute DIY Sign Ideas
If you enjoyed reading about how to use Chalk Couture, you might also like these:
- My Easy Signs, Crafts, & DIY Home Decor with Chalk Couture Facebook Page
- How to Use Chalk Couture Ink on Dishes (coming soon)
- How to Use Chalk Couture Ink on Fabric (coming soon)
- Where to Get Supplies for All These Projects
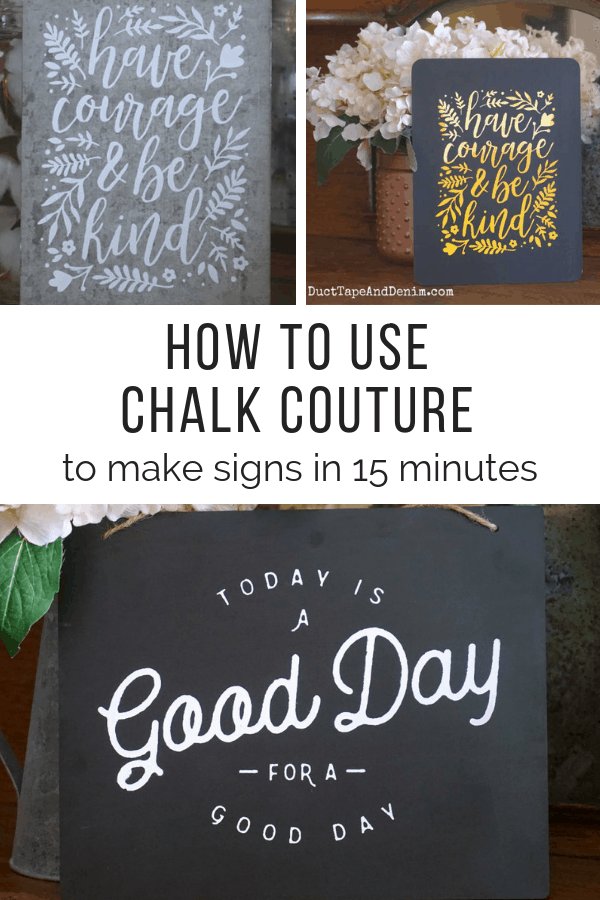
- How to Make a Have Courage and Be Kind Sign
Leave a comment and let me know if you have any questions that didn’t get answered in this article. Thanks for reading! We share at these blog parties.
‘Til the next project,
Ann @ Duct Tape and Denim
Pinterest | Instagram | Facebook | Twitter | Etsy | YouTube

Sheri says
Love this! I pinned this! Thanks for sharing at the To Grandma’s House We Go DIY, Crafts, Recipes and More link party. Hope to see you again next week.