I love vintage soda crates or any other vintage crate for that matter. I use them as storage, to transport items to the shop, and then for display. Good ones are sometimes hard to find and I needed two exactly the same size and very sturdy to stack so I did a little research and found how to make new crates look old.

This post contains affiliate links. You won’t pay any more when you use these but I will earn a small commission on any purchases you make after clicking on them and I greatly appreciate it. Thanks for helping support my little blog!!!
Supplies to Make New Crates Look Old
- wood crates
- Minwax Express Color in Walnut
- rubber gloves
- plastic cups
- paintbrush
- rags
Why I Want My New Crates to Look Old
Our local craft shop, Beverly’s, has had a huge display of new wood crates at the front of the store for a few weeks now. They’re on sale for $9.99 so I got a couple. Amazon carries lots of crates in different sizes to fit your project.) In my mind I could see one of these at each end of my new 6′ Wal-Mart table I bought for flea markets. But not the way they look now. If you saw my set up at Roadside Relics Vintage Market you’d know that these wouldn’t blend in in their original condition.
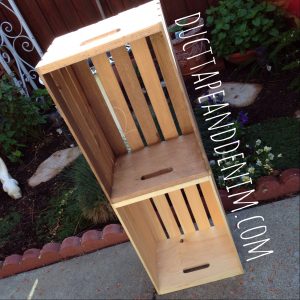
Another problem I’m trying to solve is how to get as much in a small space as possible. At Roadside Relics I had a 10′ x 10′ space. But this weekend, at Treasure Island Flea I’ll only have an 8′ x 5′ space. Then at Roses and Rust my space will be 10′ x 5′. But look at all the space I have if I go straight UP! (So I also stained a board to use as a shelf in between these two crates. But I didn’t take any photos of that.)
How to Make New Crates Look Old
 The photo above shows what supplies I used. I’m sure you could use just about whatever you have on hand. The stain is Minwax Express Color in Walnut
![]() . I’ve used that on a lot of my jewelry cabinets over the paint. The rubber gloves are essential… ask me how I know. I have a tendency to stain my fingers, arms, feet, clothes, etc. (Because of that, I also wore some old work clothes.)
. I’ve used that on a lot of my jewelry cabinets over the paint. The rubber gloves are essential… ask me how I know. I have a tendency to stain my fingers, arms, feet, clothes, etc. (Because of that, I also wore some old work clothes.)
First, I tried just brushing it on but it was too dark. Since it’s water-based it mixes very easily with water. I squirted some in that plastic cup, filled about halfway with water, brushed it on, then rubbed it off with an old t-shirt. (No, it wasn’t one of Bikeman’s. But he does have some old t-shirts I could probably pull out for my next project!)
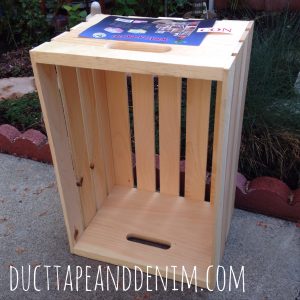
 Here’s a comparison. One finished and one not. See the difference?
This product is a stain and a finish so that’s all I had to do! Easy as pie… mmmm… pie…
Sorry, I shouldn’t write a blog post right before lunch. Back to the tutorial. I knocked it around a little just to scuff it up so it wouldn’t look so new. My plan was to stamp some text on the ends too but I ran out of time. Then I realized that, at least at the show this weekend, probably no one will see the ends. That’ll be a project for another time. [HERE’s another crate display where I stamped text onto it.]
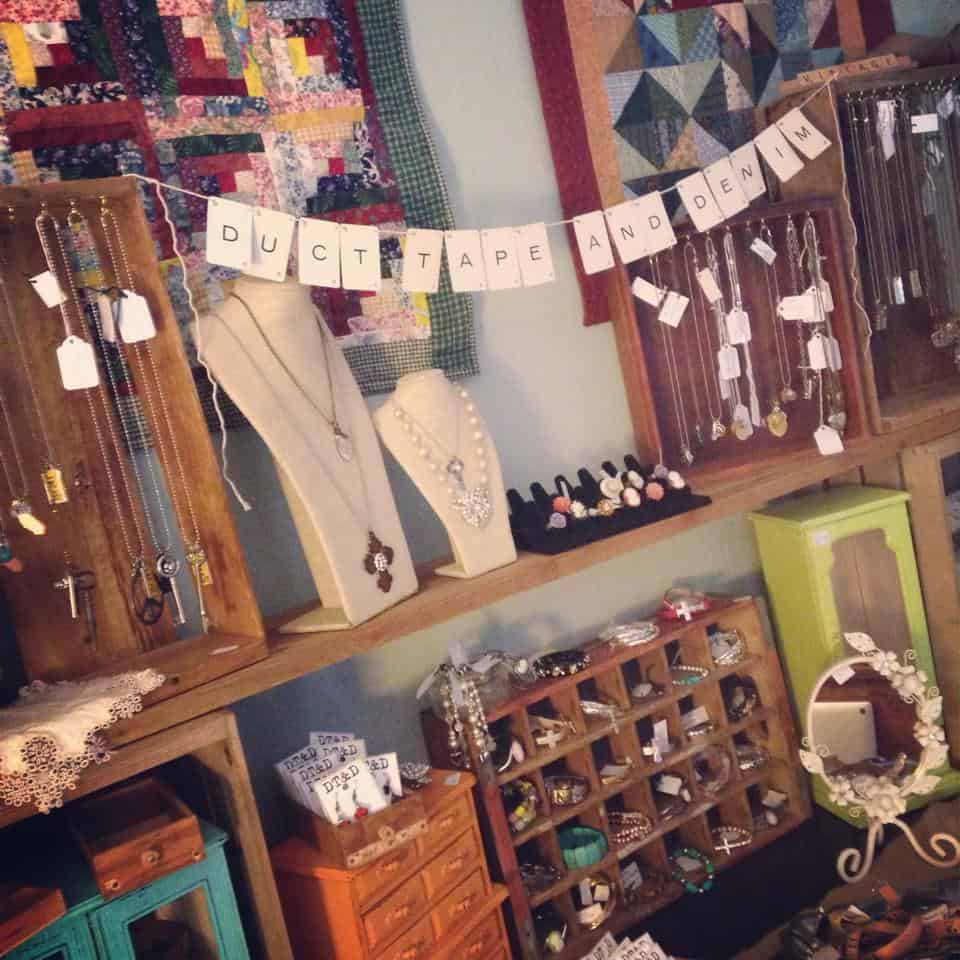
My Finished “Aged” Crates
I’ve been practicing my set up at home, too, before going to shows. The latest set up is below. You can see the two new crates on the outer bottom and the true vintage ones on top. It was a rainy week so not much light for photos but I should have some better ones at the flea this weekend.
After the practice set up, I decided that the price tags are really bugging me so I’ll have new price tags by Saturday, too!
More Ideas to Display Jewelry
If you enjoyed reading how to make new wood look old, here are a few more ideas to display jewelry:
- Frames to DIY Jewelry Display
- Handmade Earring Display DIY
- Vintage Crate Jewelry Display
- Ten Tips for Jewelry Cabinet Makeovers
- Vintage Crates
Leave a comment and let me know your jewelry display ideas!
‘Til the next project,
Ann @ Duct Tape and Denim

Featured on: Tuesday Pin-spiration Link Party {35}
Jess says
Such a neat idea! Love this!
Thanks for joining the Link Up this week!
Dee says
I love your technique! I usually get crates from a local store and age them with paint. Yours look great! Thanks for sharing. 🙂
Lou Lou Girls says
Hello cute lady! This looks so amazing.Great post. Pinned and tweeted. We appreciate you taking the time to stop by and party with us. It wouldn’t be a party without you! I hope to see you tonight at 7 pm. Lou Lou Girls
Emily @ Two Purple Couches says
Love how these turned out! Thanks for sharing at our Creative Spark party! Hope you’ll join us again this week 🙂
Carole Kasson says
If the quilts are just used for backdrops you could instead make a fabric piece and sew on hooks and eyes. I am making one for my jewelry-the eyes will be used to slip the earwires into to hang my earrings and the hooks will be used to hang my necklaces. You can get all sizes of hooks and eyes and it is an inexpensive way to hang your jewelry on the wall. It is purposeful and economical and it decorates your room and for you it would make a nice display for selling, you can pair the necklace with its matching earrings for example or put all the earrings on the upper section and hang the necklaces on the bottom.
ducttapeanddenim says
Great idea, Carole. Thanks!
Audra @ Renewed Projects says
Great idea! They look great as a necklace display. Your whole set up is beautiful and would entice me to step in and shop.