Here’s a throwback DIY tutorial for! This has been my most popular project over the past 5 years… chicken wire frames! I first published this on August 4, 2014, and people have been reading and making these ever since. Actually, these are so easy I didn’t even take step-by-step photos. First, let’s take a look at the before photos.

I just don’t understand why Bikeman didn’t want this beautiful vintage “painting” hanging in our living room.
There may be affiliate links in this post. You won’t be charged anything for using these but I’ll get a small percentage of any purchase you make which helps support my little blog. And I greatly appreciate it! Thanks!!!
Frames are easy to find and usually pretty inexpensive. I got all the ones shown here for $5 or less. Even the giant one with the beautiful “painting”. If there is a canvas or illustration on a board you’ll need to pull out the fasteners on the back. Sometimes these are just staples. Use some pliers and just make sure you don’t drop any on the ground where you could step on them later. (Ask me how I know that…)
Supplies Needed for DIY Chicken Wire Frames
- frame
- chicken wire
- paint & brush
- sealer
- staples
Tools Needed:
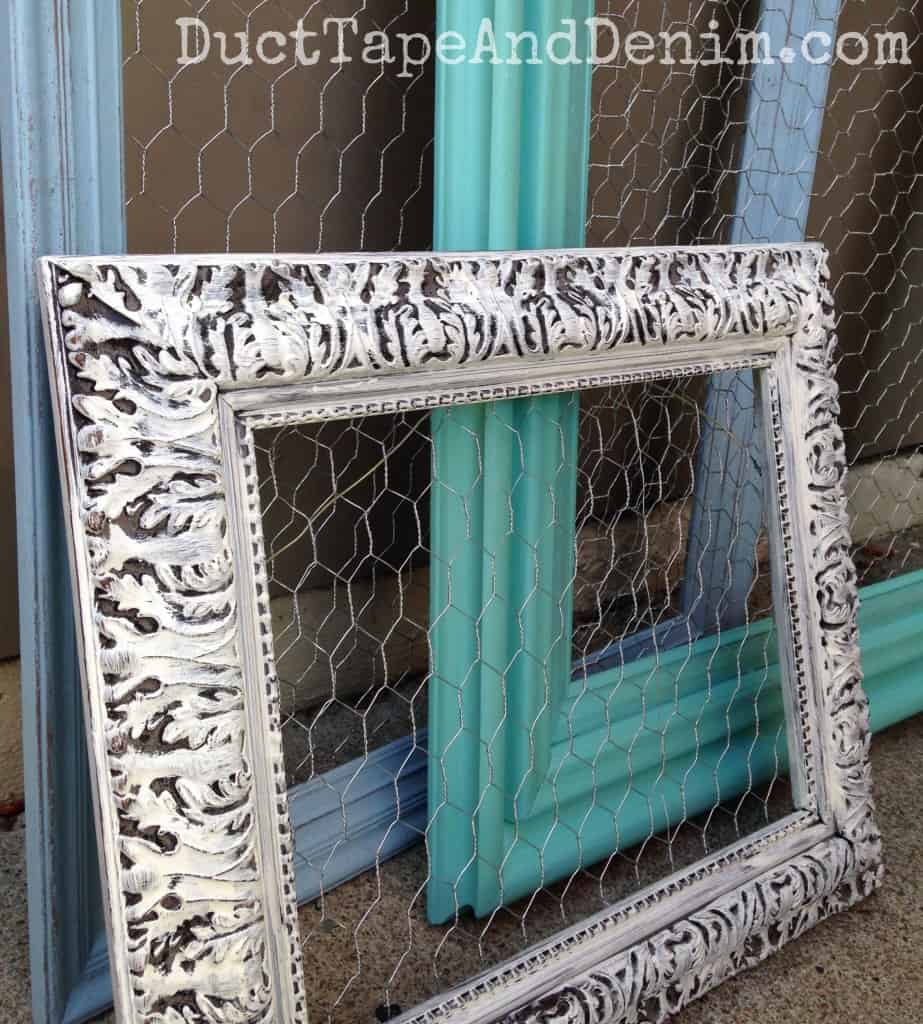
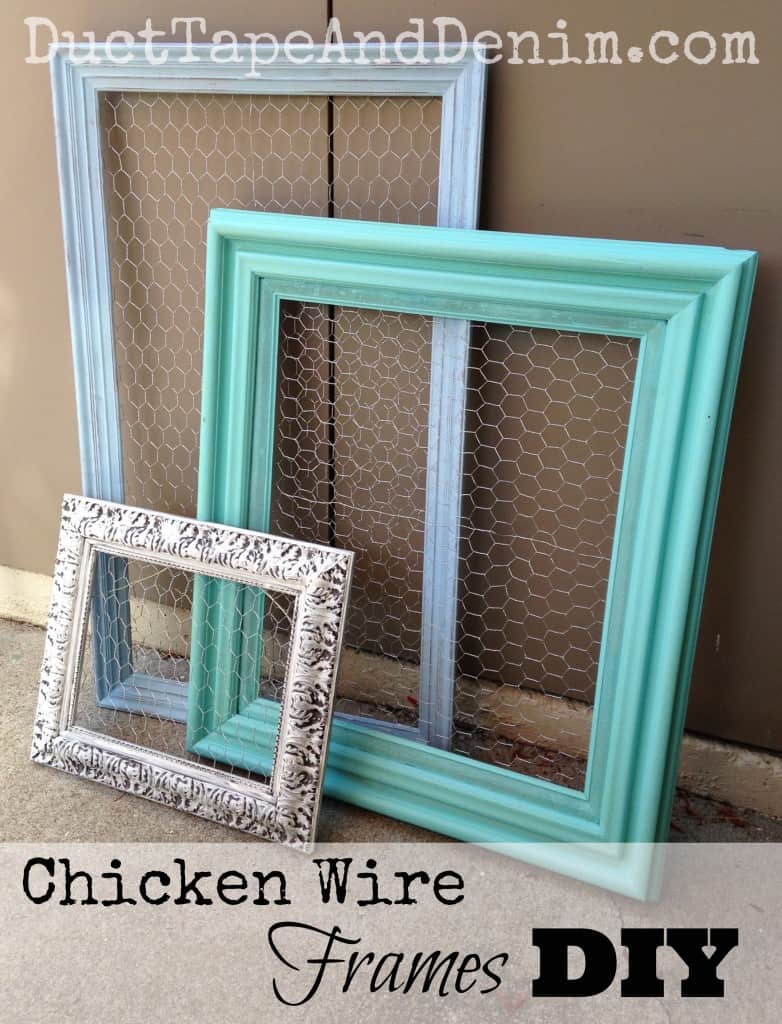
Wipe down the frame to remove any dust. Then just slap on a little paint. For these three frames I used CeCe Caldwell’s Memphis Blue and Vintage White. The turquoise one is my own homemade “chalk” paint. You can find the recipe here. You can see in the close ups how carefully I brushed on the paint. I was going for a shabby look so each frame got one coat of paint and a little wet distressing. I waxed the white frame and used my faithful Minwax polycrylic on the two blue ones.
After drying, I flipped these over and rolled my chicken wire on top. I used wire cutters to cut it to size then stapled it in. NOTE: I used the shortest staples I could find, 1/4″. If the frame is very thin where I need to staple I angle them back toward the thicker part of the wood. Some of the wire ends were still sticking out so I turned them under with my pliers.

UPDATE: Here’s what I did with that “painting”.
These chicken wire frames are great for storing, displaying, and organizing jewelry, making mood boards, hanging Christmas cards or other holiday decor, or as a family message board.
The photo below shows the frames hard at work in my booth at Treasure Island Flea. If you’d like to see more ideas of how to display at flea markets follow my display Pinterest board.
If you enjoyed these chicken wire frames, you might also like these:
- Thrift Store Frames to Jewelry Displays
- More Painted Thrift Store Frames
- 21 Things to do with Thrift Store Frames
- 25 Things You Should ALWAYS Buy at Thrift Stores
Thanks for reading! Don’t forget to sign up for my email list below so you won’t miss any of my thrift store makeovers! Originally published August 4, 2014 and featured on Share Sunday 41 at Our Rosie Life, Linky Party #214 @ Boogieboard Cottage, Skip the Housework Link Party #56, Ben Franklin Crafts Shop Monroe, 7 Charming Chicken Wire Crafs on Life as a Mama.
‘Til the next project,
Ann @ Duct Tape and Denim
Pinterest | Instagram | Facebook | Twitter | Etsy | YouTube


Shambray says
I love these! I made one a few months ago and I love how versatile it is since you can switch out what is in the middle.
Pauline Molinari says
What a great idea! I LOVE how these turned out! Thanks for sharing on the Monday Funday Party!
Kimberly says
I love this. Pinned. We truly love you being a part of our party. I hope you get chance to stop by tonight at 7 pm. It wouldn’t be a party without you! http://loulougirls.blogspot.com/
Happy Monday! Lou Lou Girls
Michele @ Our Rosey Life says
Hi Ann, Love your frames and adding the chicken wire makes them so versatile. Obviously you use them for displays at the flea market. I’m thinking I could do this and display a collage of snapshots. So cute!
Stella Lee@ Purfylle says
I kept reading to find out why you would want chicken wire in your frames. This is so clever!
ducttapeanddenim says
Thanks, Stella! Glad it caught your attention. 🙂
Charlotte says
This is a perfect way to reuse and restyle old frames. I have to do this. Next visit to the thrift store I will look for frames to redesign. Pinned!
/Charlotte – My Green Nook
Stopping by from the Snickerdoodle Sunday party 🙂
ducttapeanddenim says
Thanks for pinning. I’d love to see your frames when you’re done!
Jess says
So cute!! I LOVE this idea!
Thanks for joining the Link Up this week!
Sarah R. says
Love ’em all- I’ve been wanting to try this myself!! So many thanks for popping by Snickerdoodle Sunday with your latest make…hope to see you again this weekend!
Sarah (Sadie Seasongoods)
Ashley ~ 3 Little Greenwoods says
Fabulous way to use those yucky frames from the thrift stores! Thanks so much for sharing on Show Me Saturday!
michelle says
I did this and my staples went through the frame. Going to try again using e6000 I think
ducttapeanddenim says
Michelle, I’ve done that, too. I had to get the shortest staples I could find. I think they’re 1/4″. That helps on most. But on some I also have to angle the staples back toward a thicker part of the wood.
Thanks for your comment. I think I’ll update my post and include this information!
Regina Nation says
What brand or type of staple gun do you use? I have made these types of frames before but always had trouble getting my staples to go into the hard wood. Thanks for the help.
ducttapeanddenim says
Regina, Here’s an Amazon link to the one I have: http://amzn.to/1UvDdtH It’s a Stanley light duty staple gun. If the wood is hard you might have to put a lot of pressure on it to keep the gun from bouncing back. Let me know if that helps any. Thanks for reading!
Regina Nation says
Thanks for the information!!
Jeri says
any ideas on what to put behind your chicken wire frame if you do not want to clip photos or things to it, I am looking for print ideas to put behind mine but do not know what kind???
ducttapeanddenim says
We put burlap behind some for one of our flea markets. The jewelry showed up much better that way. You could also take the original photo and cover it with any fabric or even just paint it a solid color. Thanks for asking and I’d love to hear what you end up doing!
Linda at Mixed Kreations says
Clever idea for upcycling old frames. I need to make one for my craft room. Would be perfect for my notes and reminders.
Michelle says
What a great way to display earrings! I love how these turned out.