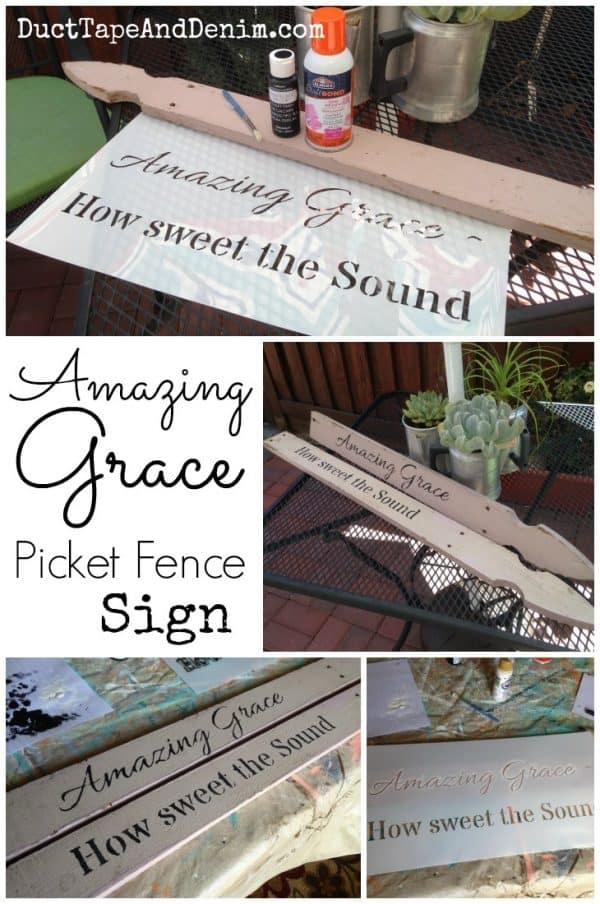
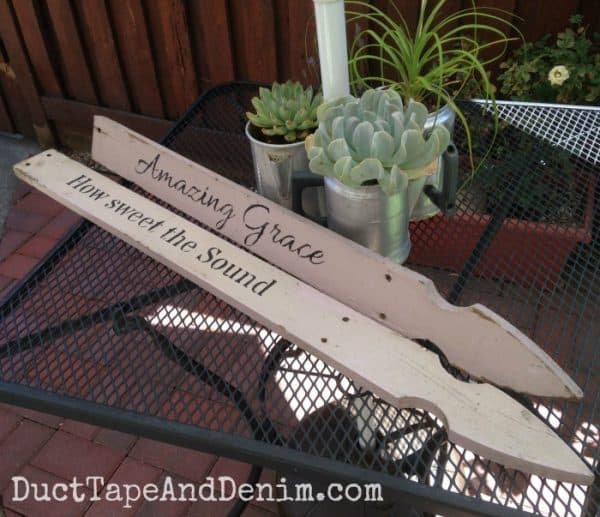
Welcome to summer! It’s hot and dry here in Northern California so I spent the afternoon painting and stenciling this picket fence sign inside in the air conditioning! This DIY is an easy farmhouse style project for your home.
This post contains affiliate links. You won’t pay any more when you use these but I will earn a small commission on any purchases you make after clicking on them and I greatly appreciate it. Thanks for helping support my little blog!!!
Supplies for a Picket Fence Sign
- old wooden fence pickets
- spray adhesive – I used Elmer’s Craftbond Spray Glue.
- Amazing Grace stencil from Knick of Time
- black paint – I used DecoArt Chalky Finish Paint in Carbon
- stencil brush
I bought these old pickets at Roadside Relics Vintage Market last year and they’ve been sitting in my studio ever since just waiting for the right project to come along. I loved the soft “almost pink” color of them.
Recently, I have rediscovered stencils. This is my newest one. I bought it from a fellow blogger, Angie over at Knick of Time. She is designing a line of stencils that I was really excited about as soon as I heard that she’s not only doing vintage sign reproduction stencils but also Scriptures and lines from hymns! Go visit her Etsy shop and blog and tell her Ann sent you!
How to Make a Picket Fence Sign
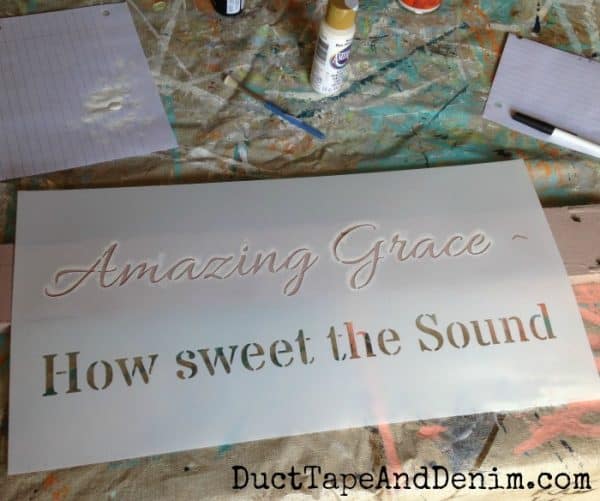
First, lightly spray the back of the stencil with Elmer’s Craftbond Spray Glue and wait about 5 minutes. The instructions say that if you affix it immediately after spraying the bond will be permanent… I haven’t tried that yet. But if you wait 5 minutes it will just be tacky and will easily pull up after you paint.
(Another hint when using Elmer’s Craftbond: After you’re finished with the project turn the can upside down and spray until nothing else comes out. This will leave the nozzle clean and it won’t be clogged up when you need it again. It may seem like you’re wasting it but that’s much less than you’ll waste if you can’t use the rest of the can!)
I’m using DecoArt Chalky Finish Paint in Carbon that they sent to me for another project. But I have PLENTY of paint leftover so you’ll probably see this color again, too. The stencil brush also came with the stencil.
I poured the paint out on a paper, dipped my brush in it, and wiped most of it off before dabbing onto the wood. That’s the MOST important thing to remember when stenciling… offload the paint!
More Stencil Projects
If you enjoyed this stenciled project I’m sure you’ll love these, too:
I have just the place for my new picket fence sign! Follow me on Instagram and I’ll post a photo as soon as I get them hung up.
‘Til the next project,
Ann @ Duct Tape and Denim
Pinterest | Instagram | Facebook | Twitter | Etsy | YouTube
Originally published June 24, 2016.


Angie @ Knick of Time says
Ann, it made my day to see something so wonderful created with my stencil design! I’m featuring you at Knick of Time tonight!
ducttapeanddenim says
Thanks, Angie!!! Can’t wait to read your blog tonight!
Kathy Allen says
Loved your hint about spraying upside down to empty that little “straw” inside the spray can and keeping the nozzle clean. I learned THAT one 30 years ago after I clogged one of my ex’s spray cans! Funny, the 99 cent cans of Wal-Mart cans don’t seem to clog but any EXPENSIVE can will!