Just in case you’re wondering, YES, I still love the color turquoise! And this turquoise jewelry cabinet has a secret…. scroll down to see what it is! (Hint: It has to do with decoupage paper!) Here’s what it looked like when I found it at Goodwill. I think it was $5.99. A little high for a piece that’s missing a handle but I had some handles at home that I knew would work with it.
This post contains affiliate links. You won’t pay any more when you use these but I will earn a small commission on any purchases you make after clicking on them and I greatly appreciate it. Thanks for helping support my little blog!!!
Supplies for Jewelry Cabinet Decoupage Paper Makeover
- DecoArt Chalky Finish Paint, Treasure
- DecoArt Decoupage Paper, Ikat
- DecoArt Decou-Page, matte
- DecoArt Soft Touch Varnish
- 1″ paintbrushes
- credit card
- Dremel drill
- small jewelry box knobs
How to Update a Thrift Store Jewelry Cabinet
This chalky finish paint is one of my favorites because it doesn’t need any prep. This cabinet was a little dirtier than most so I did clean it with some all-purpose spray. But no sanding!
I gave it a couple of coats of paint, let it dry, then applied a coat of varnish.
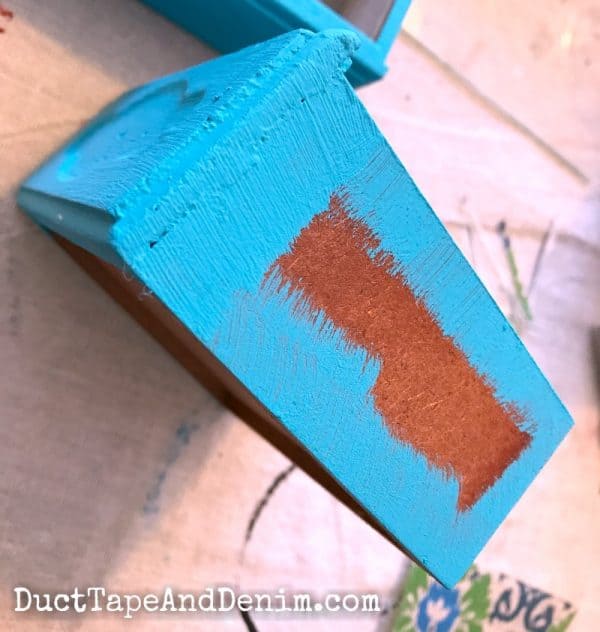
I was planning to cover the sides of the drawers so they didn’t need to be painted. But I wanted to make sure that none of the old wood was showing so I just painted the edges.
This was the first time I used the decoupage papers from DecoArt but I love them! You’ve seen me decoupage with tissue paper before. Regular tissue paper gets very fragile when it’s wet and I usually end up tearing it and trying to stick it back together. This paper is just a bit thicker and it didn’t tear at all!
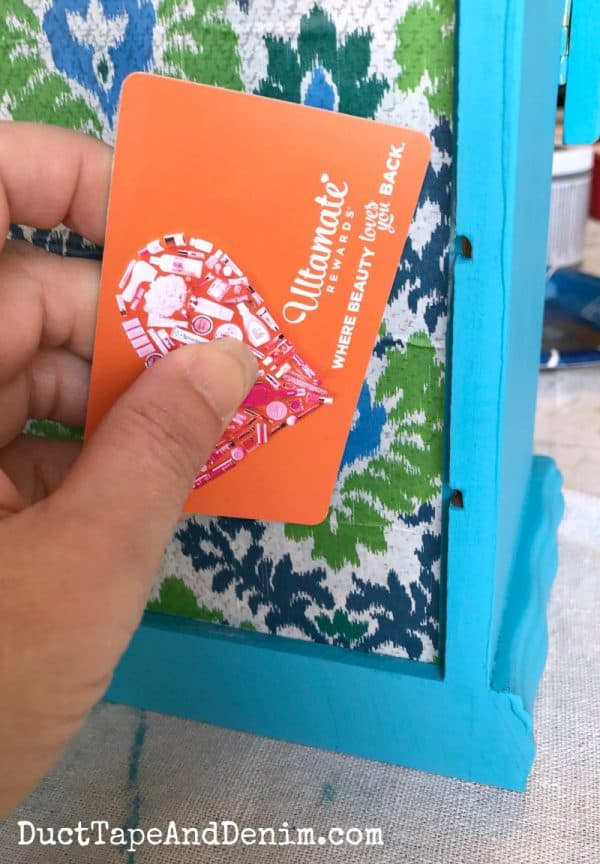
I brushed on a thin layer of decoupage medium, lay the paper over it, then brushed another thin layer over. My Ulta card came in handy. I used it to smooth out the bubbles.
Not many people will see the back but I wanted it to be pretty, too, so I added some decoupage paper in the indented part.
When everything was dry I drilled holes in the drawers and added new handles. These came from D. Lawless Hardware. Don’t miss the Facebook Live where I showed my order from D. Lawless. They were a perfect fit!
The glass was nice on this one so I just cleaned it up and put it back in.
What do you think? Should I do another color next time?
More Thrift Store Makeovers
If you enjoyed this decoupage paper project, you might also like these:
- The Ultimate Guide to DIY Jewelry Box Makeovers
- Turquoise and White Jewelry Cabinet
- How to Silver Leaf a Jewelry Cabinet
- Gorgeous Turquoise Armoire Makeover (I want to find one of these!!!)
- Jewelry Cabinet Makeover with Paint Sprayer
Have you ever painted a jewelry cabinet? Leave a comment and let me know.
‘Til the next project,
Ann @ Duct Tape and Denim
Pinterest | Instagram | Facebook | Twitter | Etsy | YouTube
Featured on Dream, Create, Inspire, Create Link Inspire. Originally published Sep 26, 2017.


Linda at Mixed Kreations says
I love it, and I think that the colorr is perfect! I love your choice of paper, it goes together very nice. The little pull knobs are a great addition to finish off an already perfect jewelry box.
Claire says
Love the colour you have chosen and the flashes of pattern paper. It looks very pretty now!
Dean @Mrs.AOK, A Work In Progress says
What an awesome upcycle!! I love it!! Thank you for sharing with us at #MMBH
Create With Joy says
I love everything about your beautiful project and am SO glad you shared it at Inspire Me Monday at Create With Joy (I originally spotted it at another party!)
Congrats – I am delighted to feature you this week! 🙂
ducttapeanddenim says
Thanks!