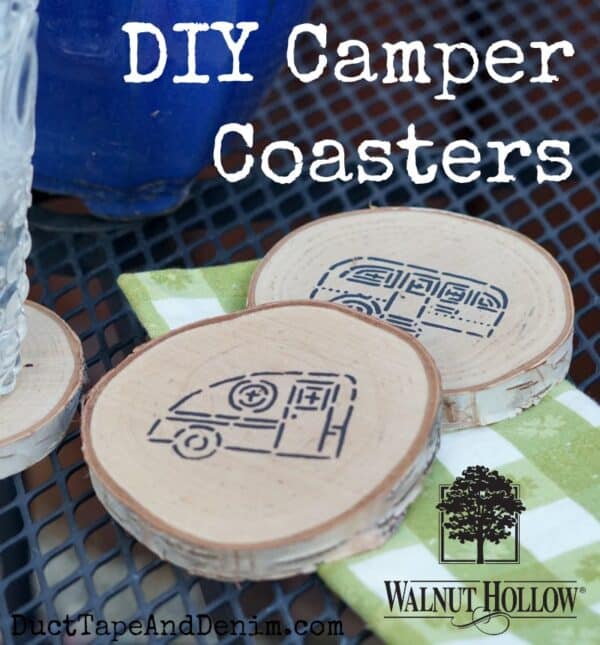
Today I’m sharing an easy way to make camper coasters from wood slices.
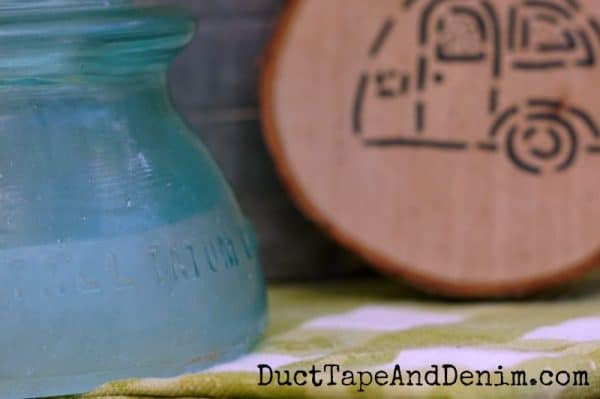
Look closely… see the print on the insulator? It’s my name!!! The story that was passed around in my husband’s family was that one of his great-great-great-great… grandfathers owned the company that made the glass insulators. And that he lost it in a card game. Not sure how much of that story is true but it was always fun to talk about when the family got together. Even if it’s not true we have fun looking for these at antique shops. Let me know if you ever see TATUM on an old bottle. I’d love to have one. So far I just have a few insulators.
This post contains affiliate links. You won’t pay any more when you use these but I will earn a small commission on any purchases you make after clicking on them and I greatly appreciate it. Thanks for helping support my little blog!!!
{{{ Sign up for our email newsletter and get ALL my future projects sent straight to your inbox! }}}
Supplies Needed for Wood Slice Camper Coasters
- Walnut Hollow Birch Coasters – I don’t think they make the birch ones anymore. I found these basswood coasters. And some birch coasters from other brands HERE.
- StencilGirl Vintage Camper Trailer stencil
- black paint
- stencil brush
- spray adhesive
- Minwax Wipe-on Polyurethane
- Rags
Vintage Camper Coasters with Small Stencils
Today I’m sharing a quick and easy project using another StencilGirl stencil. These vintage campers remind me of summer and these coasters would be perfect for summer entertaining in your own vintage camper (or on your patio if you don’t have a camper yet)! They would also make a great gift for the “glampers” in your life.
Spray the adhesive on the backside of the stencil and wait five minutes. This will allow the adhesive to be temporary instead of permanent.
UPDATE: I’ve stopped using spray adhesive to hold my stencils down. I now just tape them down with painter’s tape. Much quicker and still works well.
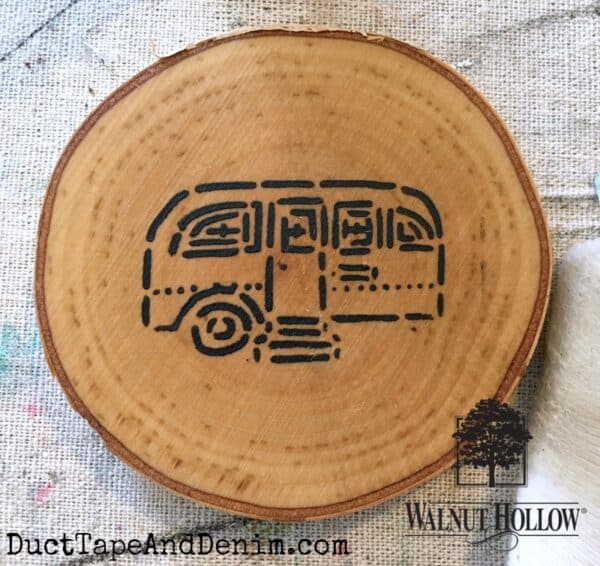
Center the camper trailer on the coaster and press down firmly.
Apply the black paint with a light circular motion through the stencil. Carefully remove the stencil and allow the paint to dry.
When the paint is completely dry, lightly rub on the wipe-on polyurethane with a rag. Apply 2-3 coats, allowing time to dry between coats.
It freaked me out a little when I saw how dark the wood got. But don’t worry the polyurethane will dry clear.
That’s all there is to it!
My Finished Camper Coasters
They’re so cute I hated to set glasses on all of them so I propped this one up on a vase of daffodils.
I thought they looked very spring-y together.
BTW, I found the insulator at an antique mall in Roseville and the napkin, vintage aluminum cup, and white pitcher at thrift stores. The tray I made myself with things I found at a thrift store! Gotta love thrifting!!!
More Camper Projects
If you enjoyed this post, you might also like these:
- Vintage Trailer Rally at Roses and Rust
- A Vintage Camper Makeover by a 14-Year-Old
- DIY Happy Camper Sign
Hope you enjoy my project. Thanks for reading!
‘Til the next project,
Ann @ Duct Tape and Denim
Pinterest | Instagram | Facebook | Twitter | Etsy | YouTube
Originally published on March 24, 2017.


Leave a Reply