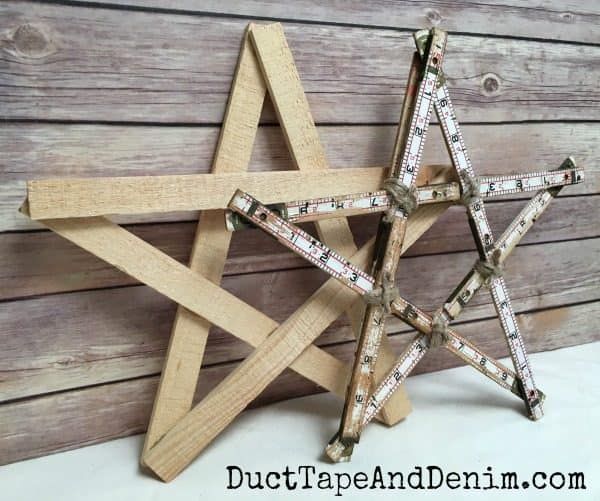
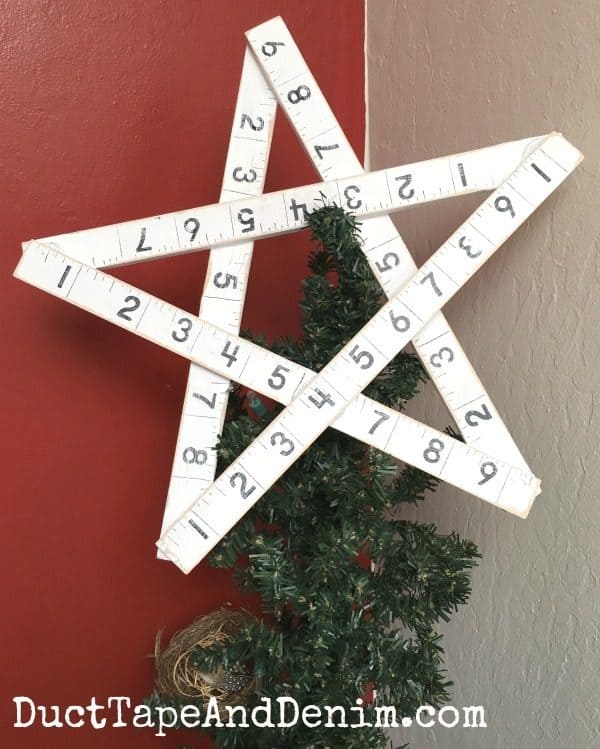
Christmas tree star… that’s what I thought as soon as I saw the vintage ruler in an antique store! I turned it into a star and put it on top of our tree last year. My sister wanted a star tree topper too so I’ve been looking for another vintage ruler long enough to make one for her. Haven’t found it yet. But when I saw this wood star I thought I might be able to make a knock off. (Don’t forget to sign up to receive our 12 Days of Vintage, Upcycled, Recycled, and Repurposed Christmas Crafts!)
This post contains affiliate links. You won’t pay any more when you use these but I will earn a small commission on any purchases you make after clicking on them and I greatly appreciate it. Thanks for helping support my little blog!!!
{{{ See ALL my Christmas projects HERE }}}
Christmas Star Tree Topper Supplies
- wood star
- white paint
- paint brush
- number stamps
- black ink
- black pen
- sandpaper
- soft cloth
- jute string
This was a super easy project that took me a little over an hour, including drying time.
As you can see in the photo below the two sides of the star are different textures. One is rough and one is smooth. I would usually make the rough side the front because I like rustic but since I was stamping I needed to do that on the smooth side.
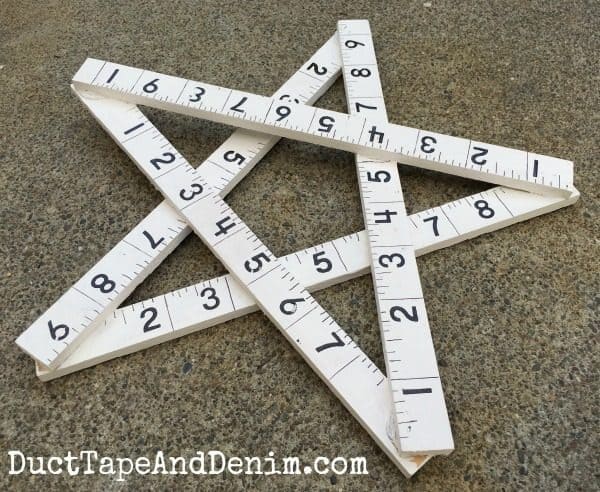
It only took one coat of this white paint. Then I let it dry completely.
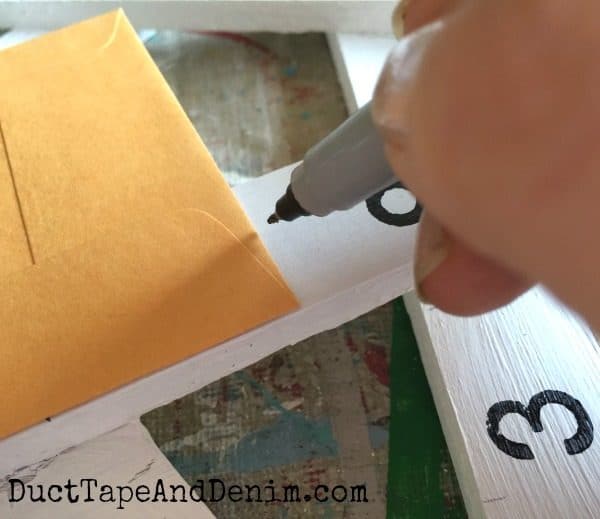
Next I made very light pencil marks on the edges to show the inch marks and stamped the numbers near each one in black ink.
I used an ultra fine tip black pen to then go back and make the inch markers. I started off very precise but ended up just estimating the distances.
Don’t look too close. My inches aren’t exact. That doesn’t bother me… as you know I like to freehand things. I prefer a look that’s not exact so my projects actually look handmade.
Still, I was pretty impressed how it turned out!
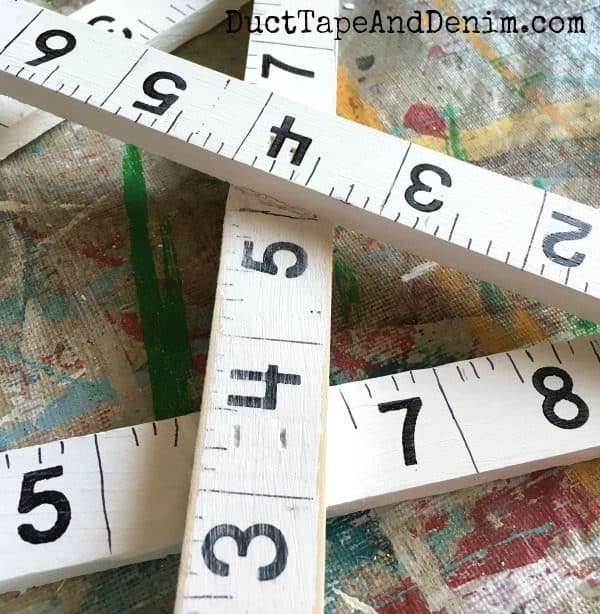
Because this is a knock off of a vintage ruler I needed to rough it up a bit so I took 100 grit sandpaper to scratch it up. I applied heavier pressure on the edges where my vintage ruler was most worn and then lightly over the whole surface. You can see the difference below between the sanded and un-sanded parts.
My original plan was to go back over it with paint or stain to antique it but I decided to stop there. Most of the rulers I find are much darker than this so feel free to keep going with your distressing.
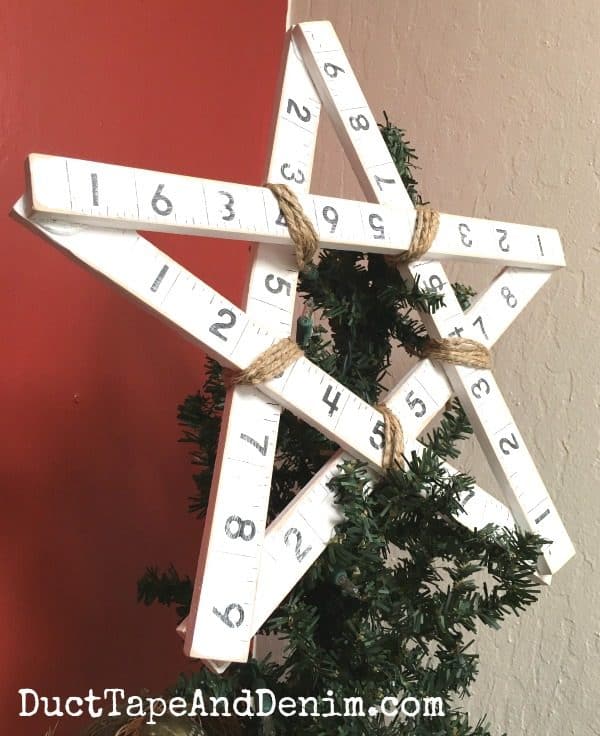
I almost stopped there but decided to add the jute string at the intersections even though this Christmas star didn’t need it. The jute is what keeps the vintage ruler from unfolding.
If you enjoyed this Christmas tree star, you might also like these:
- Christmas Book Advent Calendar
- Vintage Salt Shaker Christmas Ornaments
- Rustic Wood Christmas Ornaments
- 28 Easy Christmas Decorations to Make in a Pinch
- 3 Easy Paper Doily Crafts for Christmas
‘Til the next project,
Ann @ Duct Tape and Denim



Cheri Mello says
CUTE Ideas On Your PAGE 🥰👍🏼♥️ Thank You For Sharing G-d♥️Bless