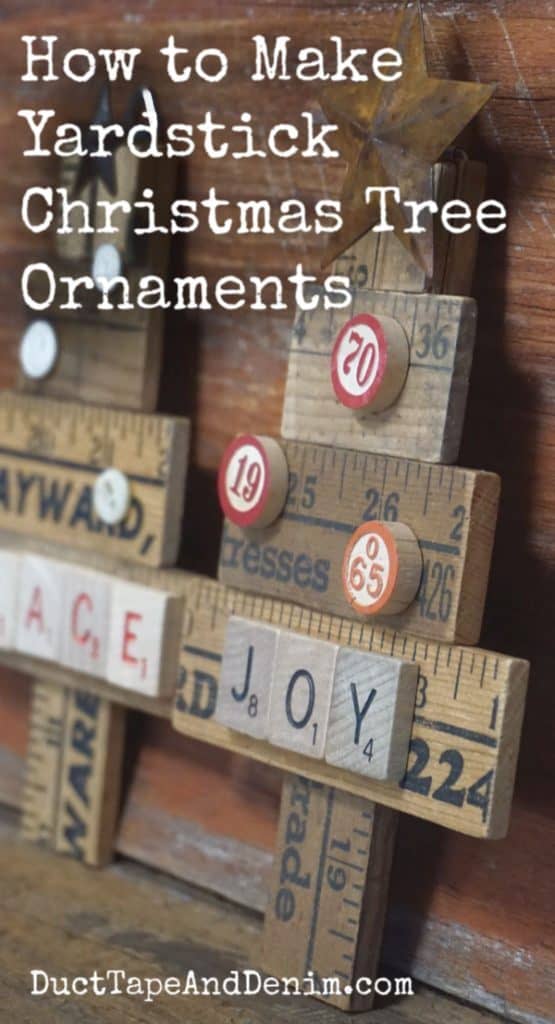
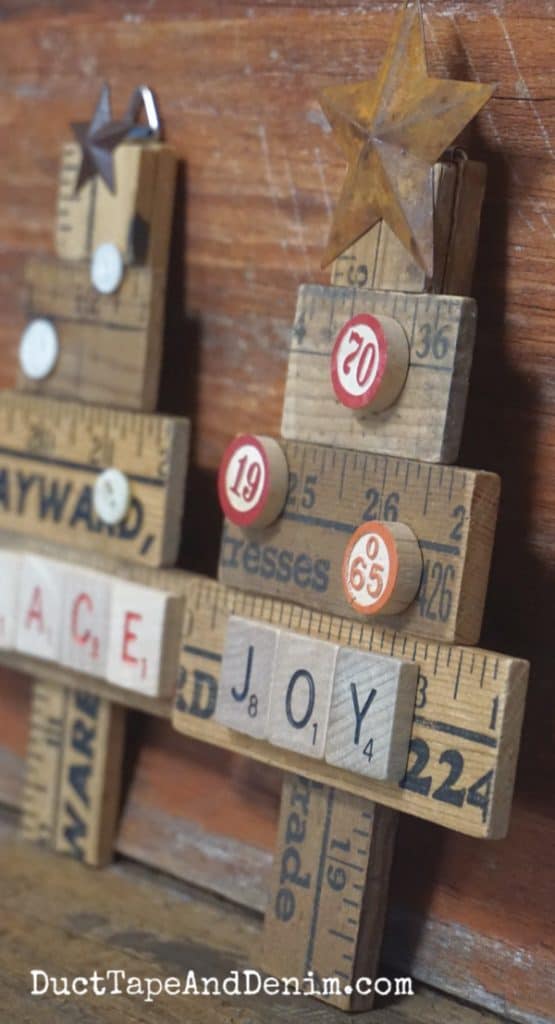
See how we turned these vintage measuring implements into yardstick Christmas tree ornaments!
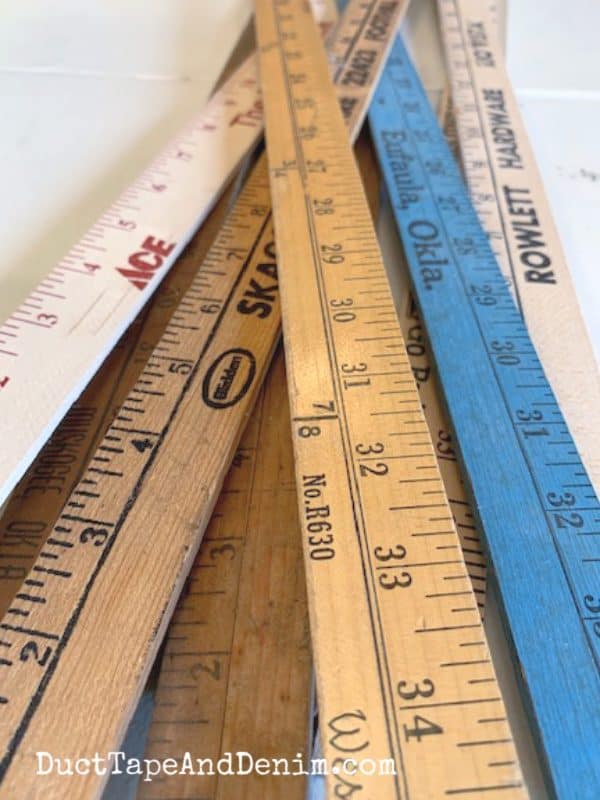
Sometimes I think I might have a problem. I find something I like and then I start buying them everywhere I go! Like these yardsticks.
How do you like that one from Eufaula, Oklahoma? We found that one on our trip to Bentonville, Arkansas, this spring. I saw Checotah on the map, close to where we would be at noon, so I started looking for places to eat lunch.
I remember hearing the name “Checotah” in one of Carrie Underwood’s songs. She even mentions Eufaula Lake in the song. So I found it on Amazon Music and shared it with Bikeman.
As we drove into town I saw a sign that said, “Home of Carrie Underwood”! No wonder she sang about it!
While we were there we had one of the best chicken fried steaks I’ve ever eaten. And even better than that was the antique shops that surrounded it!
That’s a long story just to explain where I got ONE of those yardsticks. I won’t bore you with a story about every one of them. I’ll just get on with the Christmas ornaments that I made out of these.
This post contains affiliate links. You won’t pay any more when you use these but I will earn a small commission on any purchases you make after clicking on them and I greatly appreciate it. Thanks for helping support my little blog!!!
Sign up for my FREE 12 Days of Christmas Crafts email series!!!
Supplies for Yardstick Christmas Ornaments
- yardsticks – vintage or new
- saw
- sandpaper
- E6000
- star – I used these 2″ stars and 1″ stars
- other embellishments – Bingo numbers, buttons, miniature Christmas lights, Scrabble letters, etc
- D-ring
How to Make Yardstick Christmas Tree Ornaments
First, cut the yardstick into pieces. Each ornament will need one of each size: 1″, 2″, 3″, 4″, 5 1/2 or 6″. (The ones I shared in the video are 6″ but I kind of like them a little shorter – 5 1/2″.)
Starting with the 1″ piece, use E6000 to glue it to the top of the 5 1/2″ piece. Then the other pieces below it.
Then, get creative with the vintage or new embellishments and decorate the tree.
Wait until the glue on the embellishments is dry, flip over the ornament, and glue the D-ring on the back.
You could also drill a hole in the top and run a string or wire through it.
Here’s the video if you’re more of a visual learner. (NOTE: There will be a commercial at the beginning of this video. It helps pay the blogging bills. Thanks for your patience… but please let me know if you ever see a commercial that’s inappropriate.)
Speaking of video, we’re really working hard on our YouTube channel and would love to have you subscribe! We’ve got a lot of videos coming up… trying to post 2 a week. We’ll be sharing upcycled projects, crafts, thrift store hauls, and flea market trips.
Here’s a close up of some of the Christmas ornaments.
Which is your favorite?
I still have lots more yardsticks so you’ll be seeing more Christmas ornaments and maybe a few other DIY projects. I’ve been finding lots of cute upcycled projects on Pinterest!
More Vintage Inspired DIY Christmas Decor
If you enjoyed this Christmas DIY project, you might also like these:
- Cast Iron Star Ornaments with Rhinestones
- Ruler Christmas Tree Star
- Stenciled Nativity Scene Ornaments
- 24 Upcycled Ornaments You Can Make in Less Than an Hour
- Mason Jar Lid Ornaments
Thanks for reading and don’t forget to subscribe to our YouTube channel!!!
‘Til the next project,
Ann @ Duct Tape and Denim


april kise says
love to make the star but i don’t see then video
ducttapeanddenim says
We haven’t created a video for the star yet… maybe in 2021!
Kathy A says
These are so cute; I love the variety–as a craft supply hoarder, I have lots of oddball supplies that I could use on these!