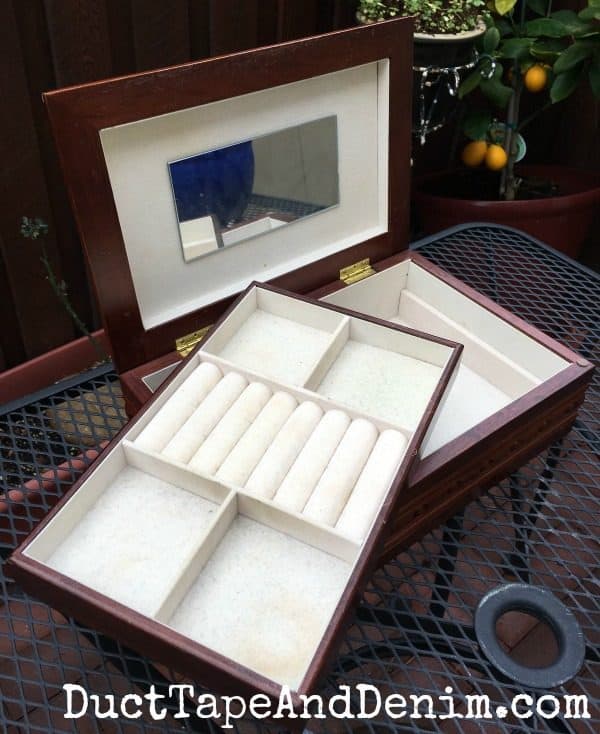
I’m back today with another thrift store find! In times past, I would pass on plain jewelry boxes like this one but since I discovered stencils I pick them up all the time. I think I got this one for $3.99 from Goodwill. I thought it would be perfect for my stenciled jewelry box makeover.

The inside wasn’t too bad. Just a little dirty. But I wanted to try out my new Canvas Corp tissuestock so I covered this up anyway.
This post contains affiliate links. You won’t pay any more when you use these but I will earn a small commission on any purchases you make after clicking on them and I greatly appreciate it. Thanks for helping support my little blog!!!
{{{ See more jewelry box makeovers here. }}}
Stenciled Jewelry Box Makeover Supplies
- old wooden jewelry cabinet
- DecoArts paint
- stencil
- spray adhesive
- paint brush
- Canvas Corp Tissuestock, French Script
- decoupage medium
- craft scissors
- decoupage medium
- small paint brush
NOTE: DecoArt provided the paint and Canvas Corp Brands provided the tissuestock for this project. The ideas and opinions are mine.
Instructions to Make Jewelry Box
The box took two coats of the chalky finish paint. I propped it open with another jar of paint until it was completely dry so the lid wouldn’t stick shut.

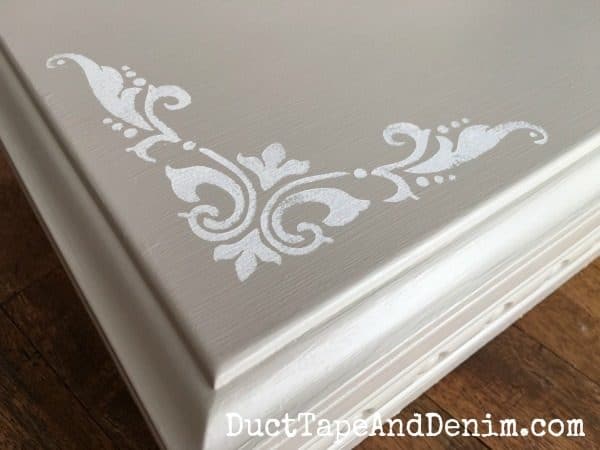
When the gray paint was completely dry I sprayed the back of my stencil with the spray adhesive and let it sit for about 5 minutes before pressing it to the corner of the lid. I pounced my brush with a very tiny bit of white paint. Then I repeated this on the opposite corner.

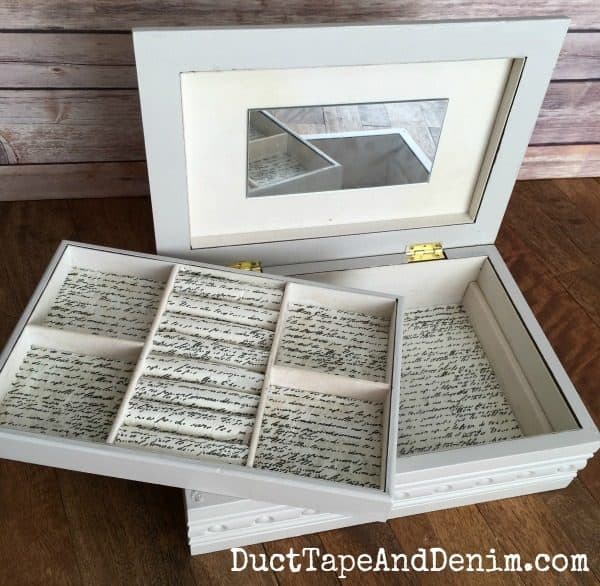
Here’s the finished product!

I didn’t even measure the tissuestock. I just held it up to the space and cut. Then I brushed the decoupage medium on the felt, stuck down the tissuestock, and brushed on another coat. The section in the middle is one long piece that I stuck down in between the rolls.
Close-up of one corner.
More Jewelry Box Makeovers
You might also like these thrift store projects:
- Another Stenciled Jewelry Box
- Jewelry Box with Bird Stencils
- Stenciled Jewelry Box Filled with Chocolates for a Friend
- 10 Chic Ways to Organize Your Jewelry
- Rooster Stenciled Cutting Board
Thanks for reading! Don’t forget to sign up for my emails and the next project will come straight to your inbox!
‘Til the next project,
Ann @ Duct Tape and Denim
Pinterest | Instagram | Facebook | Twitter | Etsy | YouTube


Bliss says
Awesome job!
ducttapeanddenim says
Thanks! This was a fun project! I’m having another painting day tomorrow… can’t wait!
Meegan says
Oh my goodness! I LOVE the transformation. Especially the inside. Thanks for the inspiration.
ducttapeanddenim says
Thanks, Meegan!
Becky says
I use Tulip fabric spray if the lining is not torn. Comes in many colors and tne felt/velvet stays skft.
ducttapeanddenim says
Thanks! I’ll have to try that.
Amy W says
I realize I am EXTREMELY late to this party, but when you add tissue paper inside does it mess up the feel of the felt? Thank you!
ducttapeanddenim says
Yes, when you decoupage over the felt it won’t be soft anymore. You could glue new felt over it though.