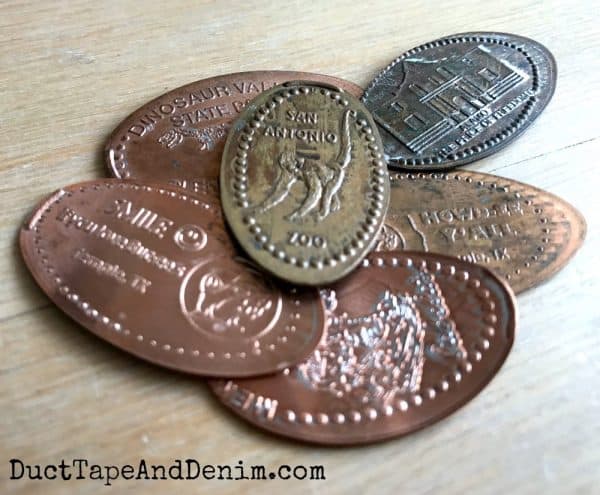
I have a confession… I’m a grown woman and I hunt down pressed penny machines wherever we go! My poor husband has had to wait for me while I run back to the car to scrounge through the spare change in our car until I find a penny and 2 quarters more times than I care to admit. I had a whole sandwich baggie full of them when I finally decided to make a pressed penny bracelet with them. So today I’ll show you how you can make your own bracelet — two different ways.
(SCROLL DOWN – to watch the video of me making these bracelets. Sometimes it’s easier to show you how to make things than to tell you.)
This post contains affiliate links. You won’t pay any more when you use these but I will earn a small commission on any purchases you make after clicking on them and I greatly appreciate it. Thanks for helping support my little blog!!!
How to Make a Pressed Penny Bracelet
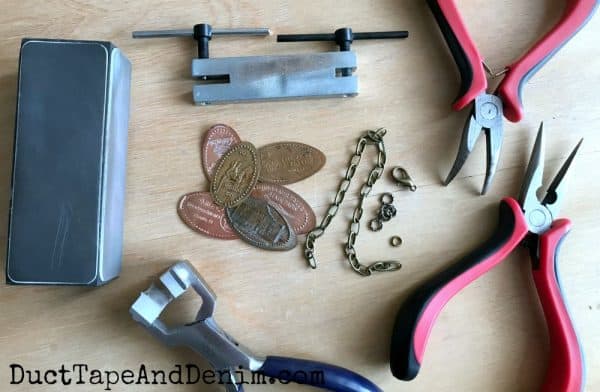
Supplies Needed for Pressed Penny Bracelets
- pressed pennies
- chain
- jump rings, 6mm
- jump rings, 8-10mm
- lobster clasp
- hole punch
- sanding block
- bracelet bending tool
- pliers – I use straight nose and bent nose
Directions for Making Bracelets
Punch holes in both of the narrow ends of the pennies.
Bend the pennies slightly to fit your wrist, using THIS bracelet bending tool.
Join five pennies together with jump rings, making sure they’re all facing the right direction. (That’s easy to change if you put them together wrong the first time!)
Add a lobster clasp to a penny on one end, using a small jump ring.
Add 3-5 larger jump rings to the other end of the penny chain. This will allow the bracelet to be adjustable. I always add those to bracelets I’ll be selling. And I usually add them to my own bracelets, too. It makes it easier to put on.
Tada! Now you have your own personalized pressed penny bracelet that represents the places that you and your family love to visit. This bracelet was a collection of pennies from our Utah/Arizona/California National Parks vacation. One of my favorite vacations of all time!
Another Style of Pressed Penny Bracelet
If you only have one pressed penny you can still make a bracelet. Just use a jump ring to add it to a chain on one side and add the larger jump rings to the other side. This bracelet can still be adjustable.
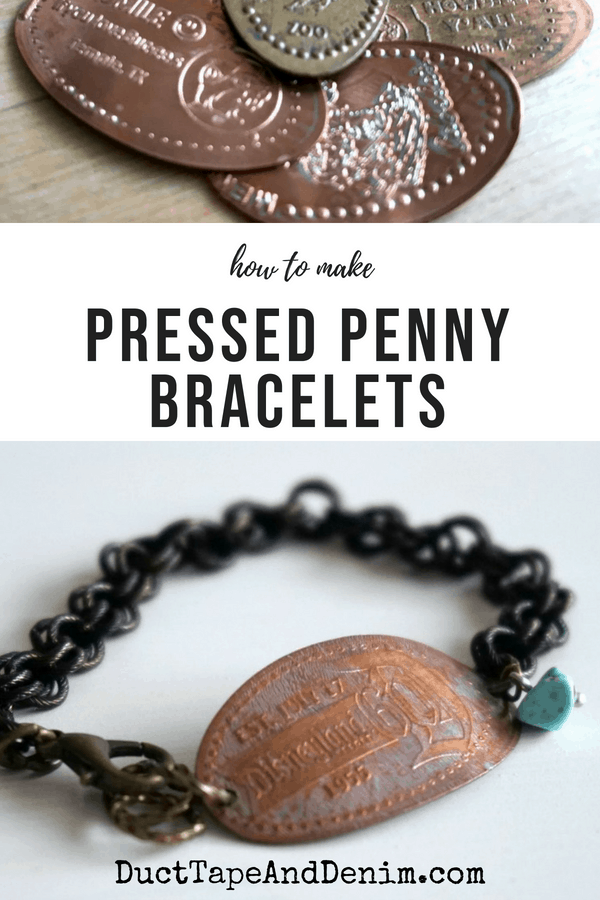
You could even add little charms and/or beads as I did on my Disneyland penny bracelet above.
(I didn’t really go to Disneyland… just Downtown Disney. I was at a conference a few blocks away and we just walked over to check it out one afternoon. But they still had a pressed penny machine! lol… )
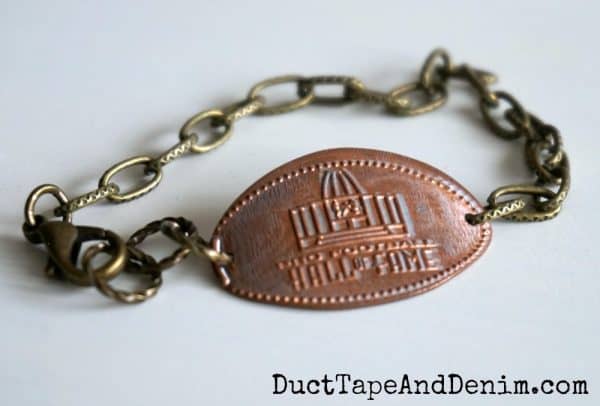
This last bracelet was made with a penny from the Pro Football Hall of Fame in Canton, Ohio. Another great memory that I can now wear on my wrist!
Pressed Penny Tutorial Video
I added the video we made so you can see exactly how to make these.
Or, if you’d rather watch on YouTube:
You may want to just go on over to YouTube and follow me there for more upcycled projects, thrift hauls, what’s selling, and our junkin’ trips.
More Upcycled Jewelry Ideas
If you enjoyed this DIY jewelry project, you might also like these ideas:
- How to Make a Salt Shaker Necklace
- Vintage Thimble Necklaces
- How to Make Tape Measure Bracelets
- How to Make Leather Bracelets From Old Purses
- 25 Ways to Repurpose Jewelry
Thanks for reading my blog post. I hope you enjoy this project and I’d love to hear from you if you decide to make your own bracelet.
‘Til the next project,
Ann @ Duct Tape and Denim
Pinterest | Instagram | Facebook | Twitter | Etsy | YouTube

Originally published February 19, 2020.


[…] How to Make a Pressed Penny Bracelet {VIDEO} – – Duct Tape and … […]