I’m not sure if it’s because Jordann and I are just picky or what but we didn’t really like any of the garters we saw while planning her wedding. So we made one! Today I’ll show you how to make a garter for your own DIY wedding. All you need to know is how to sew a straight line!
This post contains affiliate links. You won’t pay any more when you use these but I will earn a small commission on any purchases you make after clicking on them and I greatly appreciate it. Thanks for helping support my little blog!!!
{{{ Sign up for our email newsletter and get ALL my future projects sent straight to your inbox! }}}
Supplies Needed to Make a Simple Garter
Here’s a list of the items you need to purchase to make your own garter:
- measuring tape
- scraps of satin fabric or wide ribbon
- ribbon
- tulle or lace
- 1/2″ elastic
- iron
- a good pair of sharp scissors — I like Fiskar
- thread
- sewing machine
- needle
- safety pin
- rhinestone button — Click HERE to go to the best source for AMAZING rhinestone embellishments!
- aluminum heart blank (optional)
- metal stamping tools (optional)
How to Make a Garter
Once her gorgeous wedding dress was hemmed and the seamstress asked if we wanted what she cut off we knew that was the answer! We took the satin and tulle from the bottom of her dress and made custom DIY wedding garters.
There is no pattern for this project. Since each bride’s leg is different, each garter will also be a different size.
Measuring Instructions
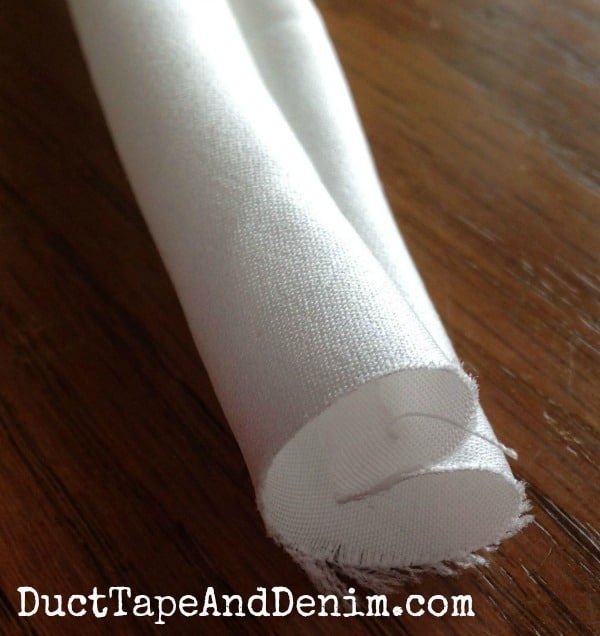
I measured Jordann’s leg, multiplied by 1.5, and cut a strip of fabric the same length and about 3″ wide. As you can tell in the first photo, the strip I received was a little curved. But it worked out alright with a little pressing and easing.

Sewing Instructions
I folded the fabric over, right sides together, and sewed a simple straight stitch along the long edge.
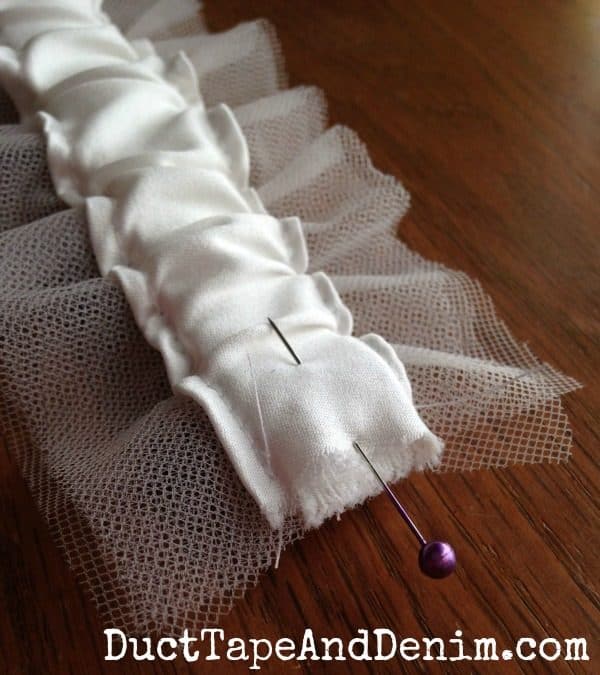
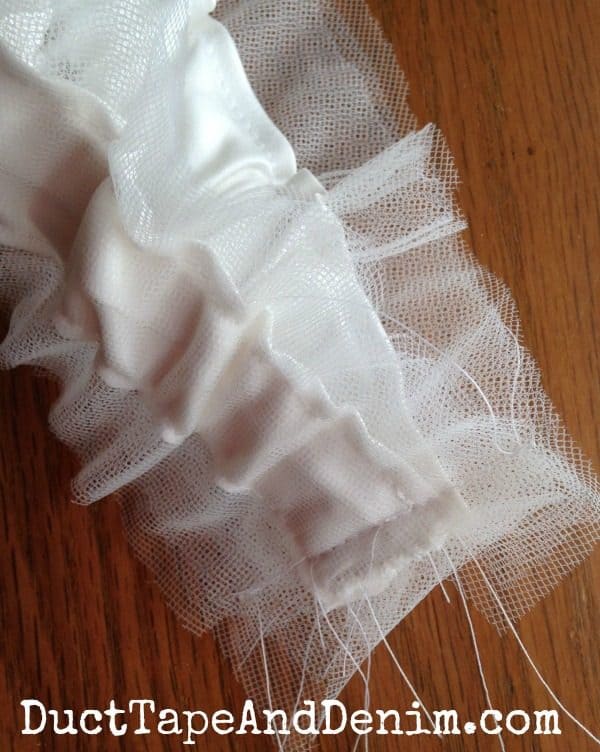
Then I pressed it, cut two pieces of tulle the same length but a little wider, and sewed the satin on top of the tulle, close to each edge.

The photo below is what it looked like after I ran the 1/2″ elastic through it. I cut the elastic to fit snugly, but comfortably, around her thigh, with about 1/2″ extra for the hem. If you’d like a formula, subtract 3″ from your leg measurement.
Below, I sewed the two open ends together.
The Keeping Garter
This was the “keeping” garter. I finished off this pretty garter with some blue seam binding (since she didn’t have anything else to provide the “something blue”) and a vintage rhinestone button.

The Throwing Garter
I didn’t have enough left of the satin to make a “throwing” garter so I bought some 1″ satin ribbon and attached it to the tulle in the same way as the scrap of satin.
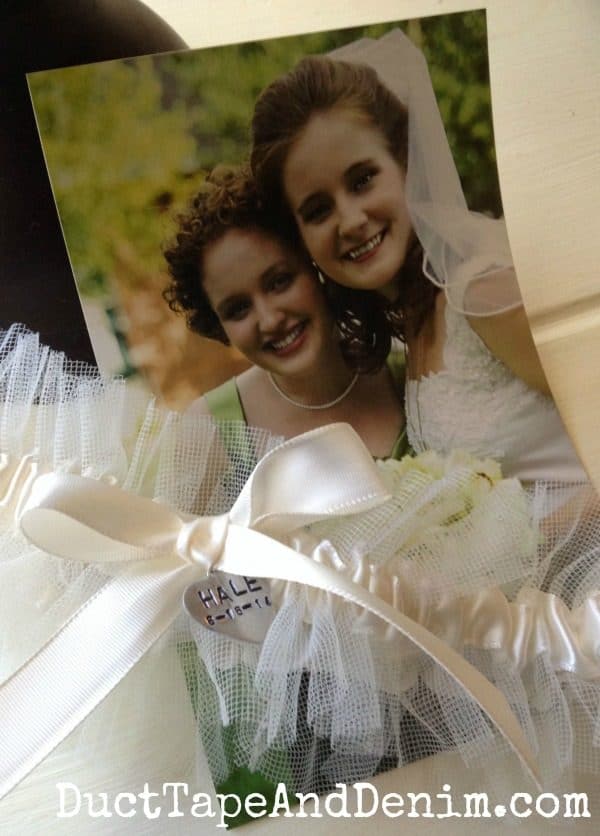
I had some aluminum heart tags to do some hand-stamping for some other jewelry projects. I added Jordann’s new last name and the date of the wedding with my metal stamps.
Other Embellishments
- lace ribbon — could be used instead of tulle
- sequins
- rhinestones — HERE is a GREAT source for rhinestones & lots more wedding decor.
- pearls
- turquoise or other stones — great for a western-themed wedding!
- another charm
- silk flowers
Some of these embellishments could be added with a glue gun. All they would need is a dot of hot glue. But I felt much more comfortable sewing them on. Also, if I was going to sell these I would definitely sew everything instead of glue.
Finished Handmade Garter
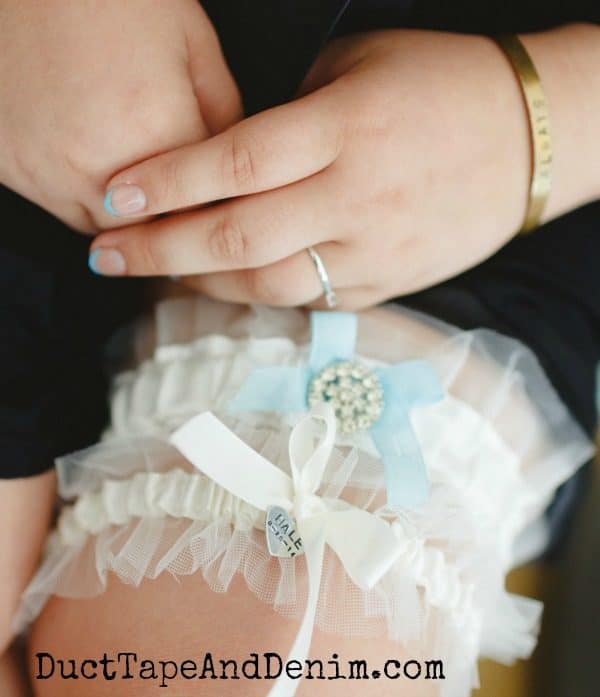
You can see them both below on the bride’s leg on her wedding day. I especially liked her manicure! It matches the garter perfectly. And she also wore one of my copper cuff bracelets with ALWAYS hand-stamped on it. So lovely!
During the reception, my husband and I looked around and couldn’t believe that we actually threw such a beautiful party. It really was a perfect day — the weather was perfect, the bride and groom were happy, the decorations looked great, and we couldn’t believe that we made them so inexpensively. This was a downright cheap wedding but it sure didn’t look like it.
Also, I don’t want to lead you astray…
There were several major issues during the day but I didn’t know about them until the next day. And I was VERY grateful for my friends who took care of the problems so I didn’t freak out during the wedding or reception!
More DIY Wedding Projects
If you’re planning a DIY wedding, check out these other projects:
- Our DIY Bridal Veil
- Bridesmaid Dress Hangers
- Cones for Lavender Toss
- A Homespun Wedding with DIY Touches
- My DIY | Wedding board on Pinterest
Wedding day photography by Jana Melinda Photography. The step-by-step photos were taken my me on my trusty iPhone!
If you have any more questions about how to make your own wedding garter, please leave them in the comments and I’ll try to clarify. Thanks for reading!
‘Til the next project,
Ann @ Duct Tape and Denim
Pinterest | Instagram | Facebook | Twitter | Etsy | YouTube
Originally published on April 6, 2017.
Marie@The Interior Frugalista says
I really love these – so pretty! I love that they are made with the extra fabric from the wedding dress. Pinning this for inspiration for my daughter’s wedding.
ducttapeanddenim says
Thanks, Marie! I was hoping this would be helpful.
Bella says
I would like to make this but I’m a little confused about the tulle – Are they two wide pieces layered on top of each other with the satin piece sewn directly on top? Or did you cut two pieces of tulle, fold them, and attach them separately, one on each edge of the satin? The first way seems easier but I’d like to know what you did.
ducttapeanddenim says
Sorry I didn’t make that more clear. Yes, there are two wide pieces of tulle and the satin piece is sewn on top of them. It was pretty easy. Let me know if you have any other questions. Thanks for reading!