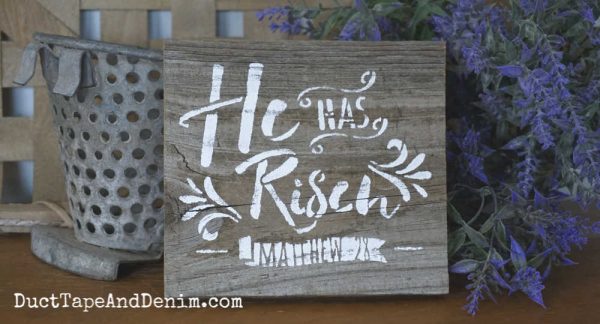
Last week I shared that we’ve been doing a lot of cleaning up since moving to the farm. And that we hate to throw away any of the old barn wood and fencing so we’re using it up in as many DIY projects as we can. Bikeman has already made me a farmhouse console table (that’s coming soon!), steps to my new She Shed, and tables for his power tools. Today I’m sharing one of the easiest projects – a rustic He has Risen sign! (Based on Matthew 28:6.) This is a great DIY project for Easter or any other time of the year.
Keep reading to see how we made these, or scroll down if you’d rather watch a short video. Bikeman edited my Facebook Live so you don’t have to watch the whole thing!
This post contains affiliate links. You won’t pay any more when you use these but I will earn a small commission on any purchases you make after clicking on them and I greatly appreciate it. Thanks for helping support my little blog!!!
Supplies for He has Risen Sign
- old wood
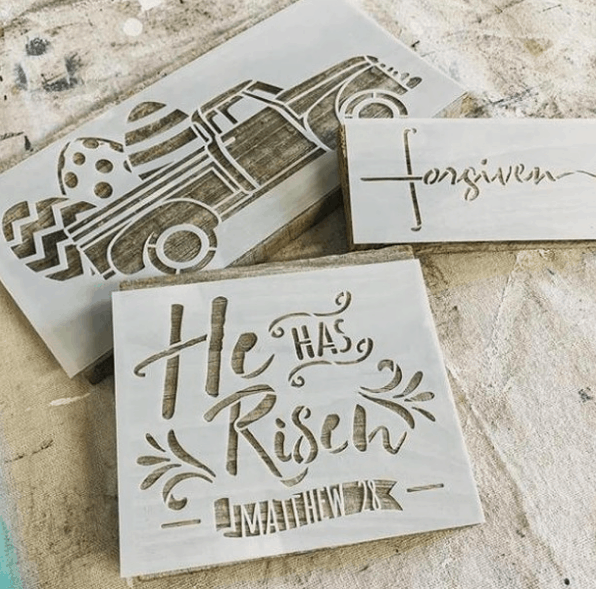
- He has Risen (Matthew 28:6) stencil
- white paint
- stencil brush
- paper plate
- washi tape
- hammer (optional)
- sawtooth hanger (optional)
{{{See a complete list of what’s in my toolbox and supply cabinet.}}}
Stencil Revolution sells this stencil in several different sizes. I have the 5″ x 6″ size. So Bikeman cut the old fence boards into 7″ lengths. They were already about 6″ wide. Some weren’t in very good condition so he cut around the back parts. The boards I used were a little wavy but the stencils still worked well on them.
I held the stencil in place with washi tape and poured a little white paint on the paper plate.
One of the most important things to know about stenciling is not to use too much paint. So after dipping the tip of my stencil brush into the paint I “off-load” it. Too much paint on the brush will cause bleeding under the stencil.
Then I started pouncing my brush over the stencil. Don’t use brush strokes. That’s another thing that causes bleeding under the stencil.
Several light coats of paint are better than one heavy one.
When the paint was dry, Bikeman added a sawtooth hanger on the back with the tiny nails that came with it. He just put one in the center but you could use a couple if your sign is longer.
And here’s how it turned out:
What do you think?
If you’d like to watch how I made this Easter sign, check out this short video that Bikeman made for me: (BTW, there will be a short commercial at the beginning… that’s how we keep our articles and tutorials free for our readers. Thanks for your patience!)
More DIY Easter Crafts & Projects
If you enjoyed making this He Has Risen Easter sign, you might also like these:
- Easter Truck Sign with Easter Eggs
- How to Make Galvanized Easter Eggs
- How to Add Bunny Ears on Your Easter Eggs
- Where I get most of my stencils
- 100 Cheap & Easy DIY Easter Decorations
Thanks for reading! I’d love to hear how you decorate your home for Easter. Leave a comment and let me know.
‘Til the next project,


[…] He is Risen Sign – Matthew 28:6 […]