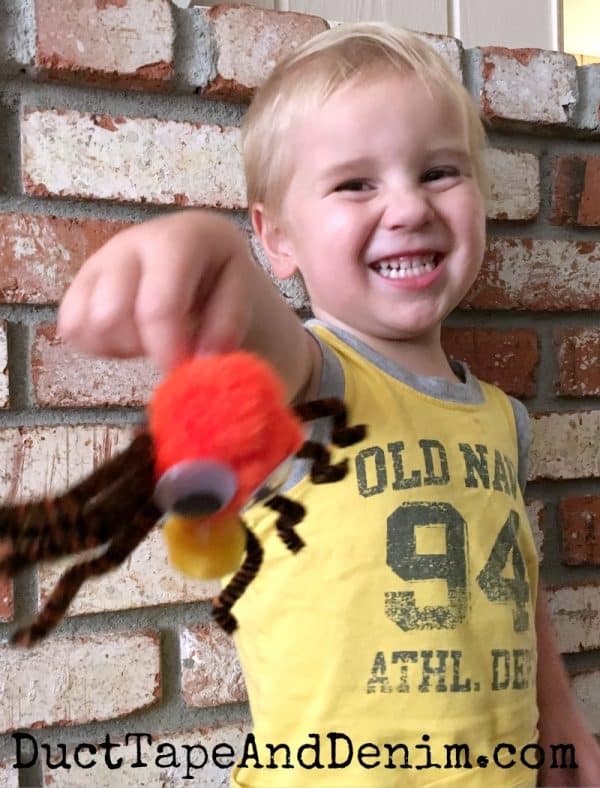
Last Saturday we went to the Halloween store in our local mall. They had out all their fall and Halloween decorations. One of the things they had was a bag of spiders! Jordann looked at them and decided to come home and make some for herself. Here’s her simple Halloween spider tutorial!

UPDATE: This spider tutorial was originally published before Leo was even born! But I made them with him last year and he loves them, too. He knows I hate real spiders and had a great time “scaring” me with them!
This post contains affiliate links. You won’t pay any more when you use these but I will earn a small commission on any purchases you make after clicking on them and I greatly appreciate it. Thanks for helping support my little blog!!!
She was working on them when we Skyped Kim Tuesday. Kim said her daughter would love to make them but she couldn’t ever think of fun stuff like that to make. So we decided to make a spider tutorial for her — and anyone else that would like to use it.
How to Make Halloween Spiders
Here’s what you need to start:]
- pipe cleaner/chenille stem
- 1″ pom poms
- 2 googly eyes
- Amazon has a kit with all 3 of these products in it!
- old scissors or wire cutters
- glue gun
Fold the pipe cleaner in half, then half again, and then half again.
Until it looks like this:
Gently pull apart and cut at the bends.
You should have 8 little “legs” now:
Grab each end of one leg. Move one hand up and one hand down to make the bent parts of the leg.
They should look like this:
Put a small line of hot glue on one side of the pom pom. She tried gluing each individually at first but this method was easier.
Then glue on the eyes and you have a cute little spider!
Jordi hung a few on our scary black light fixture to show you how to use them. Angie said she was going to try to tie a black thread on it to hang hers. That should be cute.
Hope they don’t attract any of the real thing!!!
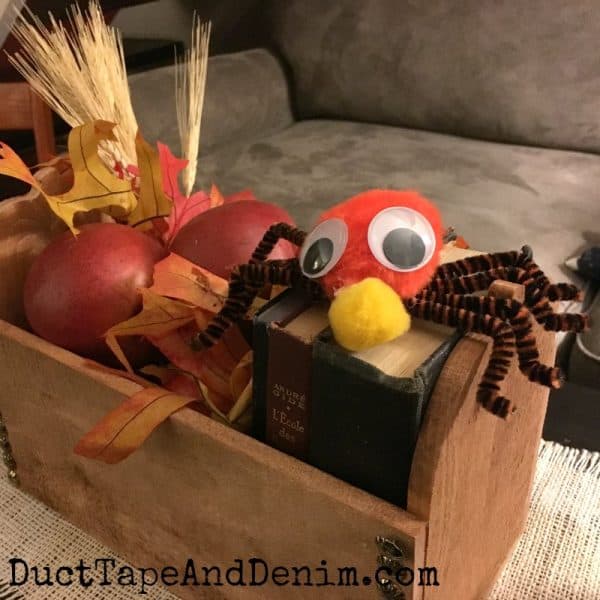
Here’s Leo’s spider in my fall centerpiece. I love that he added a nose!
Hope you enjoyed our first tutorial. If you make them come over to our new Facebook page, DIY Halloween, and share a photo with us. And let us know if you’d like to see more. I may take pictures at our craft day and give you a step by step for some of the little books we’ve been making.
‘Til the next project,
Ann @ Duct Tape and Denim
Pinterest | Instagram | Facebook | Twitter | Etsy | YouTube
First published September 6, 2008.


Jerry says
Cute (if a spider can be)! Hey, those sissors with MOM written on them look suspiciously like mine which I have not seen recently!LOVEmomma/grandma
GrandmaMarilyns says
Love your tutorial. The spider is cute.
Jordann says
consequently, because of mom leaning over me, i got burning-hot hot glue stuck to my hand… but the spider turned out pretty cute!
Amanda says
Oh these are so cute! I’m a Halloween fanatic so ANYTHING Halloween is up my alley. Thanks for posting!
onemotherslove says
hehehe… I gave the Crafty Crow your link! They’re doing all Halloween crafts this week!
Mila says
The spider is cute!! Pinning 🙂
I would love if you share it with my fall themed party Big Autumn Bash:
http://milaslittlethings.com/2014/10/big-autumn-bash-the-link-party.html
xx
Mila
milaslittlethings.com
milawayable@gmail.com
Mila says
Thank you for linking up !
Your project has been featured 🙂
http://milaslittlethings.com/2014/10/big-autumn-bash-party-features.html
xx
Mila
ducttapeanddenim says
Thanks for including me, Mila!
FLORENCE @ VintageSouthernPicks says
Cute little spiders (am I really saying that about a spider??) I hate spiders like you do! Love the little one’s expression!
Love that quote at the end.