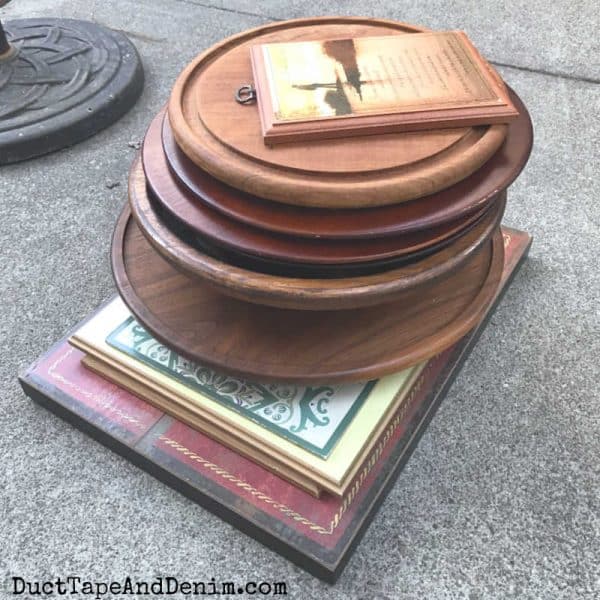
This stack of thrift store finds is from one amazing day of thrifting! I think we hit FIVE thrift stores. I was on the hunt for wood pieces to try out my new Christmas tree stencils. Thrift shopping is such a hit and miss activity. Some days I find nothing and other days I fill my Jeep up with lots of goodies!

This post contains affiliate links. You won’t pay any more when you use these but I will earn a small commission on any purchases you make after clicking on them and I greatly appreciate it. Thanks for helping support my little blog!!!
Sign up for my FREE 12 Days of Christmas Crafts email series!!!
Supplies Used for Christmas Tree Stencil Makeovers
- wooden thrift store items
- Christmas tree stencil
- washi tape
- Americana Decor Chalky Finish Paint, Rogue
- Americana Decor Chalky Finish Paint, Everlasting
- stencil brush
- Americana Decor varnish
- paint brush (I like this paint brush.)
Here’s a close up of one of the thrift store signs I bought to makeover. It was marked $3.00 but I was shopping on half price day. So it was only $1.50! Cute, but doesn’t fit my decor. I knew I could make it cuter!
It took a couple of coats of red paint to cover the previous graphics on the sign. I’ll call it 2 1/2 coats.
Even before stenciling, I added a coat of varnish. That’s my usual technique when I’m using chalk-type paints. It allows me to distress the stenciled part without removing the base coat. And the colors won’t bleed into each other.
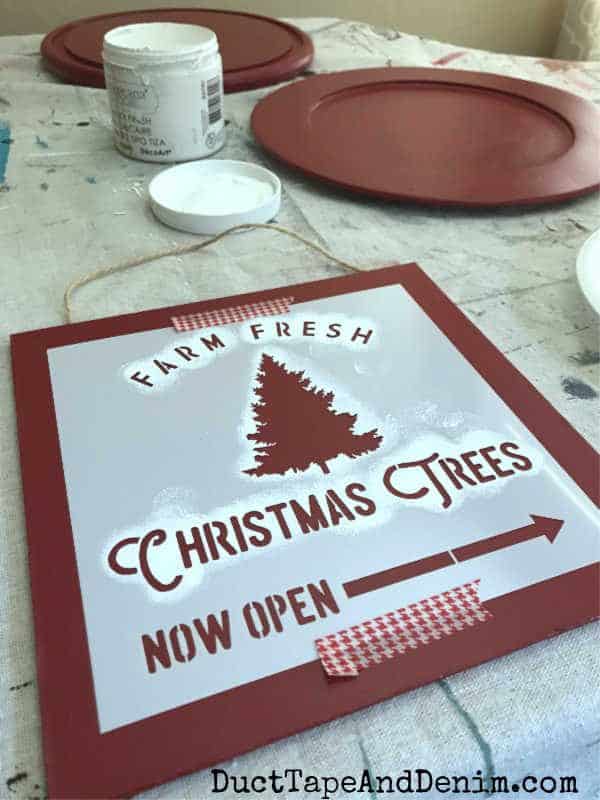
When the varnish was dry, I used washi tape to hold the Christmas tree stencils in place. Sometimes I use spray adhesive to hold my stencils but washi tape worked well for this DIY sign project.
BTW, you’ll see those chargers in the background in another Christmas project coming up soon.
I removed some of the white paint from the jar and spread it out onto a paper plate. This keeps me from getting too much paint on my stencil brush. That’s one of the keys to stenciling! Get some paint on your stencil brush and then “offload” it.
Then I just pounced the paint onto the stencil. It’s better to do several light coats instead of one heavy coat.
Once the white paint was completely dry I went back over the sign with another coat of light satin varnish.
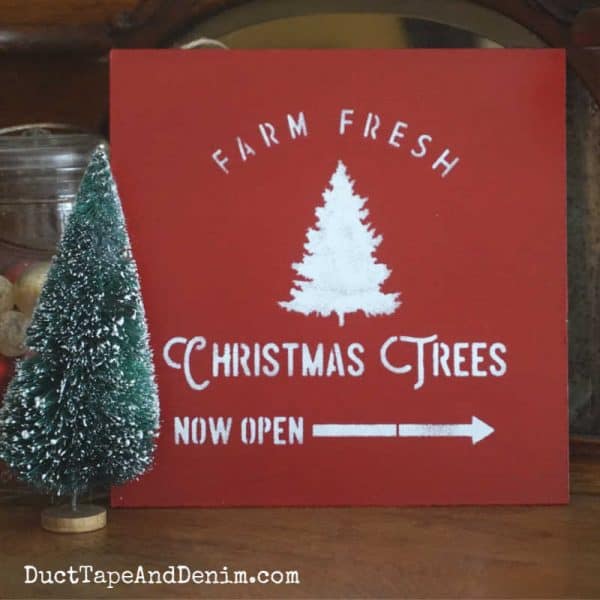
And here’s the finished Farm Free Christmas Trees sign:
This Christmas tree stencil works well on square items AND round items.
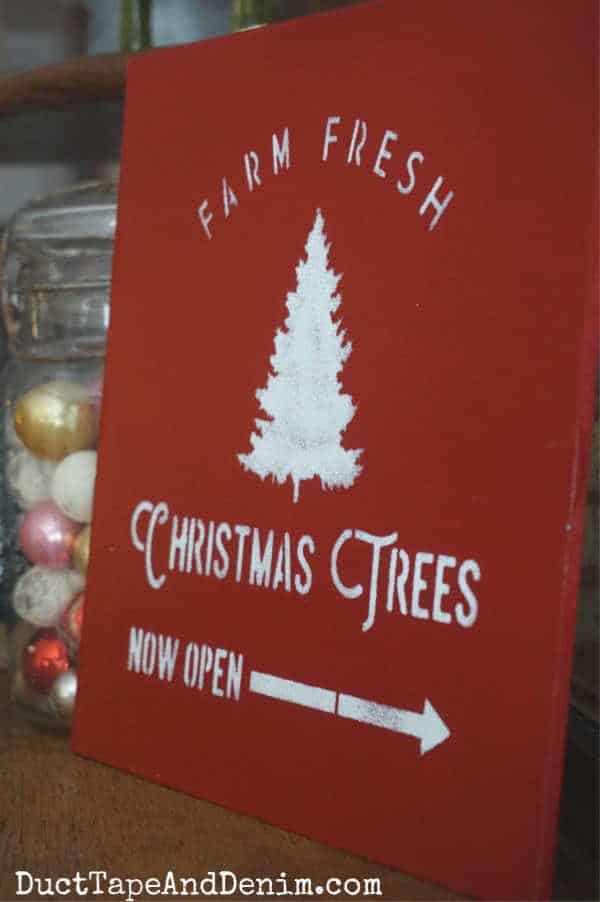
And here’s another close up of the Christmas sign. I was really happy with how they turned out.
If you enjoyed these Christmas tree stencils, you might also like these:
- How to Make an Easy O Come Let Us Adore Him Christmas Sign
- How to Upcycle Old Cutting Boards with Christmas Stencils
- How to Make a Vintage Style Home Sweet Home Sign
- 14 DIY Christmas Signs That Will Brighten Your Holiday
- 18 Rustic Style DIY Christmas Ornaments
Thanks for reading! Have you used any Christmas tree stencils? Leave a comment and let me know.
‘Til the next project,


Linda at Mixed Kreations says
I love finding thrifty items for easy makeovers. These sign turned out really pretty! Love that stencil!
Maria says
I love these ornaments it’s amazing what you can come up with with a some creativity and recycle stuff sky is the limit.
Theola says
Thanks! I’m excited to see your ideas!