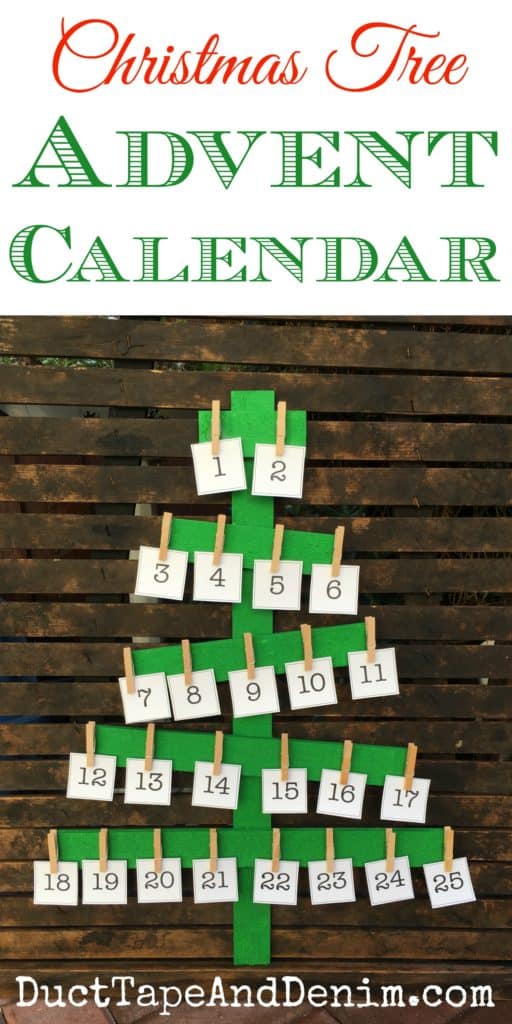
Happy Advent season! I’ve already shared several Advent calendars that we’ve done in the past. Today I created a brand new one with a premade wood Christmas tree. Don’t worry if you don’t have any building skills or tools. This tree was already made.
This post contains affiliate links. You won’t pay any more when you use these but I will earn a small commission on any purchases you make after clicking on them and I greatly appreciate it. Thanks for helping support my little blog!!!
Supplies for Christmas Tree Advent Calendar
- rustic wood tree
- green paint
- paint brush
- hanger
- hammer
- clothes pins
- hot glue gun & hot glue sticks
- number cards
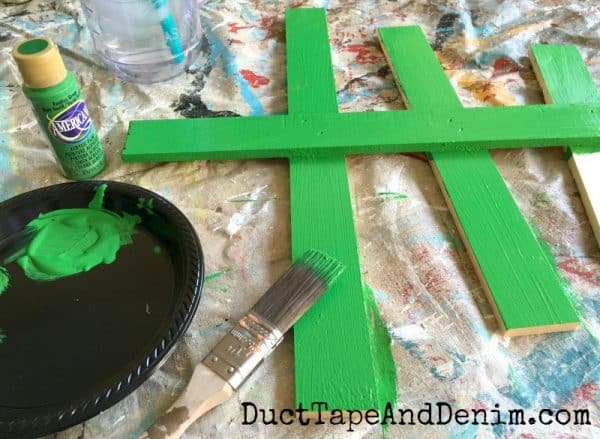
Here’s what the tree looked like before I started.
I didn’t even sand it. Just wiped off any loose pieces or dust. Then I gave it a couple of coats of acrylic paint.
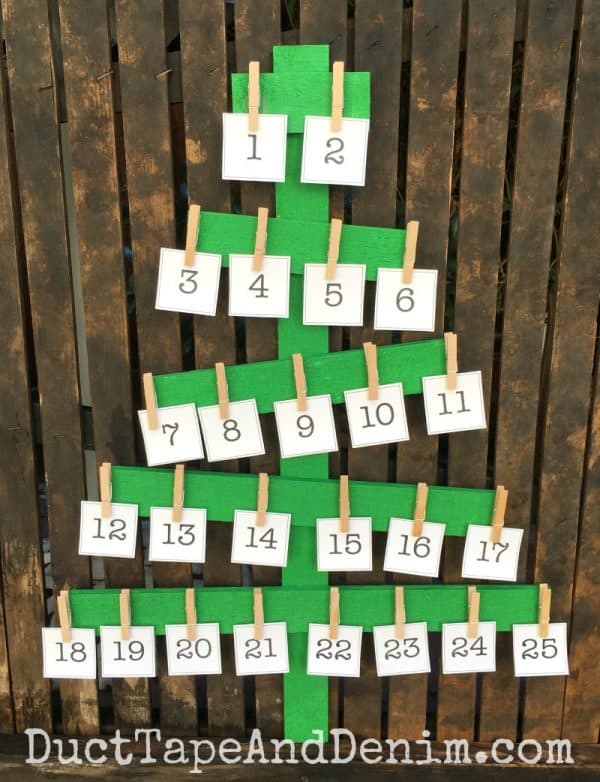
While the paint was drying I printed and cut apart the number cards. I wrote the Scriptures we used for Advent on the back. You could use these, your own, or write different family activities on the back of each card.
The clothes pins are just hot glued on. You could also use E6000 or wood glue. It would just take longer for the glue to dry. Now we can pull off a card every day, starting December 1, and read the Scripture to prepare our hearts for Christmas!
Here, the tree is leaning against the grape drying rack I bought at Junk Bonanza, Portland!
If you enjoyed this post, you might also like these:
- Vintage Frame Advent Calendar
- Christmas Book Advent Calendar
- Upcycled Advent Calendar with Tin Cans
- 33 Clever and Adorable DIY Advent Calendars
- DIY Matchbox Advent Calendar
Thanks for reading my project! Leave a comment and let me know if you used an Advent calendar this year.
‘Til the next project,
Ann @ Duct Tape and Denim
Pinterest | Instagram | Facebook | Twitter | Etsy | YouTube


Rehoboth says
Wonderful post