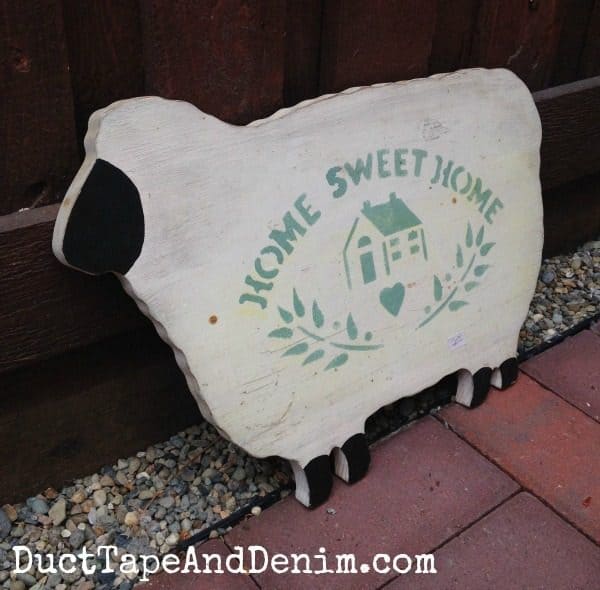
Sometimes my girls think I’m crazy when we go to the thrift store and I pick up something that looks like this. But when I first saw this I had a vision! So today I’m going to show you how to make a menu chalkboard with a wood shape found at a thrift store.
This post contains affiliate links. You won’t pay any more when you use these but I will earn a small commission on any purchases you make after clicking on them and I greatly appreciate it. Thanks for helping support my little blog!!!
{{{ Sign up for my newsletter and have all my upcycle projects sent straight to your inbox!}}}
How to Make a Menu Chalkboard
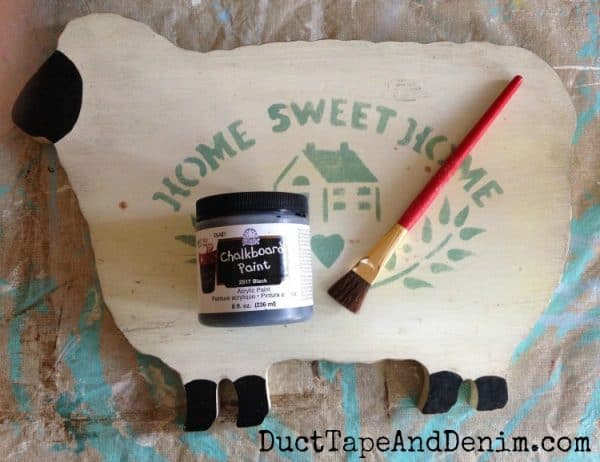
- wood board from thrift store
- sandpaper
- chalkboard paint
- paintbrush
I’m sure someone once thought this was cute. I probably would have painted it and put it in my kitchen back in the 90s.
All I did for this project was to lightly sand the whole surface and apply two coats of chalkboard paint.
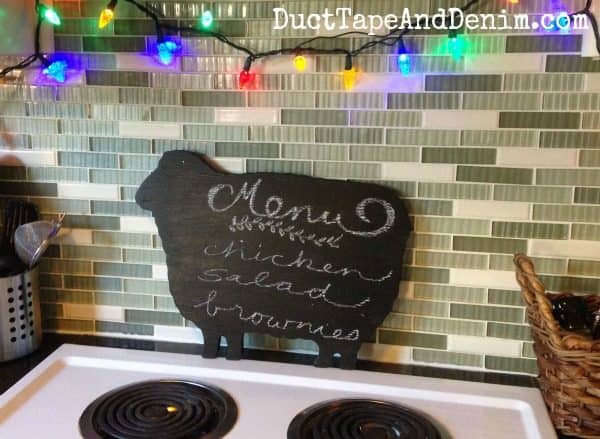
When the paint was completely dry I “seasoned” the chalkboard by laying a piece of chalk on it’s side and covering the entire surface. Then I wiped it all off and wrote my message.
I’m still working on my chalkboard lettering. I have the first book below and it’s been a HUGE help!
Yes, those are Christmas lights above. I kept them up ALL year long! Made the kitchen very festive.
If you enjoyed this post, you might also like these:
- Chalkboard Coffee Table
- Chalkboard Christmas Tree Door
- How to Make a Giant Chalkboard
- How to Make an Ornate Framed Chalkboard
- Vintage Suitcase Chalkboard Sign
Thanks for reading my blog!!! Originally published Mar 11, 2016.
‘Til the next project,
Ann @ Duct Tape and Denim
Pinterest | Instagram | Facebook | Twitter | Etsy | YouTube


Leave a Reply