Welcome to the 6th annual Handmade Holidays Blog Hop! Can you believe it’s already that time of year? For this hop a group of bloggers and brands got together to share Christmas gift, decor, and food ideas. Today we’re sharing DIY gifts, tomorrow is DIY Christmas decor, and the next day is holiday food! Scroll down to enter our giveaway, too.
This post contains affiliate links. You won’t pay any more when you use these but I will earn a small commission on any purchases you make after clicking on them and I greatly appreciate it. Thanks for helping support my little blog!!! Iron Orchid Designs & DecoArt provided supplies for this project but the idea and opinions are my own.
Supplies & Tools for Vintage-Style Paper Clay Necklace
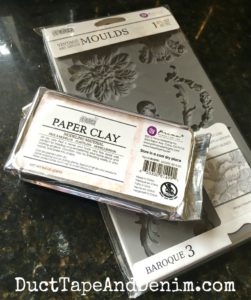
- Iron Orchid Designs Vintage Art Decor Mould, Baroque No. 3
- Iron Orchid Designs Paper Clay
- cornstarch
- antiqued brass eye pins
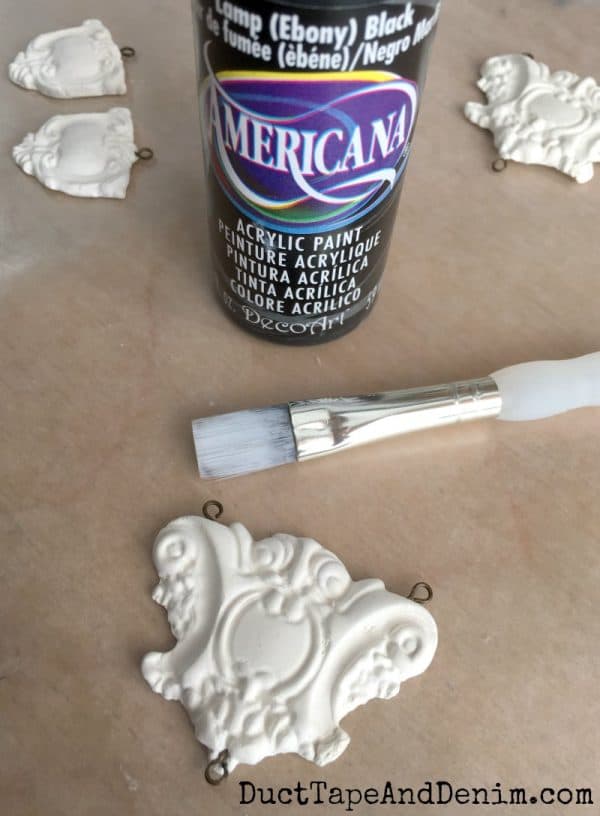
- black paint
- paint brushes
- DecoArt Metallic Lustre Wax, Champagne Ice
- 14 – 10mm clear round faceted glass beads
- vintage crystal
- antiqued brass chain
- antiqued brass jump rings
- antiqued brass lobster clasp
- jewelry pliers
- wire cutters
This was my first experience with paper clay and these molds. I was amazed at the amount of detail I could get and how easy it was to use.
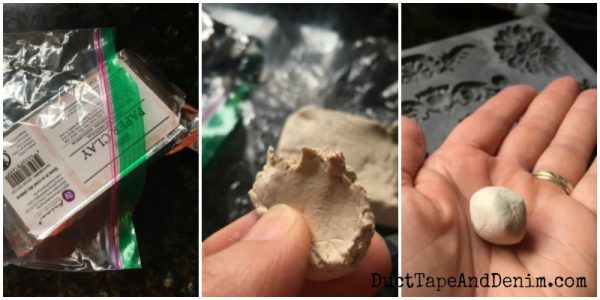
Paper clay does not need to be baked to become hard so make sure to keep it wrapped up or in a baggie. It dries when exposed to the air.
Tear off a small piece of paper clay. Return clay to package and/or baggie. Roll clay until warmed up and pliable.
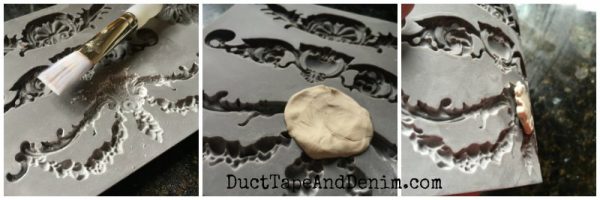
Dust mold with cornstarch so clay won’t stick. Press clay into the part of the mold you want to use for your jewelry. Remove excess. Molded clay can be removed immediately. Loosen one edge and roll the mold back for it to pop out.
Before the clay hardens, clip off most of the eye pins and stick them into the clay where you want to attach the chain, beads, or other findings. Allow the piece to dry for a few hours.
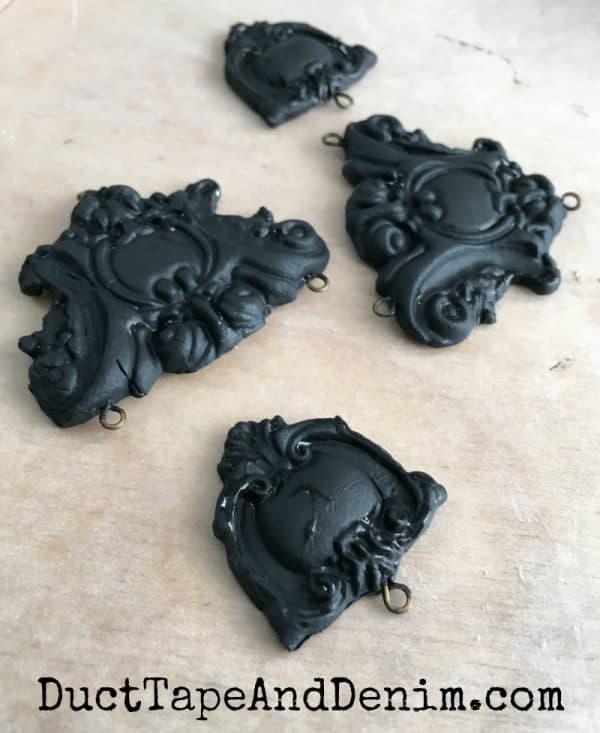
Paint the pieces black and let dry completely.
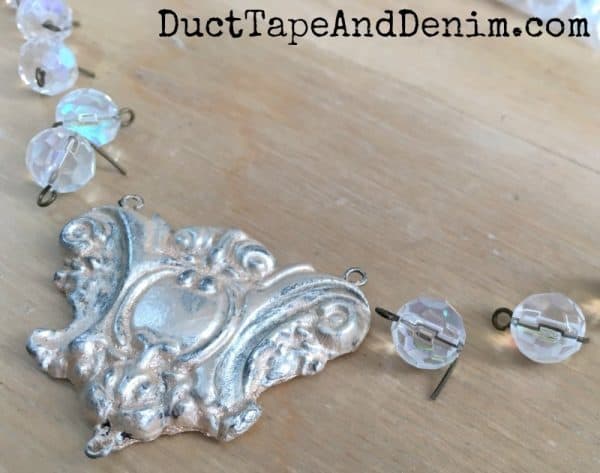
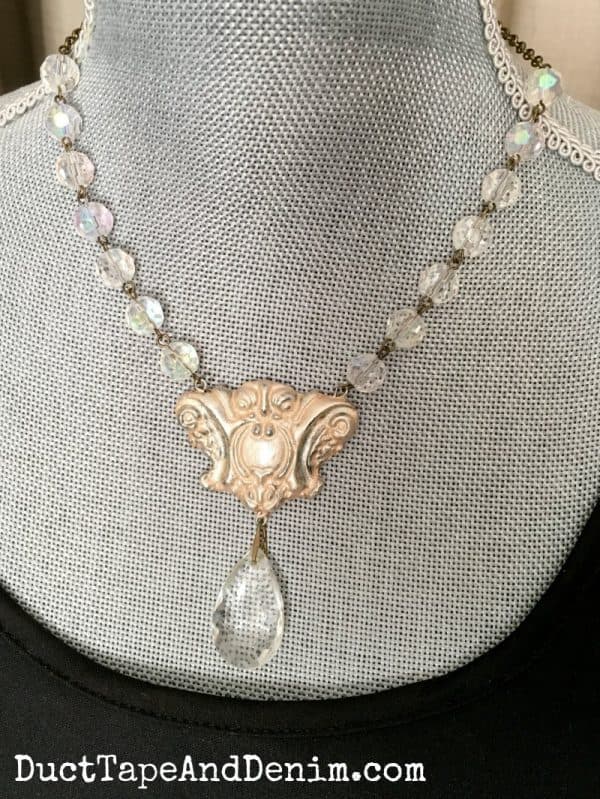
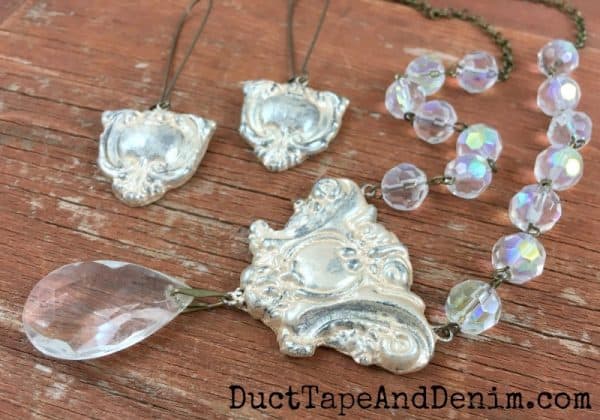
Rub metallic wax over the pieces with a finger or brush and buff with a soft cloth. String clear beads onto eye pins. Trim to approximately 1/4″. Create loop with round nose pliers. Link beads together, 7 on each side, and attach to top eye pins on paper clay pendant.
Attach chain to both sides of the necklace. Add lobster clasp to one side with small jump ring. Add vintage crystal to eye pin on the bottom side of the paper clay pendant.
For earrings, just attach the ear wires.
Now check out all the other DIY Christmas gift ideas:
Our sponsoring brands are giving away 11 prizes worth $50+ each. Winners will be drawn randomly from all contest entries on November 14, 2016. Enter now!
‘Til the next project,
Ann @ Duct Tape and Denim
Pinterest | Instagram | Facebook | Twitter | Etsy | YouTube


Kelli says
Oh! I need to try this! It turned out so beautiful, love it.
Sue LD says
Beautiful–so elegant!
Jennifer Priest says
What a great project! I bet it is light weight to wear too. Love!
Gilda (McStamper) says
Beautiful idea.
barb macaskill says
Absolutely gorgeous! TFS!
Linda Storey says
WOW! It’s very pretty!
Kim Wolff says
This is a great necklace! So eloquent!
Rebecca says
That’s beautiful! I’ve never heard of paper clay before. I can’t wait to try it.
Michelle says
Absolutely gorgeous Ann. My kind of jewelry and I love the molds you used. I need to get me some of those.
ducttapeanddenim says
You should! There are several styles and they all have a lot of vintage-style detail in them. You can even use them for chocolate or soap!
debbie says
These are drop dead gorgeous! Looks like you could use them in a chandelier too. Love!
Melony says
I never even heard of this before your post. That’s crazy easy and beautiful!!! Thanks so much for sharing!
ducttapeanddenim says
You should try it… it’s amazing!
Mary says
Amazing necklace, thanks for the great ideas 🙂
Hancocks London says
Such a creative use of paper clay for a vintage-inspired necklace—so unique and stylish! 🌟