Today’s project is a simple raised garden bed for our vegetables and flowers.
I don’t usually write about gardening but it’s something I’ve done on and off all my life. I even grew up on a farm… just in case you didn’t realize that.
When we moved back to Texas last year, my dad had one small raised garden bed for vegetables. He built another right next to his for me to plant so I planted tomatoes, squash, green beans, cucumbers, and okra. I also planted zinnias and sunflowers. Later I decided that I might have I overplanted flowers! I enjoyed them but I realized we could have had so many more fresh vegetables if I hadn’t planted so many flowers.
So this year, Bikeman built an addition on to the side of our first raised garden bed.
This post contains affiliate links. You won’t pay any more when you use these but I will earn a small commission on any purchases you make after clicking on them and I greatly appreciate it. Thanks for helping support my little blog!!!
Sign up for my weekly newsletter & have all our future projects sent straight to your inbox!
Supplies for Our Simple Raised Garden Bed
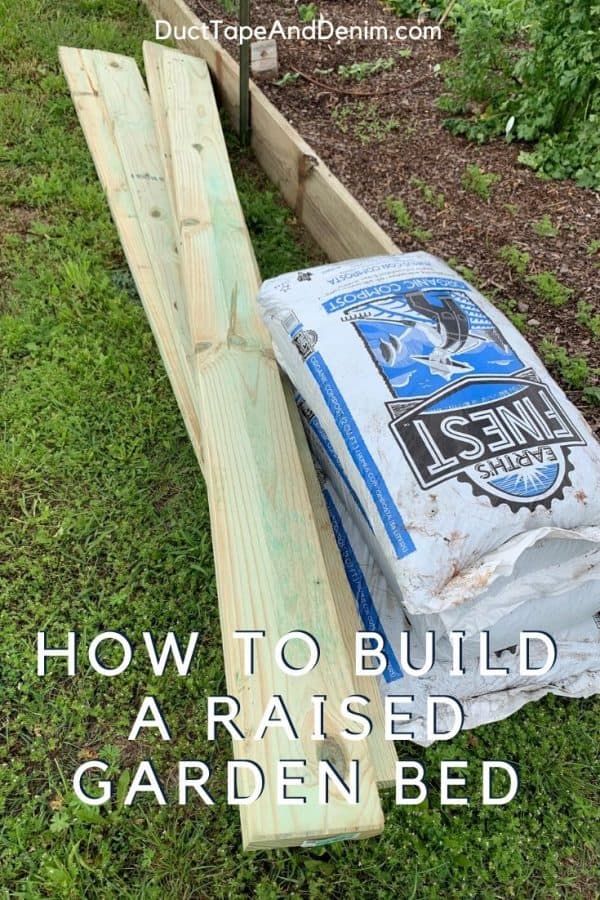
- 4 – 10′ 2″ x 10″ boards (this is what we used for a 5′ x 15′ raised bed
- scrap wood for corner braces
- screws
- circular saw
- cordless drill
- dirt
- compost
- tractor optional
If you’d like to learn more about vegetable gardening in raised beds, check out these books. The Square Foot Gardening Book has been one of my favorites for YEARS!!!
How to Build an Easy Raised Garden Bed
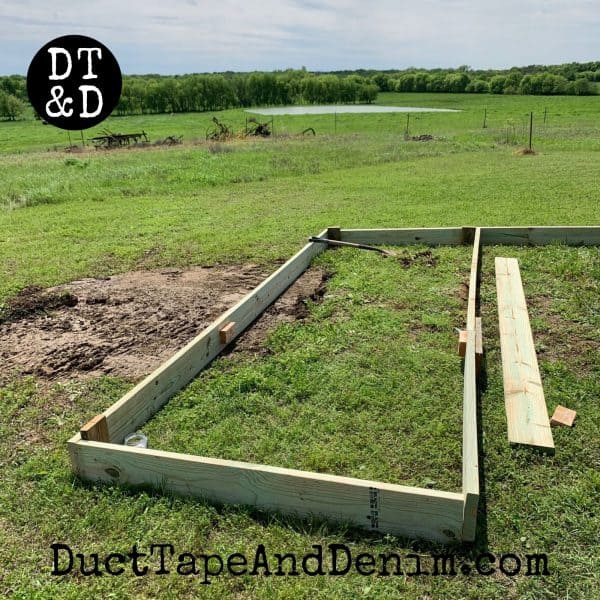
First, decide on the size of the bed. We wanted to match the garden bed we had last year. It was approximately 5′ x 15′. We took my dad’s pickup to Lowe’s so 10′ boards fit best. We decided to patch two boards together for the sides. Bikeman cut pieces of old scrap lumber as supports for the sides and the corners.
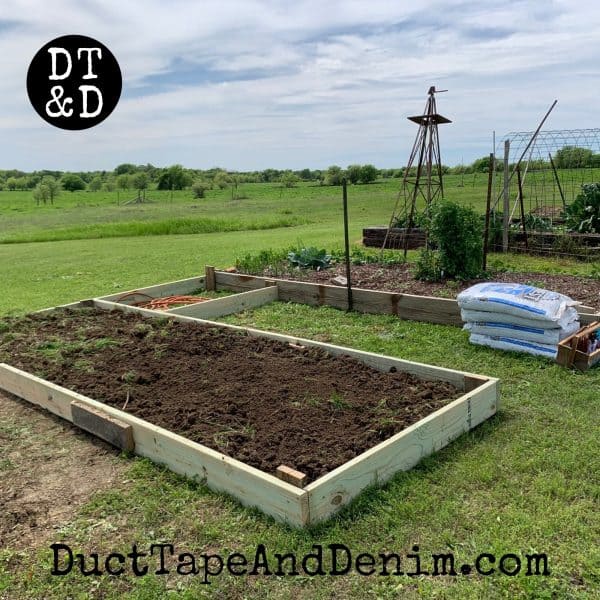
Here you can see how we used the scraps in each corner and on the sides. The boards are screwed together but not staked into the ground. The whole thing is just sitting on top of the ground. We also decided to connect the new bed to the old one, making a U shape.
We’re lucky that my dad has a tractor and was willing to scoop up some topsoil from the creek bottom for our garden.
Here’s the completed U shaped raised garden.
After the beds were filled with soil, I broke up the big clods of dirt and turned over the grassy pieces. This process took me a few days.
Then I covered the entire bed with a couple of inches of compost and started planting.
The weed seeds and grass from this load of topsoil will be more work the first year. But I’ll keep adding mulch whenever I plant and pulling weeds. The second planting season will be much better, and by the third year there will just be a few weeds to pull.
Pressure Treated Wood vs Non-Pressure Treated Wood
You may be concerned about the chemicals used in pressure treated wood and if those chemicals will be in the vegetables you’ll be harvesting from your garden. After reading this article, we decided it wasn’t an issue for us. Studies have shown that the chemicals that the lumber companies are now using are not absorbed efficiently by the body and the amounts leached from pressure treated wood into the soil are small.
Do You Need a Garden Liner?
Garden liners do several things: control weeds, keep the soil in the raised bed, and keep pests out.
As you can tell from the photos, we didn’t use any kind of underlayment or garden liner in our raised beds. Garden liners are much more important if you’re building your garden on a hard surface, like a patio or cement slab where you don’t want the soil coming out from underneath the wood sides.
Since we’re planting on dirt anyway that didn’t matter.
You might think we should have used a liner to block the weeds from coming up through the soil. Since we didn’t have any problems with the other beds that didn’t use liners, we didn’t use one for this bed either.
I’ll leave that up to you. And if you’d like to include an underlayment or garden liner, here are a few places you can get them online:
You can also layer old newspaper or cardboard. I’ve also heard of gardeners using chicken wire to keep gophers or voles from burrowing into their garden. We don’t have those animals here so that’s not a problem for us either.
I also follow a modified no-till gardening method… let me know if you want to hear more about that.
More Information About Raised Garden Beds for Vegetables or Flowers
If you enjoyed this raised garden bed project, you’ll probably like these, too:
- Patio Gardening — This is how I used to garden in our California townhouse… quite different!
- 10 Things Every New Gardener Needs to Know
- Vegetable Gardening for Beginners
Thanks for reading about my DIY garden bed project. Let me know if you have any questions or recommendations… we’re always learning more about gardening. And I’m already dreaming about building ANOTHER raised garden bed next year… maybe we’ll add one a year!
‘Til the next project,


Corten says
This is great! I’m about to close on my first house next week Friday. I want to make a couple raised bed boxes and this makes it look really easy for a first time DIYer! Appreciate the work you put into this post, it’s very helpful for me!
Mick Garrett says
You are brave to use “creek bottom” soil for your project. Guaranteed to create weeds and lots of extra work where we live. We use cardboard to line beds whenever possible as everything grows including an abundance of WEEDS in our temperate climate.