Today I’m going to share one of the easiest ways to upcycle a thrift store jewelry cabinet! It’s “green” in more than one way… just scroll down to see what I mean.

This post contains affiliate links. You won’t pay any more when you use these but I will earn a small commission on any purchases you make after clicking on them and I greatly appreciate it. Thanks for helping support my little blog!!!
Supplies for Glazed Green Jewelry Cabinet
Here are the products I used for this thrift store makeover with links to the products on Amazon. These can also be found at local craft supply stores and hardware stores but at least these links can show you what you’re looking for.
- old jewelry cabinet — thrifted
- Americana Decor Chalky Finish Chalk Acrylic Paint in Enchanted
- Americana Decor Chalky Finish Chalk Acrylic Paint in Carbon
- Americana Glazing Medium
- Americana Decor Light Satin Varnish
- Zibra 2″ Angled Sash Brush
- DecoArt Metallic Lustre Wax in Gold Rush
- sandpaper
- old t-shirts & other soft cloth rags
{{{See a complete list of what’s in my toolbox and supply cabinet.}}}
How to Paint a Thrift Store Jewelry Cabinet
Do you still find old jewelry cabinets at the thrift store? Have you thought about painting one? I used to find one almost every time I went to the thrift store but they’re getting harder to find. And sometimes when I do find a thrift store jewelry cabinet it costs MORE than what I used to sell my finished ones for!
I actually painted this over four years ago and I wasn’t planning to write a blog post about it. So I didn’t do a good job of photographing all the steps. But this DIY project was so similar to many I’ve done before, so I’ll just tell you what I did.
Step One: Remove the Hardware and Glass
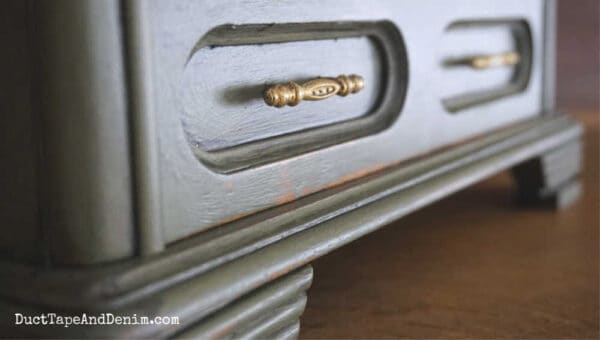
The glass was held in by little pieces of metal and tiny screws. That was easy to remove. I didn’t take off the handles. These were stuck in the drawers and I didn’t want to take a chance of breaking something. I also did not remove the hinges or the handle on the door.
TIP: Make sure you put all your hardware together in a safe place, ie small jar with a lid, zipper baggie, etc.
Step Two: Clean
I usually use whatever cleaner I have nearby. Something that cuts grease is best. That could be a Clorox wipe, glass cleaner, or some other spray cleaner.
Step Three: Paint the Thrift Store Jewelry Cabinet
Painting tips:
- Most chalk paint needs a couple of coats to cover the old wood finish
- Start with the jewelry box upside down so hard-to-see spots can be seen
- If the chalk paint seems thick add a bit of water OR use a mist sprayer to get the wood surface slightly damp before painting
- Allow the first coat to dry completely
- For the second coat, either water down a little of the paint or dip the paintbrush in water before dipping in the paint
- Use a small artist’s brush to get into small, tight areas
Step Four: Distress
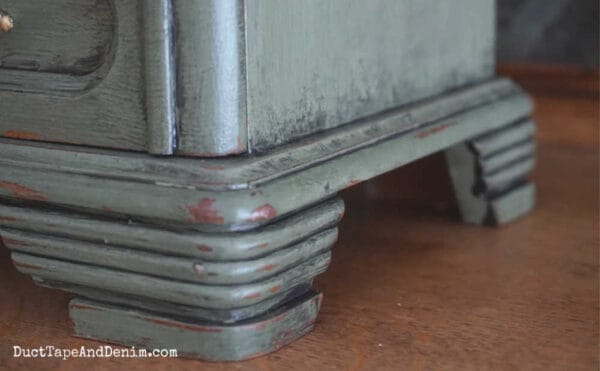
First, I sanded to remove some paint. I used a 180-grit sanding block but you could also use sandpaper or wet distress. Take off as much or as little paint as you want.
If you don’t want a distressed look, sand very lightly with 220-grit sandpaper.
Next, after wiping off the sanding dust, I glazed the piece by mixing a little black paint with the glazing medium and brushing it on. Then I lightly wiped it off, leaving the dark glaze in the grooves and crevices. You can leave as much or as little as you want at this point.
Step Five: Top Coat
I gave the jewelry cabinet one coat of Americana Decor Light Satin Varnish and let it dry overnight.
Step Six: Wax Hardware
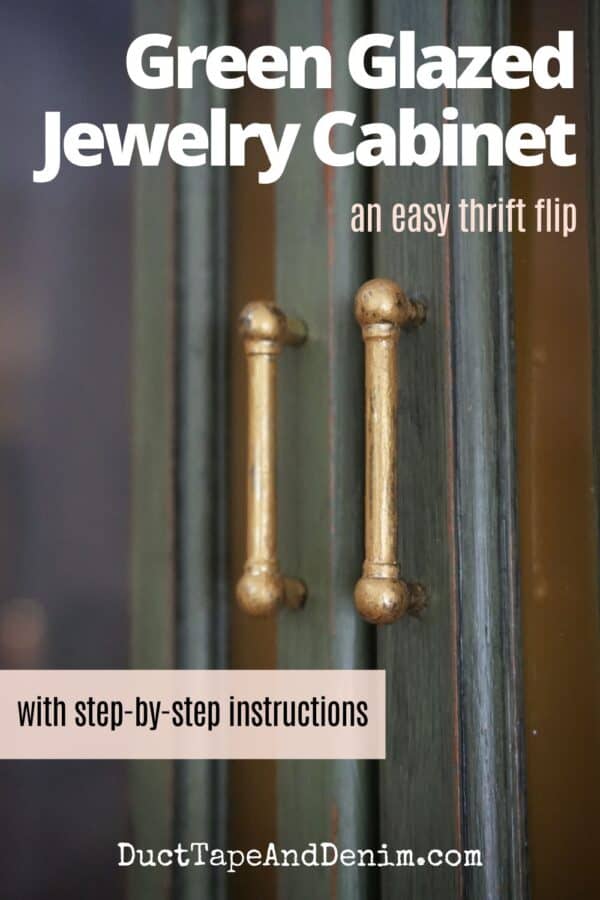
Sometimes I paint the hardware, sometimes I don’t do anything to it. But on this project, I used DecoArt Metallic Lustre Wax in Gold Rush. I lightly tapped my finger on the wax and lightly rubbed it across the surface of the handles. Then I let it dry and buffed it with a soft cloth.
Step Seven: Replace the Hardware on the Jewelry Box
After the top coat has dried overnight, I replaced the hardware and glass.
Sometimes I replace the glass with metal or screening, but these doors actually had lightweight undecorated plastic pieces so I decided to leave them.
This sold in my booth at Paris Flea Market for about $40.
More DIY Jewelry Cabinets & Thrifted Projects
If you enjoyed this post, you might also like these:
- How to Mix Black & Blue on a Jewelry Cabinet with Dixie Belle Paint
- Vintage Jewelry Box Makeover with a Transfer
- Standing Jewelry Armoire Makeover
- Thrift Shop DIY Upcycled Jewelry Box
- How to Create a Colorful and Unique Turquoise Drip Jewelry Cabinet
Thanks for reading about my thrift store jewelry cabinet makeover! There will be more to come this year!
‘Til the next project,


London Jewellers says
Love this DIY jewelry cabinet idea—such a creative way to showcase thrift store finds!