This is a sponsored post written by me on behalf of Dollar General. All opinions are 100% mine.
Summer is drawing to a close but we have one last trip to take. My hubby loves to mountain bike so we are headed up to Tahoe where he can ride the ski lift up to the top. Does that count as mountain biking? Anyway, I won’t be biking. I’ll get a little computer work done, hike, and explore the mountain bike (aka, ski) resort.
We wanted to travel light so I downsized my “bathroom bag” that I usually take on trips and decided to make my own little makeup bag. Then Dollar General asked me to check out their everyday beauty essentials. Perfect timing!
I honestly didn’t even realize that Dollar General carried name brands. I thought they only had knock off brands that weren’t the same quality. So I was pleasantly surprised when I got there and saw brands that I was familiar with! Since I was making this makeup bag for our quick trip to Tahoe I wanted a few travel size beauty products. When I got to Dollar General I saw they actually had some of the makeup I wear so I grabbed a few full size items, too. 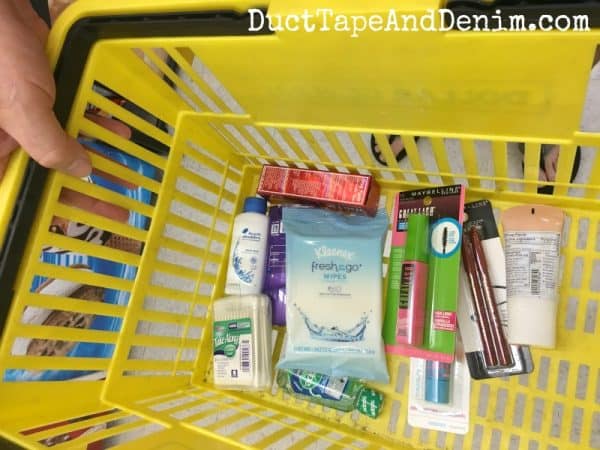
Basic Beauty Products for Travel
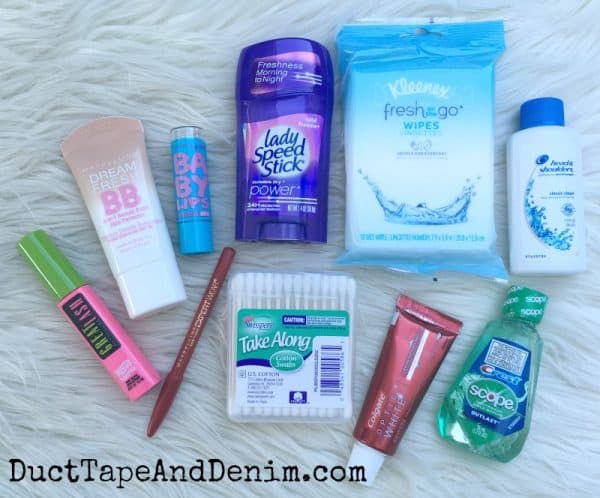
Here’s a basic list of beauty products to take with you when you’re traveling light and the brands I bought at Dollar General:
- foundation (w/sunscreen) – Maybelline BB Cream
- mascara — Maybelline Great Lash
- brow/eye pencil — Maybelline
- lip balm w/sunscreen — Baby Lips
- shampoo — Head & Shoulders
- deoderant — Lady Speed Stick
- toothpaste — Colgate Optic White
- toothbrush (not shown)
- mouthwash — Crest
- wipes — Kleenex
- cotton swabs — store brand
 Find these products and more at Dollar General.
Now, to make a makeup bag to hold everything. I found this zipper pouch tutorial on Pinterest and came up with something similar with scraps of fabric I already had. 
Supplies Needed for DIY Travel Makeup Bag
- 2 – 7″ x 9″ pieces of fabric (I used drop cloth leftover from my pom pom blanket.)
- 9″ zipper
- thread
- scissors
- pins
- tape (optional)
If you read the post that I found on Pinterest, she recommended using tape instead of pins to hold the zipper while you sew it on. This is the first time that I tried it. Read on to see my opinion. First, I lined up my zipper along the 9″ side of my drop cloth rectangle, right sides together. I taped it down so it wouldn’t move.  Notice I switched to the zipper foot of my sewing machine. That’s one of the secrets in adding zippers! Using a zipper foot makes the spacing perfect.
  After this step I thought that was a brilliant idea! No pins to hit. Plus sometimes the pins make my zippers move over a bit. This came out smooth and straight. So I matched up the zipper with the other fabric rectangle and taped again. This side I had to wrap the tape over the edge and ended up sewing through it.
  That side came out smooth, too. But removing the tape was a different story. That was probably the longest part of the whole project! I probably won’t tape that side again. Or I’ll get narrower tape so I won’t be sewing through it. This is what my project looked like:
  Next, I decided to topstitch. This isn’t a necessary step but I like the way it looks. I kept the zipper foot on and used the edge of it as a guide for my topstitching.
 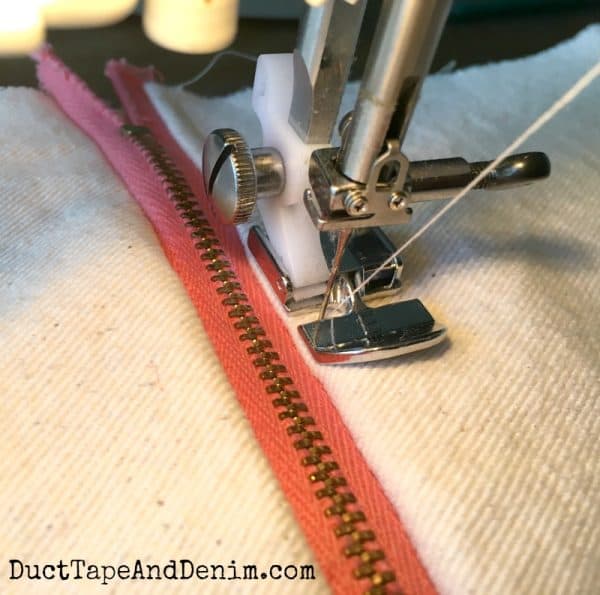 After topstitching:
  Then, I sewed the two pieces of drop cloth together around the other three sides. Right sides together and make sure the zipper is open just a bit so you can unzip it after sewing. (Don’t ask how I learned that!)
 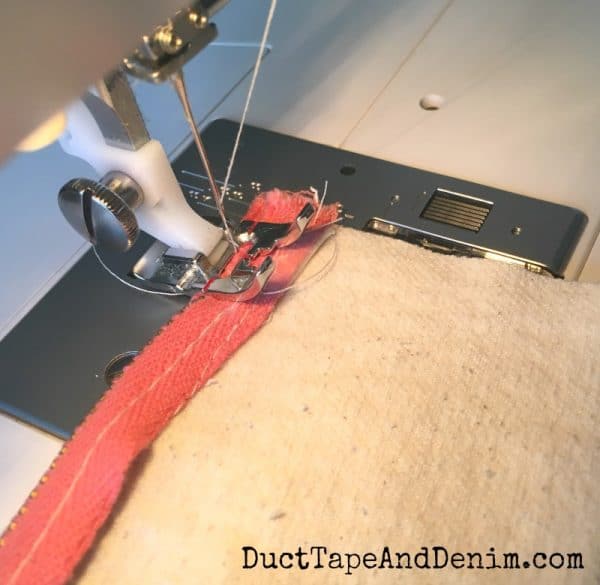 And, ta da! It’s done. It probably would have taken about 10 minutes if it wasn’t for sewing through that tape!
 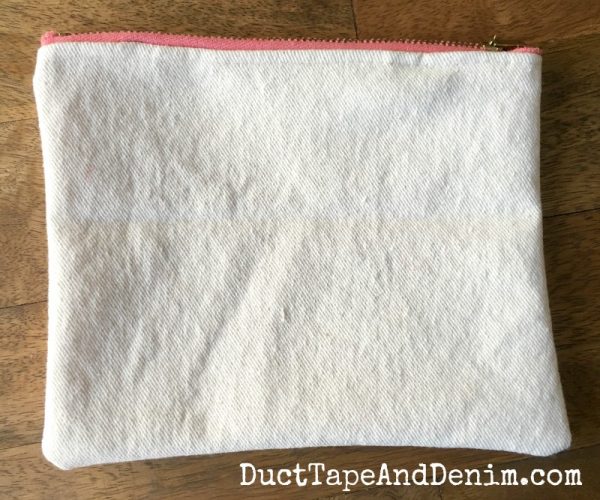 You could also add a liner if you want but that’ll be another project.
  Now to fill it up!
 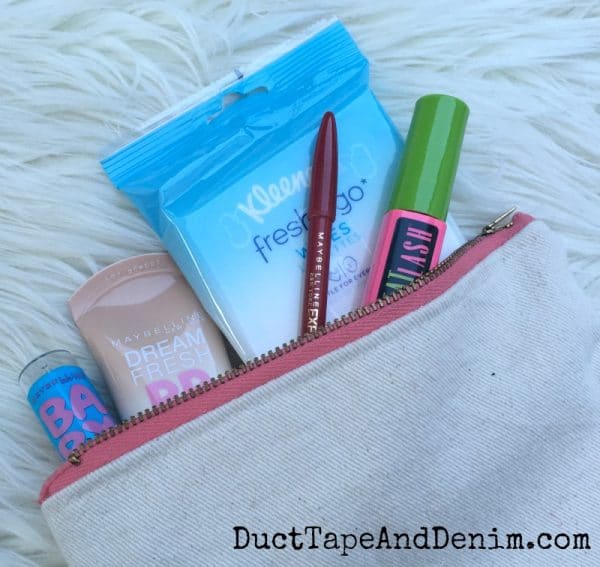 Yep! Got it all in.
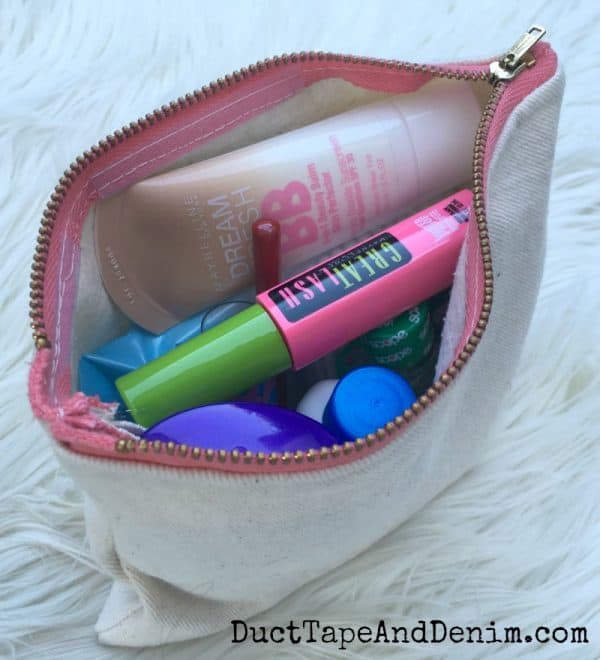
Ann @ Duct Tape and Denim
Pinterest | Instagram | Facebook | Twitter | Etsy


Christy says
this is so cute Ann! You are a girl after my own heart with all that lovely (and cheap!) makeup. I am a makeup junkie – ever since my mom told me I couldn’t wear it in jr. high, I always told myself that once I was old enough, I would have ALL the makeup I ever wanted, lol! Cant wait to check out my local Dollar General – thanks for the tip!