Today’s project is one I made about 8 years ago. I thought for sure I had shared it on the blog but as I went through my previous posts I couldn’t find it! Oops… It’s a fun, MESSY, but simple project that you will want to save for future fall decor. Even though my decoupaged paper mache pumpkin is 8 years old, I still pull it out every fall. Keep reading to see just WHY this one is so special!
This post contains affiliate links. You won’t pay any more when you use these but I will earn a small commission on any purchases you make after clicking on them and I greatly appreciate it. Thanks for helping support my little blog!!!
Join our 30 Days of Thanksgiving email list & receive daily emails leading up to Thanksgiving Day!
My Special Paper Mache Pumpkin Project
This pumpkin decoration is especially meaningful to me because of what I decoupaged onto it.
Several months before I made this pumpkin I asked my family members to write down things they were thankful for. Even the family members that live far away sent me their lists in the mail or scanned them and attached them to an email.
I made copies of those lists and some of my favorite family photos from the year to decoupage onto my paper mache pumpkin!
Supplies for the Memory Pumpkin Decoration
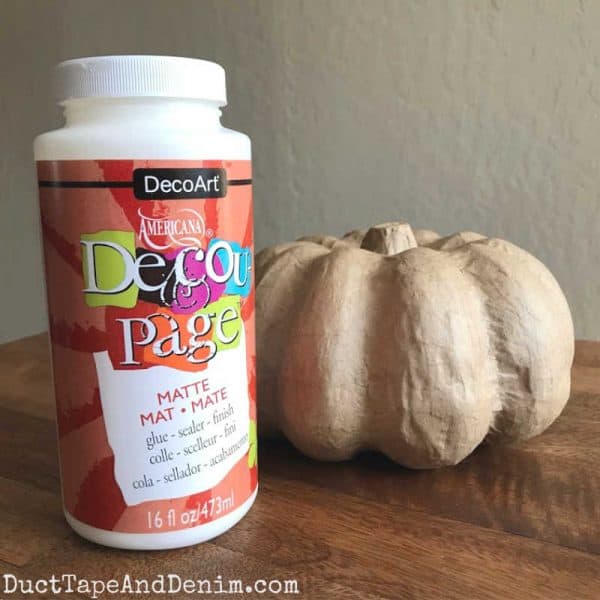
- paper mache pumpkin – These come in very interesting shapes, too.
- decoupage medium
- photocopies of family photos and handwriting notes
- pages from old books
- leftover paint
- crackle paint
{{{See a complete list of what’s in my toolbox and supply cabinet.}}}
How to Decoupage a Paper Mache Pumpkin
I wasn’t even thinking about sharing this project 8 years ago, so I didn’t take any photos or videos but I hope to add a video of a similar project soon.
First, I covered the pumpkin with pages from an old, worn-out book that came from the thrift store. It just takes a little manipulation and some tiny cuts or tears to get the flat paper to lay right on the round pumpkin.
Then I tore my lists and photos into narrow pieces to make them lay down smoother and decoupaged them on.
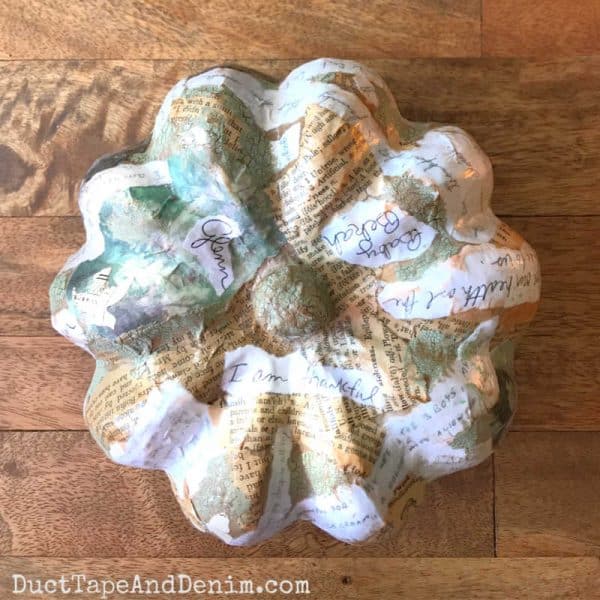
After the decoupage medium was completely dry I added some paint, crackle medium, and ink to age it a little.
Finished Thanksgiving Pumpkin Decor
Here’s how mine turned out. It’s held up pretty well over the last 8 years.
I store all my fall home decor in large Rubbermaid storage containers either in our attic or storage unit.
The first week of September every year my special memory pumpkin comes out and finds a new place in our home.
More Fall Craft Projects
If you enjoyed this paper mache pumpkin project, you might also like these:
- 25 Repurposed Junk Pumpkins
- Junky Pumpkins Made from Vintage Jello Molds
- 14 Fall Decor Home Tours
- Easy Sew Fabric Pumpkins
- Decoupaged Map Pumpkins
Thanks for reading and I would love to hear about your fall craft projects. Leave a comment and let me know what you’ve been making.
‘Til the next project,
Ann @ Duct Tape and Denim
Pinterest | Instagram | Facebook | Twitter | Etsy | YouTube


Kathy A says
Adorable and so full of memories!
Debrashoppeno5 says
So cute. I love how these little pumpkins can be changed in so many ways.
Jann Olson says
I have done this before and it is so fun! Thanks for sharing with SYC.
hugs,
Jann
Sheri says
Great idea and love how it turned out. Thanks for sharing at the To Grandma’s House We Go DIY, Crafts, Recipes and More Link Party! Pinned this! Hope to see you again next week.