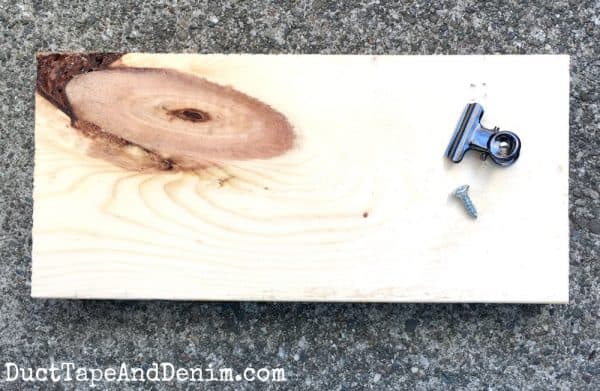
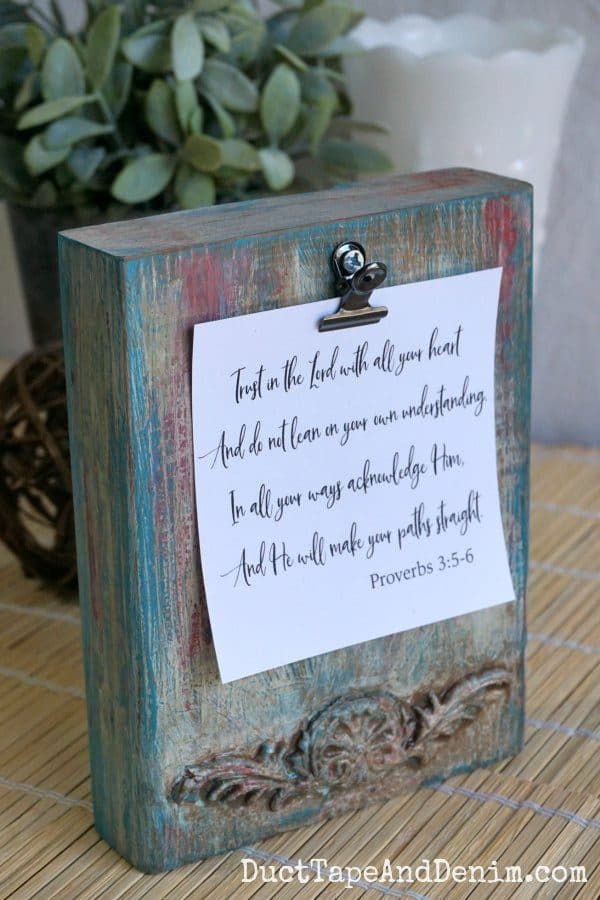
A few months ago I shared a simple wood photo holder that we made on a craft day at my house last summer. I had one bigger piece of wood left over so I decided to try my boho paint finish on it.

This post contains affiliate links. You won’t pay any more when you use these but I will earn a small commission on any purchases you make after clicking on them and I greatly appreciate it. Thanks for helping support my little blog!!!
Boho Paint Finish Wood Photo Holder
- wood block
- Dremel
- mini bulldog clip
- Iron Orchid Designs mold – I used Baroque No. 3
- paper clay
- wood glue
- 2 shades of turquoise chalky type paint – I used Americana Decor Chalky Finish Paint, in Escape and Treasure.
- coral acrylic paint – I used Watermelon Slice.
- light green paint – I used Americana Decor Satin Enamels in Moss Green
- white chalk-type paint – I used Everlasting
- burnt umber acrylic paint
- glazing medium
- spray bottle
- paint brushes – This is my favorite paint brush.
- palette knife
- sanding sponge
- craft heat gun
STEP ONE: MAKING THE PAPER CLAY CASTING
I love using these Iron Orchid Designs mold. They make even a simple block of wood look elegant. And it’s soooooo easy! I shared a video tutorial to make paper clay castings in THIS blog post.
I used wood glue to attach the paper clay casting.
STEP TWO: BASE COAT
Once it was dry, I painted the entire board with the two blue paint colors, not cleaning my brush in between. While that was still wet, I came back with my palette knife and added the contrasting colors in random places. I sprayed it with water and smeared it slightly with my palette knife.
Using a palette knife allows the colors to move around a bit but they don’t blend together like if you were using a brush.
I used the heat gun to dry it, focusing on the acrylic and enamel paints to get some bubbles and texture.
STEP THREE: WHITE WASH
When that paint was dry, I painted a thinned down coat of white paint over the whole board.
I waited until the white glaze was completely dry before using the sanding block to bring out the colors.
STEP FOUR: GLAZE
Then I mixed a little burnt umber with the glaze and brushed it on and wiped it off with a rag. When that was dry I gave it a final sanding.
Here’s the Facebook Live video where I showed how to do this method on a photo holder board.
STEP FIVE: ADD CLIP
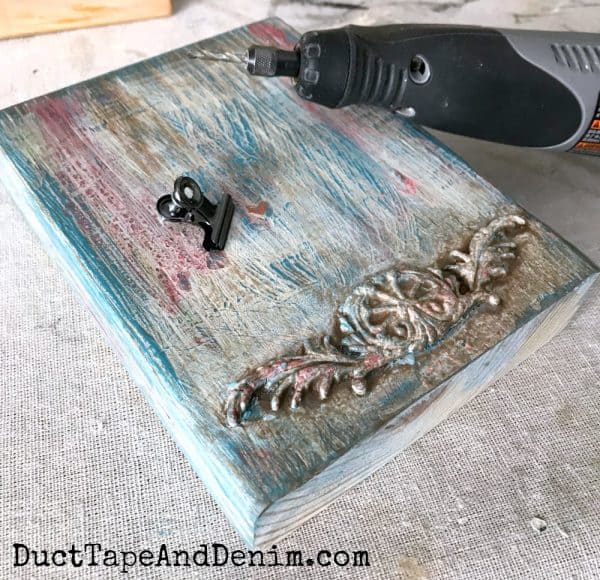
I drilled a starter hole with my Dremel and then screwed in a mini bulldog clip.
If you enjoyed this post, you might also like these:
- Simple Wood Photo Holder
- Vintage Spool and Oil Can Photo Holders
- Vintage Children’s Block Photo Holder
- 27 Unique Photo Display Ideas
- Vintage Salt Shaker Photo Holder
Thanks for reading my project. Let me know if you try making it. I’d love to see how it turns out.
‘Til the next project,
Ann @ Duct Tape and Denim
Pinterest | Instagram | Facebook | Twitter | Etsy | YouTube

nfdone We join in these blog parties.


Jenny says
Beautiful frame! The paint is so pretty on it. Thanks for sharing at #HomeMattersParty
Sheri says
cute! Thanks for sharing at To Grandma’s House We Go DIY, Crafts, Recipes and more Link Party! Pinned!
Michele Michael says
I’m loving the paper clay design applique. It really comes together on this piece. Thanks for posting at Funtastic Fridays.
Jann Olson says
Very fun! Boho style is so popular right now. Thanks for sharing with SYC.
hugs,
Jann
Cheryl Atkinson says
Hi Ann, I don’t have a business but i love your crafting ideas and i love love this Boho finish photo holder. Thank you for sharing with just little ol me. 🙂
ducttapeanddenim says
You’re welcome. And thanks for reading and letting me know… sometimes I wonder if anyone is reading! 🙂
Penny says
Love the projects so far!
Diane Southworth says
I read I’m and I 💘 your projects. Thanks for sharing.