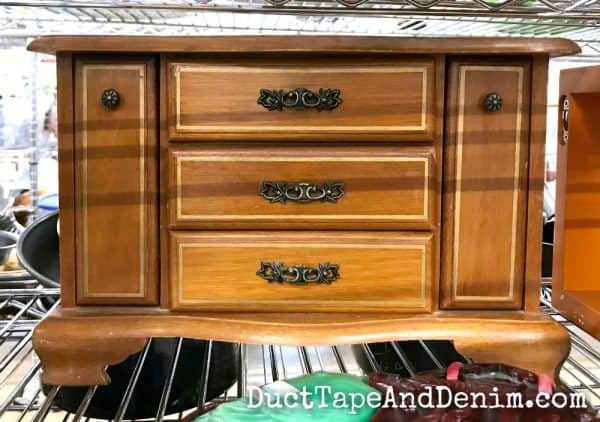
Did you see my boho painted jewelry cabinet that I shared last month? I used the exact same boho chic paint finish on this jewelry box. Here’s what it looked like when I found it at Goodwill. I think it was $4.99.
This post contains affiliate links. You won’t pay any more when you use these but I will earn a small commission on any purchases you make after clicking on them and I greatly appreciate it. Thanks for helping support my little blog!!!
Boho Chic Paint Finish on a Jewelry Box
I don’t think I’ll go into much detail since this was done the same way as the jewelry cabinet. You can go back to that blog post and read the details if you want more info. The only thing I did different was the color in the glaze. You’ll see that below.
- 2 shades of turquoise chalky type paint – I used Americana Decor Chalky Finish Paint, in Escape and Treasure.
- coral acrylic paint – I used Watermelon Slice.
- navy paint
- pink – I used some leftover chalk type paint.
- heat gun
- white chalk-type paint – I used Everlasting.
- black acrylic paint
- glazing medium
- spray bottle
- paint brushes – This is my favorite paint brush.
- palette knife
- painters tape
- sanding sponge
I started by covering the jewelry box with the 2 shade of turquoise.
Then I added the secondary colors with my paint knife and dried them with the heat gun. That gives it the chippy texture I’m looking for. You can see exactly what that looks like in my video below.
Here’s the video. It’s long… and there are some commercials… but you’ll get a better idea of how I did this than just the pictures.
Once that layer was completely dry I thinned some white paint with water and brushed it on, letting it drip down the sides. I left the drawers in while I painted so the drips would flow evenly down the whole front of the jewelry box.
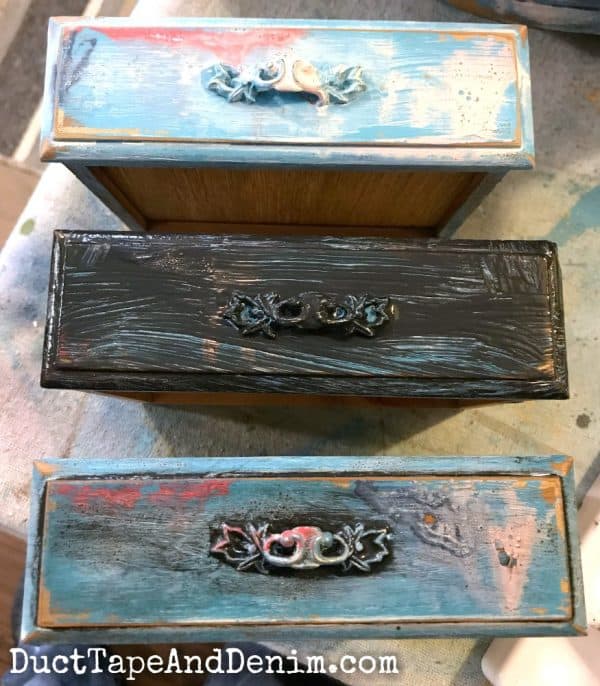
When the white paint was completely dry I sanded the entire jewelry box. Most of the white paint came off, as you can see in the top drawer below, but it stayed in the cracks and brush strokes.
Next came the glaze. I mixed my black paint with the glaze in about a 1:1 ratio (I didn’t measure) and brushed it on. Before it dried I wiped it off with an old t-shirt.
I really do like the layered look… do you think I should try it on a full-size piece of furniture now?
For those of you who wonder, yes, I do paint the backs of my jewelry boxes and jewelry cabinets. But I don’t paint the bottoms.
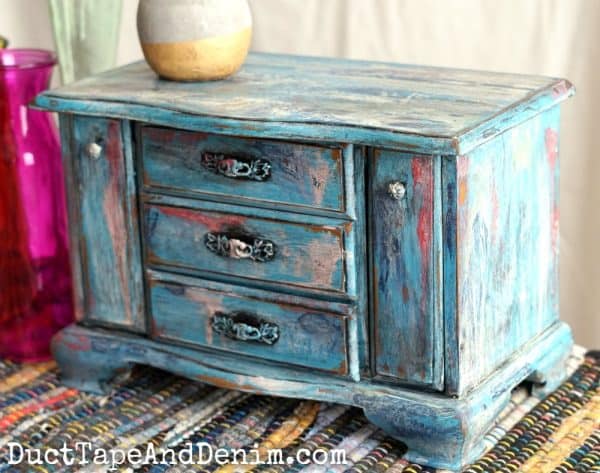
Here’s the finished jewelry box. What do you think? Do you prefer the black glaze or the burnt umber glaze?
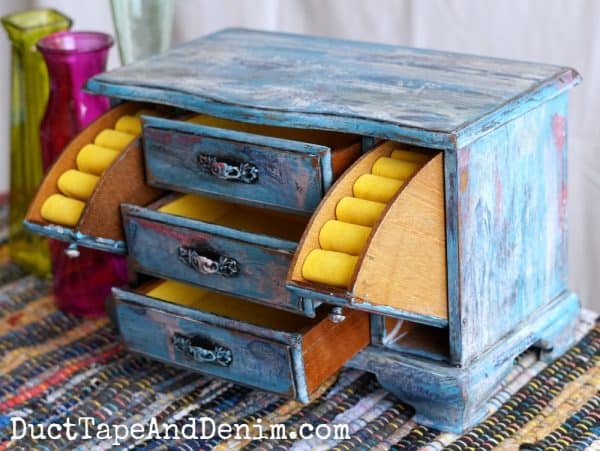
You get even MORE color when you open the drawers!
If you enjoyed this post, you might also like these:
- My Boho Paint Finish on a Jewelry Cabinet
- Red Jewelry Cabinet Makeover with Paint, Stencils, & Metallic Wax
- Simple Black Jewelry Box Makeover
- The Ultimate Guide to Jewelry Box Makeovers
- Biggest Furniture Painting Mistakes
Thanks for reading!
‘Til the next project,
Ann @ Duct Tape and Denim
Pinterest | Instagram | Facebook | Twitter | Etsy | YouTube

nfdone We share at these blog link parties.


Janice says
I think its a very cute paint technique;however, I like the number finish better. I’m trying one as my next project.
Chas says
Love the upcycle. Such a great feeling to bring something back to life again. Thanks for sharing on To Grandma’s House We Go!