Today is a bit of a “Throwback Thursday” project. My daughter got married a couple of years ago. Since we both love creating and DIY projects (plus we’re both really cheap) we spent a lot of time that summer making things for the wedding, including these personalized bridesmaids hangers. Since it’s wedding season again, I’ll be sharing a DIY wedding series on the blog. You’ll get a new project idea once a week. Please feel free to pin and pass them along to your friends and family who are planning weddings. Thanks!
This post contains affiliate links. By clicking on and using these you are being super awesome and helping support my blog. Thank you very much!
Supplies for Personalized Bridesmaid Hangers
- wooden hangers
- Staz On ink pad
- alphabet stamps
- assorted ribbons and charms
How to Make Personalized Hangers for Bridesmaids
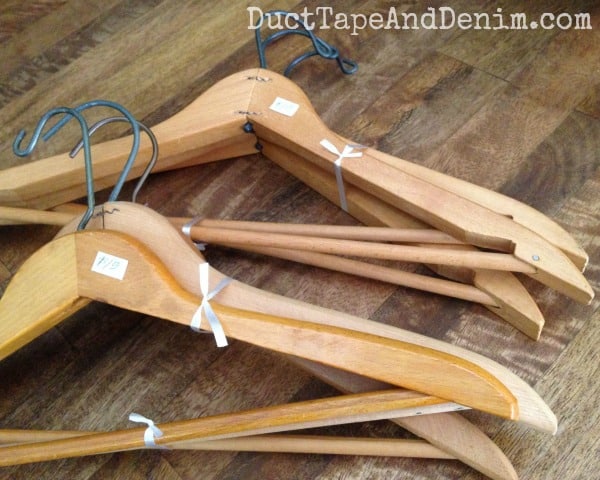
I started with these wooden hangers from my favorite thrift shop. You can see the price tag — $1.00 for 3 hangers. I collected these for a few months before we got started. But if you want to get yours all at once you can get them on Amazon (see links above). Still only about 75c apiece.
I used black StazOn black ink. This stuff stamps on ANYTHING! Including clothes… and it’s permanent so be careful. Don’t ask me how I know…lol…
…and these rubber alphabet stamps.
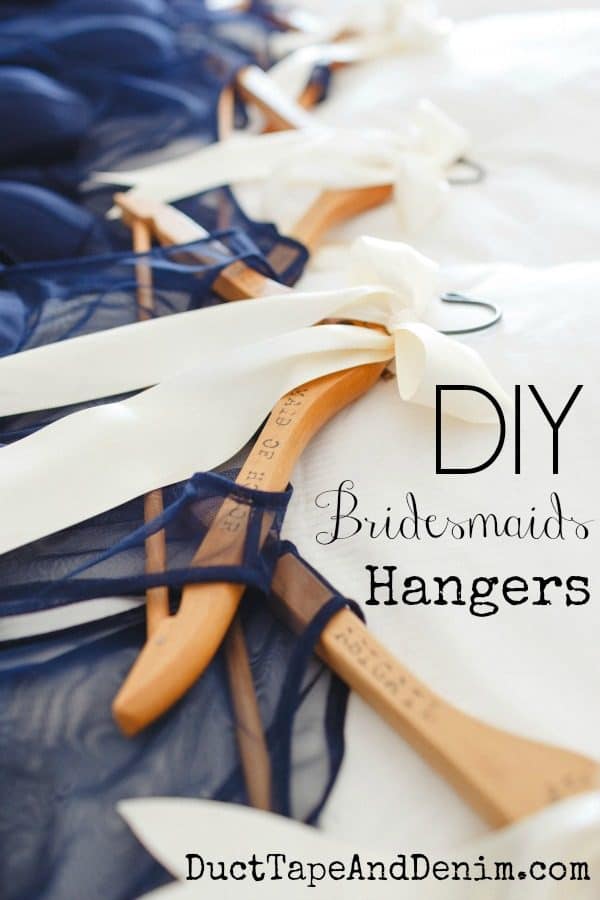
Here’s the stack after I finished the lettering. I stamped “bridesmaid” or “maid of honor” on one side and the girls’ names on the other. You could also make one for “mother of the bride” and “mother of the groom”.
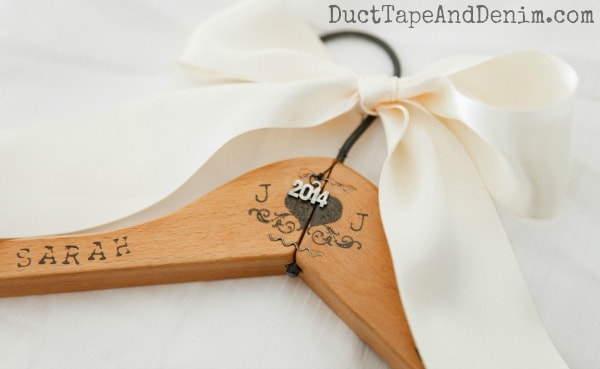
Then I added a heart and swirl stamp in the center with J’s on each side. One J for Jordann and one J for Jonathan. I had some 2014 charms leftover from my graduation necklaces so I added them with a little wire. Jordann tied the big satin ribbons since I’m “bow-challenged”.
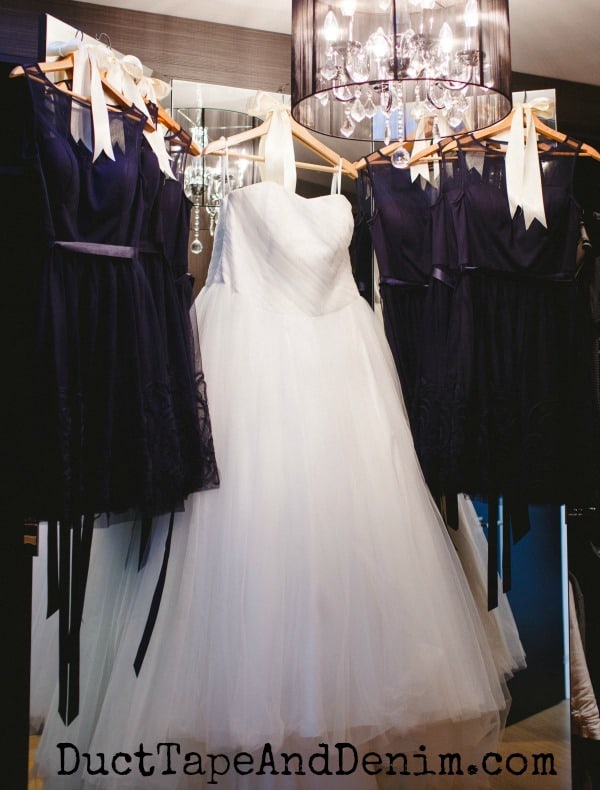
Here are the beautiful dresses on the hangers waiting for the girls on the wedding morning!
And here’s a collage of the beautiful bridesmaids. There is a more formal photo of them but I kinda like how their personalities come out in this one.
Then, after the wedding, each of the bridesmaids got to take their personalized gift home. I’m still using mine and think about that beautiful day every time I pull it out of the closet.
Don’t stop at wedding hangers… pick up these old wooden coat hangers at thrift stores and personalize them for you and your family or just decorate them for any occasion.
More DIY Wedding Projects
If you enjoyed these bridesmaids hangers, check out these other DIY wedding ideas:
Photos from the day of the wedding by Jana Melinda Photography. Step-by-step photos were taken by me with my iPhone! (Originally published March 30, 2017.)
‘Til the next project,
Ann @ Duct Tape and Denim
Pinterest | Instagram | Facebook | Twitter | Etsy | YouTube


kara says
That is one of the things on my to-do list! Get hangers for everyone!! I love those!!
Marie@The Interior Frugalista says
Love this idea! Pinning – inspiration for my daughter’s wedding.
Lauren says
Love it! I had forgotten that y’all had made these 🙂 Looks so easy!
Jana says
Yay! I loved your hangers! Definitely unique and so fun!!!!! Thanks for the tag! 😉
Gina says
Oh, I love the dresses and the ponytails, too! Nice gift idea – simple and vintage-looking!
Sue says
I love these and want to make for my daughters wedding. What did you use for wire to hang the year?
ducttapeanddenim says
I used this wire from Amazon: https://amzn.to/2ZqNah5 {affiliate link} — But that’s just because I already had it. Any flexible wire would work.
Kathy A says
What a great idea! Even with all of the newfangled hangers out there, it is still hard to beat the old wooden ones to help good clothes hold their shape. I have worn weird humps more than once from when sweaters stretched out from being mishung!