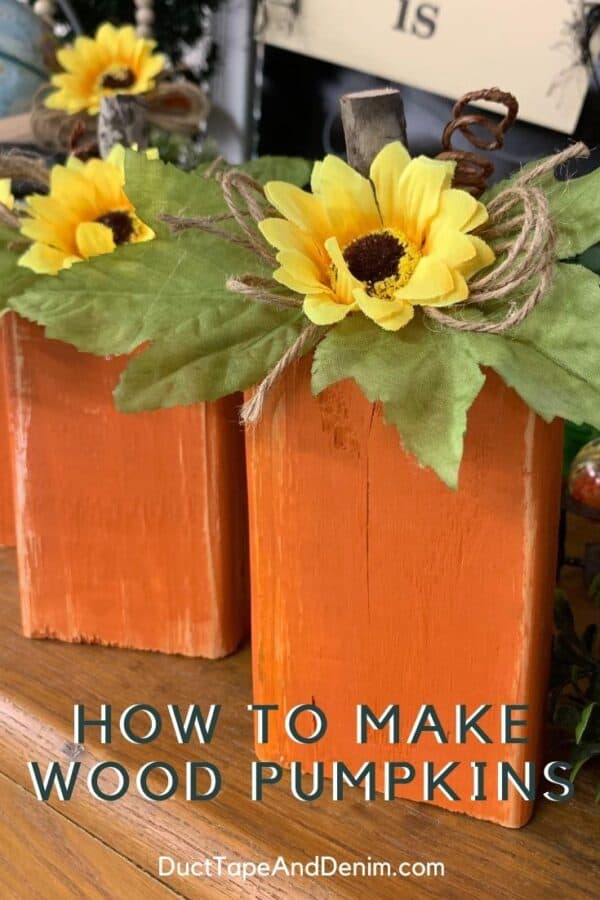
After one of our recent building projects on the farm, we had LOTS of 2×4 scrap wood left over. So I decided to make these cute 2×4 pumpkins. They are sooooo easy.
NOTE: We also sell these as wooden pumpkin kits in our online shop if you’d rather not cut your own.
This post contains affiliate links. You won’t pay any more when you use these but I will earn a small commission on any purchases you make after clicking on them and I greatly appreciate it. Thanks for helping support my little blog!!!
{{{ Sign up for our email newsletter and get ALL my future projects sent straight to your inbox! }}}
Supplies for 2×4 Pumpkins
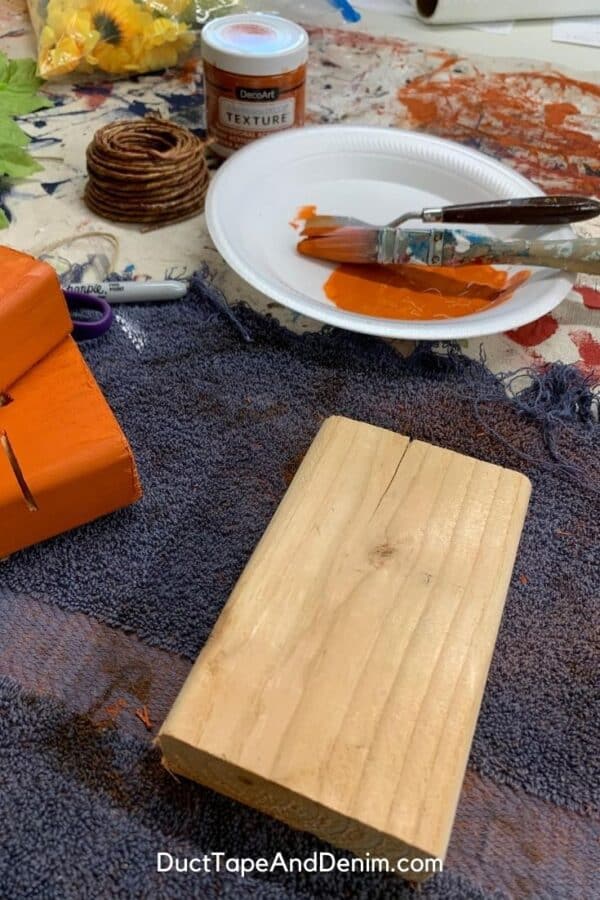
- 2×4 scrap wood pieces — We cut our wood scraps about 6″ tall
- orange acrylic paint
- sanding block
- 2″ piece of branch
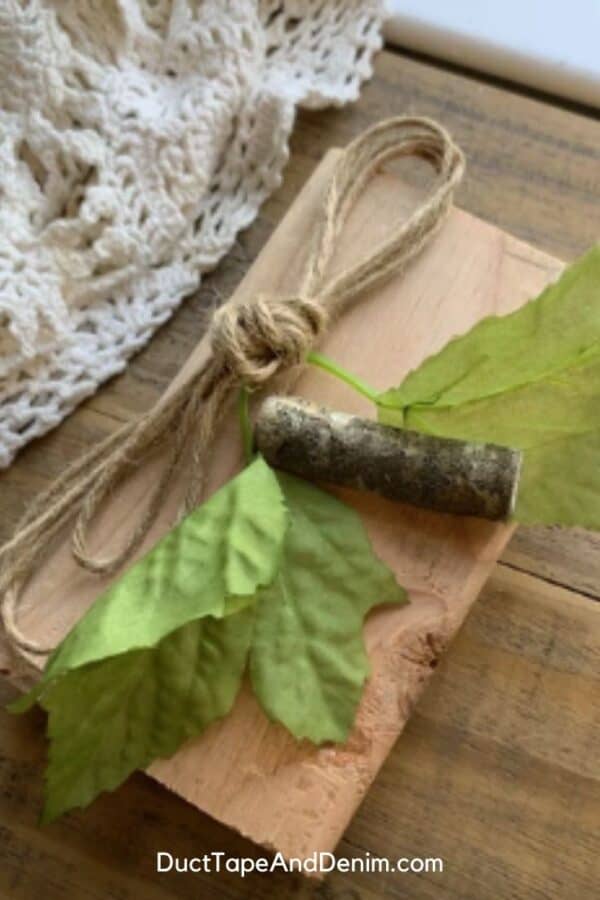
- fake leaves
- fake sunflower
- jute
- paper-covered floral wire
- hot glue or E6000
{{{See a complete list of what’s in my toolbox and supply cabinet.}}}
How to Make 2×4 Pumpkins
ONE: Cut and Prep Wood Scraps
Bikeman cut our 2″x4″ scraps into pieces that were about 6″ tall.
My dad had recently chopped down a dead tree in the yard so he also cut a branch into 2″ pieces. I was afraid there might be some insects in them so I “toasted” them in the oven at 250 degrees for about 30 minutes. I had read that that would kill any bugs or larva that might be in the wood.
TWO: Paint
My niece actually painted these for me. I left her in the SheShed with a pile of wood scraps, my old jar of textured burnt orange acrylic paint, and a paintbrush.
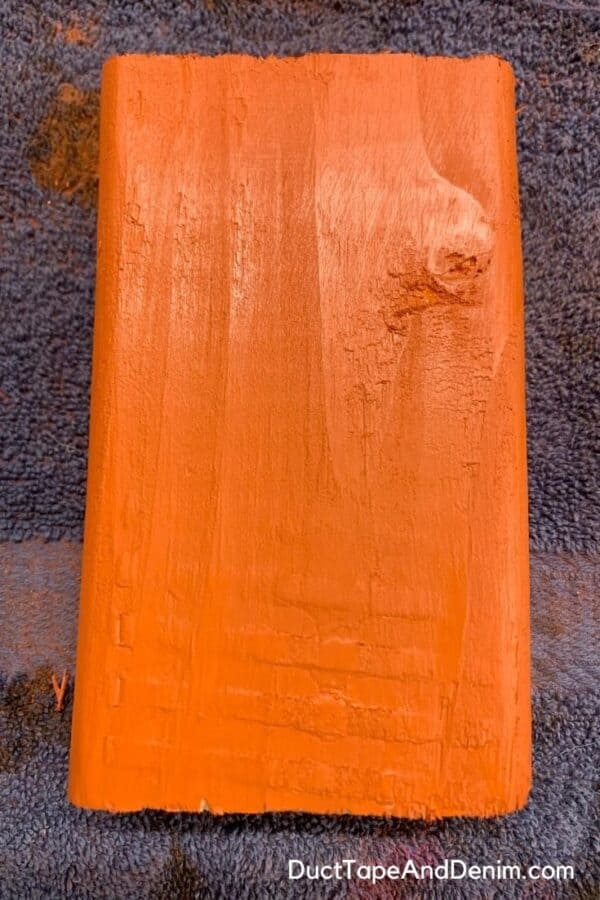
She gave each piece of wood one coat of this pumpkin-y color.
BTW, I only used textured paint because I had some leftover from a project last fall and I love the color for pumpkins.
THREE: Sand
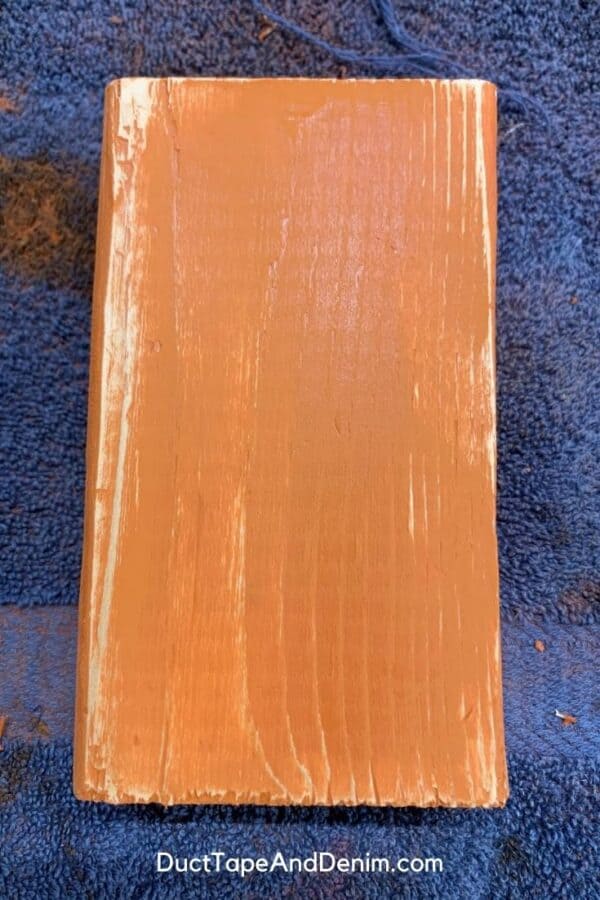
I did not sand the 2x4s before painting because I wanted to take a lot of the paint off when I sanded. So when I used my sanding block quite a bit of the raw wood came through… exactly what I wanted.
BTW, this step is optional. You can leave your wooden pumpkin solid orange if you want, paint stripes or polka dots, decoupage it, or finish it any other way you can dream up.
FOUR: Embellish
Here’s where you can really get creative and add whatever finishing touches you want.
I first glued the dead tree branch on as the stem then used hot glue to add the leaves, flower, jute bow, and wire tendrils. Watch the video below to see how it all comes together.
2″ x 4″ Pumpkin Video Tutorial
If you’re a visual learner and would rather watch me make these, take a look at our Facebook Live video…
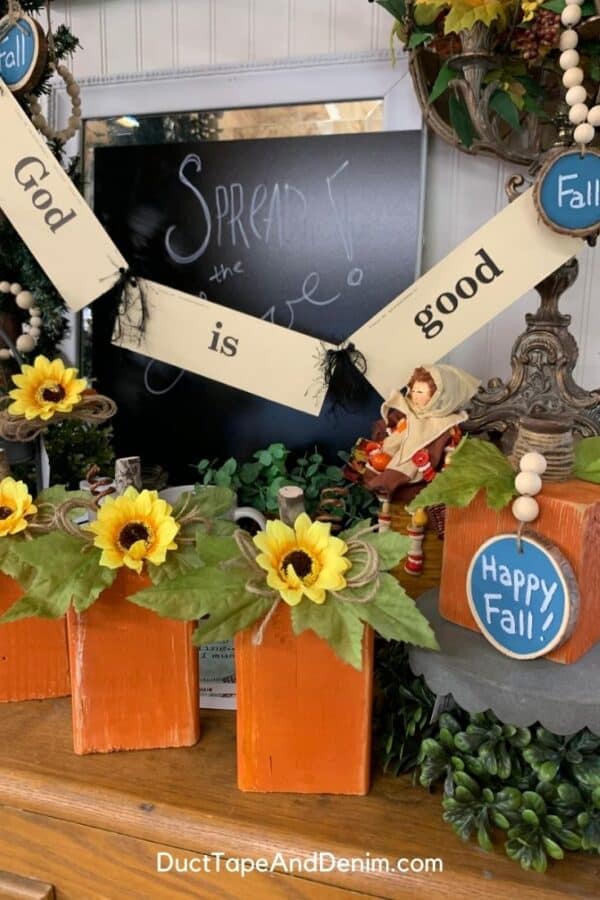
Finished Wood Pumpkins for Fall Decor
I finished a whole line of these to use in our fall decor at home and in the Waco shop. Then I sent a few home with my niece so she and her sisters could make their own. I’ll post a picture later when they finish them.
More DIY Fall Crafts and Wood Pumpkin Crafts
If you enjoyed this DIY craft project, you might also like these:
- 4″ x 4″ Pumpkin Candle Holder (coming soon)
- MORE Painted Pumpkin Craft Ideas
- 21 Easy Pumpkins You Can Make From Junk
- 25 MORE Easy Repurposed Pumpkins
- My Decoupaged Paper Mache Pumpkin
Thanks for reading! Leave a comment… I’d love to hear about your fall pumpkin craft projects.
‘Til the next project,
Ann @ Duct Tape and Denim
Pinterest | Instagram | Facebook | Twitter | Etsy | YouTube

Ruth Allison says
Love the pumpkins and would love to win the cup. Thank you. Ruth Allison
Kelley says
hello and thank you for sharing
David says
love your stuff
ducttapeanddenim says
Thanks!