A couple of years ago my blogging group was challenged by Leanne over at Diva of DIY to paint something with her Diva of DIY Chalk Mix. She sent us the chalk mix and I chose this old end table that I found at a local thrift store for $5.00! I painted it AND added a little secret on the back. Scroll down to see what that secret is… AND to get an update on how this finish held up.
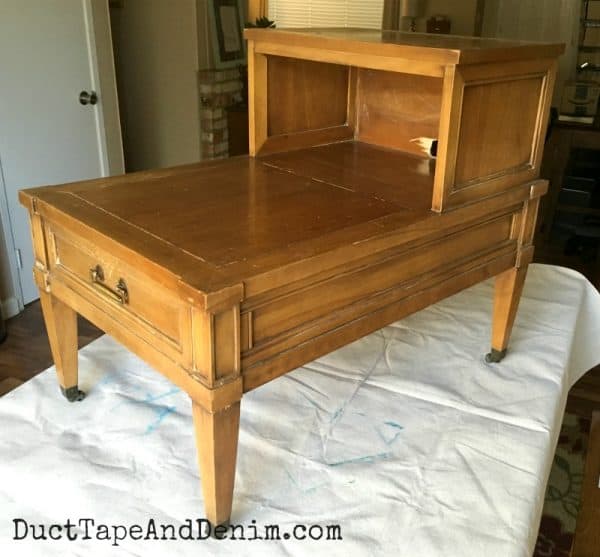
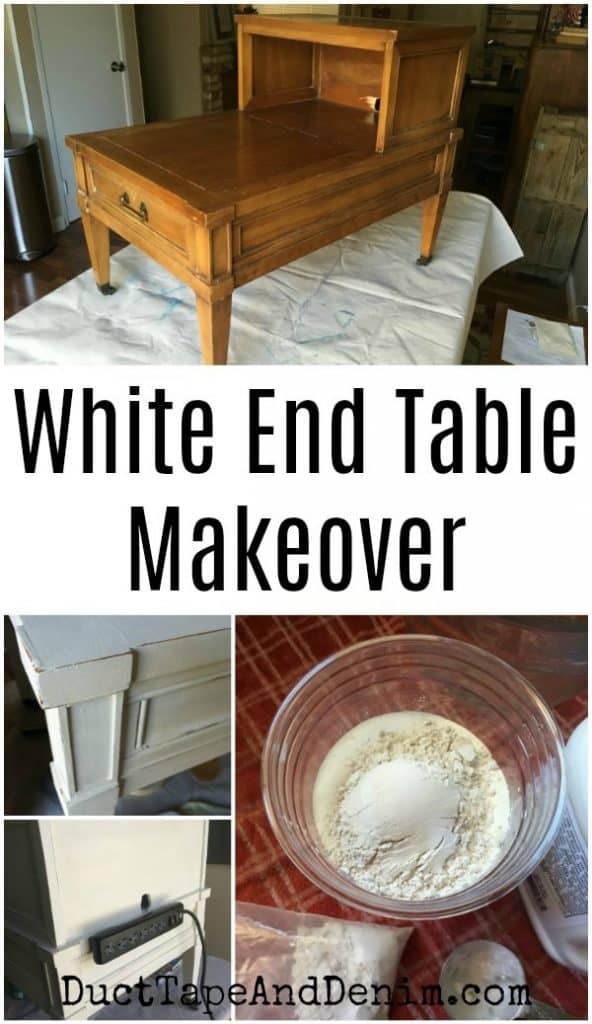
There’s actually a bit of a story behind this one. I bought it a couple of years ago to paint. But when I got it home my husband said he liked it. What?!? OK… If you say so. So we have been using it looking like this.
This post contains affiliate links. You won’t pay any more when you use these but I will earn a small commission on any purchases you make after clicking on them and I greatly appreciate it. Thanks for helping support my little blog!!!
Sign up for our newsletter & get your own printable list of “25 Things You Should ALWAYS Buy at Thrift Stores” + all our upcycled projects sent straight to your inbox.
Supplies Needed for Chalk Mix Table
- end table
- latex paint – I used Sherwin Williams white cotton.
- Diva of DIY chalk mix
- hot water
- paint brush – This paint brush is my favorite.
- sanding sponge
- light satin varnish
- power strip
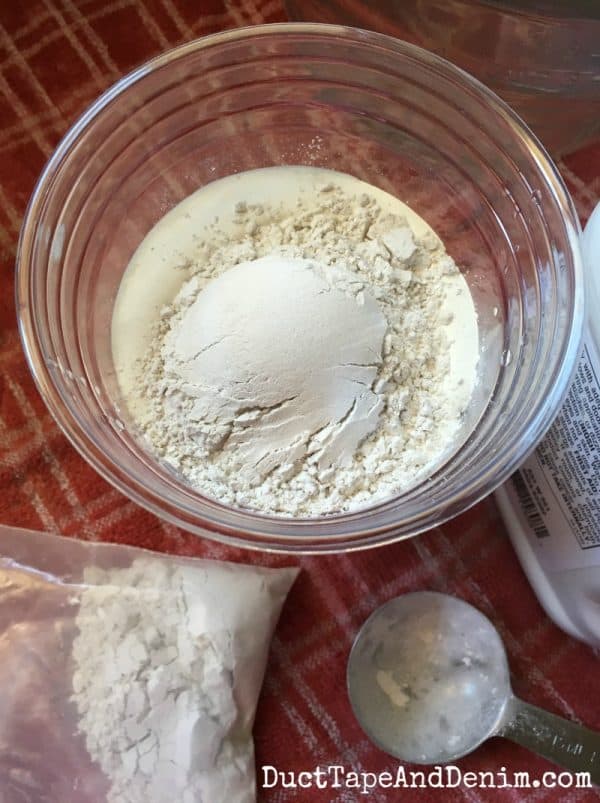
The chalk mix was easy to mix up. Just mix 1 cup of latex paint, 4 Tablespoons chalk mix, and 2 Tablespoons hot water. It can be adjusted to get the consistency you want. I like mine a little thicker so I didn’t add as much water.
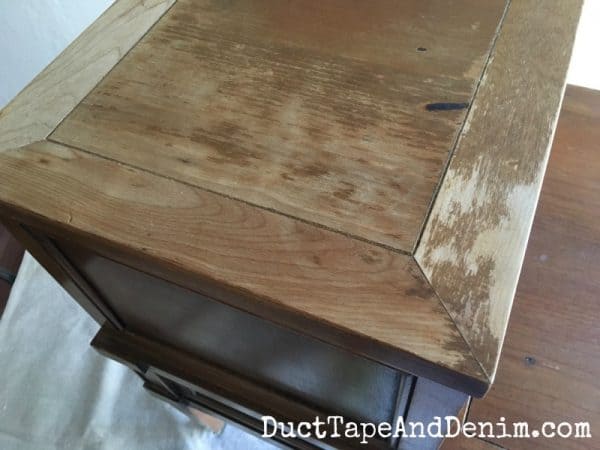
Usually I don’t sand at all when I use a chalk or mineral type paint but the finish on this table was a little rough, especially on the top shelf. So I sanded it down with my 160 grit sanding block. I didn’t bother sanding anywhere else.
I’ll tell you, that first brush stroke was scary. There’s such a contrast between the old “orangey” wood and the white!
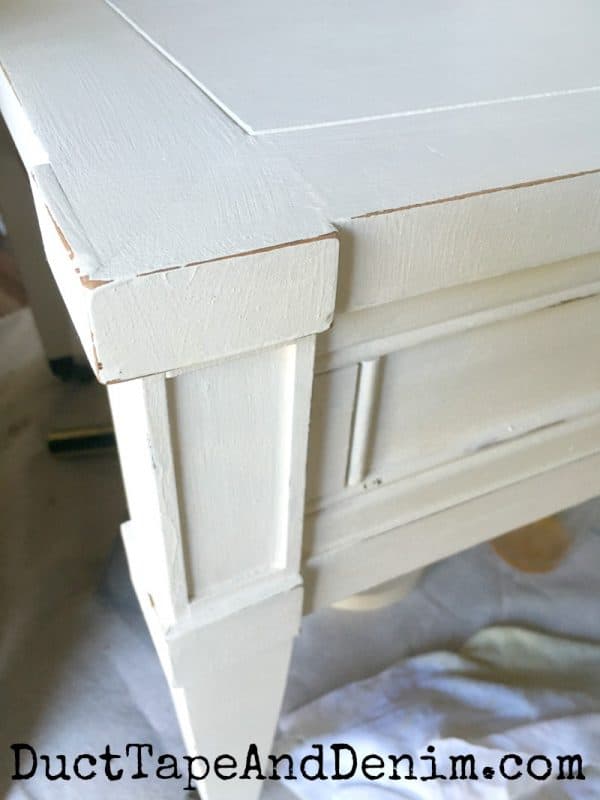
It almost covered in two coats but I had to go back in a few spots and give it a third coat of the chalk paint mix.
And then, of course, I HAD to distress it. I can’t live with anything that’s not distressed…lol…
Here’s my hidden secret, a power cord on the back! This was inspired by a trip to a local furniture store where the salesman showed us an end table that you could plug your lights into. It amazed me. All you had to do was TOUCH the table and the light would come on. I didn’t realize end tables could cost $450 a piece. I’ll take this one for $5.00 and flip the switch myself.
Now I can plug in my lamp, diffuser, and phone charger without cords hanging out all over in the back.
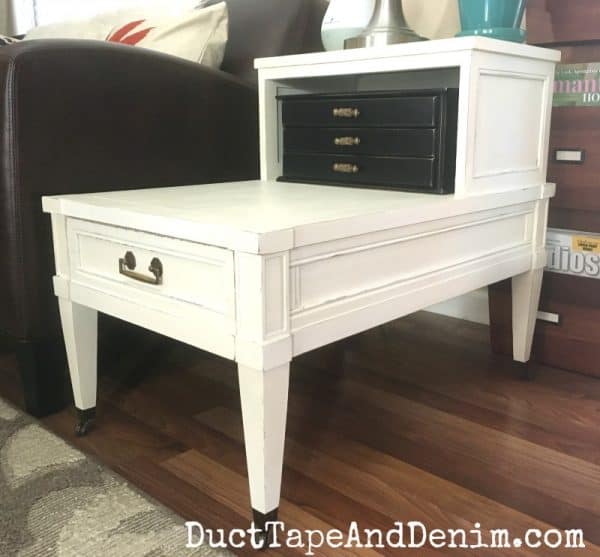
And here’s the finished table, back at the end of my couch. The black jewelry box was another thrift store find that accidentally turned out to be exactly the right size for this end table.
UPDATE: It’s been just over 2 years since I published this, so I thought it was about time for an update.
The chalk mix was easy to mix and use but the finish hasn’t held up as well as my other small table projects. I’m not sure exactly why.
The paint has chipped in a few places and a few of my lovely family members have left chocolate ice cream sitting on the end table and left some stains.
Here are a few possible reasons for this paint finish now holding up:
- I used a sample of Sherwin Williams paint. When I told the salesman at SW what I was going to use the paint for he told me I shouldn’t buy the sample because the quality wasn’t as good as their actual paint. I figured he just wanted me to spend more and buy more paint. Maybe I should have listened.
- I should have sanded the whole end table, not just the top. Chalk-type paints have spoiled me. Sanding before painting isn’t usually necessary but will always help the paint adhere.
- I should have finished the top with a tougher top coat.
Well, live and learn. I still like to try out new things and test new projects. Like I saw on my Facebook Lives… it’s only paint. If it doesn’t turn out the way you want it, you can always repaint it. Which is probably what is going to happen to this white end table.
Thanks for reading! Originally published Aug 26, 2016.
‘Til the next project,






Leanne says
What a transformation! Now that you’ve painted it and the character of that table is shown off! Love you hidden little secret by the way! Thank you for participating in the Diva of DIY Chalk Mix Challenge!
Steph @ One Mile Home Style says
Awesome makeover! And I love the idea of adding the power strip to the back!
Heather Northington says
Love this little table! Painting it really does give it that special something. The power strip idea is genius! I am totally doing that where ever I can.
Susie | The Chelsea Project says
Love the color and the look after the refresh. Also clever to add the strip. Great job, as always. Love it.
Tonya says
Your end table looks so fancy now! I love the way it turned out. I Laughed out loud when you said for $5 you would flip the switch yourself. haha, me too.
Toni | Small Home Soul says
That table looks great now! And I love the idea of the power strip attached to the back for cord management!
Debrashoppeno5 says
The staff at Sherwin Williams always tell me the same thing. I use a chalk-like paint powder but a different brand. I really like it because I can mix up the amount I need. Your table looks great it the white. And what a good idea to install a power strip.
Sheri says
Thanks for sharing at the To Grandma’s House We Go DIY, Crafts, Recipes and More link party. I pinned this. Hope to see you again next week.
K. Rupp says
Love what you did and how you mixed the chalk paint. I have never made my own and now I know it is so easy. Thanks so much. Stopped by from the grace at home party:)
Jodie Fitz says
This turned out great. I have yet to try chalk paint. I’m way behind the times (lol). Thanks for sharing at Reader Tip Tuesday. I can’t wait to see what you have to share at this week’s party. Have a great week – xo
http://www.jodiefitz.com/2018/09/18/reader-tip-tuesday-weeks-craft-recipe-party-14-2-2-2-2-2-2-2-2-2-2-2-2-2-2-2-2-2-2-2-2-2-2-2-2-2-2-2-2-2-2-2-2-2-2-2-2-2-2-2/
lisa says
what did you use to attach the power strip to the table? Did it hold all this time?
ducttapeanddenim says
We used a couple of screws. There are screw holes in the back of the power strip. It can easily slip on and off if you move it the right way but it never came off on its own — while we were just moving the table, etc. Please let me know if you have any other questions.
Jacqueline Rose says
I realize this is a pretty old post but I was wondering if that table had any makers mark on it anywhere that you happened to take note of? I’ve just bought 2 exactly like this one but I can’t find it anywhere. I’ve literally been googling and scrolling through ebay for the past 4 days and this is the only one that I’ve found an exact match to them. Mine only have numbers on the underside but I really would love to find the company name.
ducttapeanddenim says
I don’t have the table anymore but I remember looking for the maker and I never figured it out either. There weren’t any markings on it. Let me know if you find it! I’d love to be able to add that info to the article.