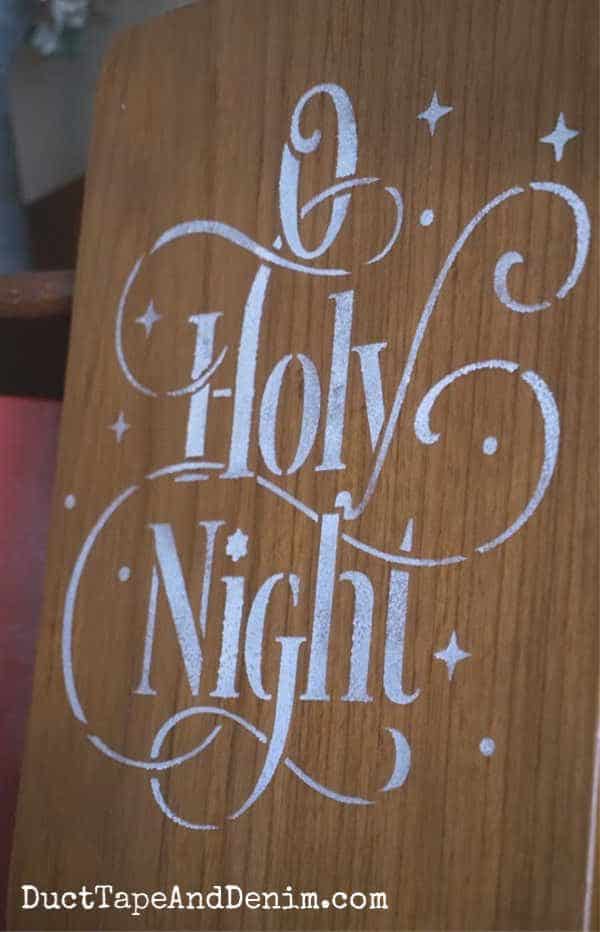
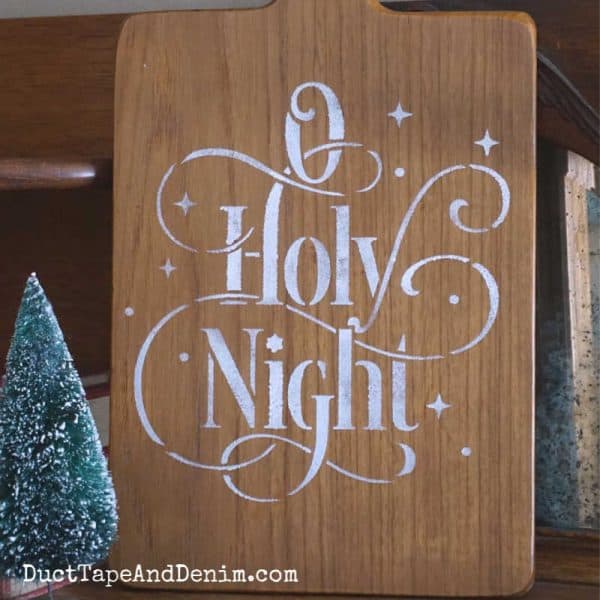
How many old cutting boards have you seen at thrift stores this year? I’ve seen a LOT! Most I wouldn’t even think about using as a cutting board in my kitchen. But I did get out my Christmas stencils and turn some of them into rustic Christmas decor for my kitchen (and a few more to take to our fall shows).
Here’s my favorite Christmas stencil so far… “It’s the most wonderful time of the year.” I love all the detail in this stencil. Scroll down to watch my Facebook Live video where I showed how I made these. It’s super easy!
This post contains affiliate links. You won’t pay any more when you use these but I will earn a small commission on any purchases you make after clicking on them and I greatly appreciate it. Thanks for helping support my little blog!!!
Sign up for my FREE 12 Days of Christmas Crafts email series!!!
Pin this collage so you can find this thrift store makeover later!
How to Add Christmas Stencils to Old Cutting Boards
- old wooden cutting boards
- Christmas stencils – It’s the Most Wonderful Time of the Year & O Holy Night
- white chalk type paint – I used Everlasting.
- burnt umber acrylic paint – optional, depends on the finish that’s already on your cutting board
- washi tape
- stencil brush
- varnish
Here’s another close up of the Christmas stencil project I shared on the Facebook Live — “O Holy Night.”
Step One: Prep the Cutting Board
First, you may have to do a little extra preparation on old cutting boards. Some have cuts and scratches on them from being used. One of mine had been decorative with some painting on it, so I sanded the old paint off first.
Either way, make sure the cutting boards are thoroughly cleaned and dried before stenciling.
Step Two:
I watered down some burnt umber acrylic craft paint, wiped it on with a rag, then wiped it off again. You could also use stain or another brownish color of paint.
Step Three:
Add a coat of varnish. Using the varnish BEFORE you add the stencil will allow you to rub or sand off any paint smears, blobs, or places where the paint runs under the stencil.
Step Four:
I used a little washi tape to hold my stencils in place while I lightly pounced the white paint over the stencil. Several thin coats are better than one thick coat of paint. Offloading paint is the secret to successful stenciling.
Remove the stencil. If you were a little heavy-handed with the paint in any area, this is when you can remove it. If you used chalk type paint, it can be wiped off with a wet rag or you could also lightly sand it off. I sometimes do this just to get more of a rustic, shabby chic look.
Step Five:
When the paint is completely dry, you can finish the board with another coat of varnish. That will keep the paint from wearing off.
PLEASE NOTE: These are NOT food safe. They are only for decoration!
I mentioned on one of my Facebook posts that I would never use a thrift store cutting board for food and was told by several people that there should be no problem if you refinish the cutting boards. So, if you find that you’d really like to use it as it was originally intended, make sure you clean well and sterilize. Sand off the original surface and complete with a food-safe finish.
Christmas Stencils Video
I know some of you would rather just watch instead of reading the instruction. So, for you visual learners, watch this video to see step-by-step how I stenciled these thrift store finds.
NOTE: There will be a short ad at the beginning of the video. This helps pay for the costs associated with blogging. Thanks for your patience and please let us know if you ever see an inappropriate ad!
What do you think? This makes me want to go to the thrift store and buy even more cutting boards, trays, and lazy Susans! What else could I use these Christmas stencils on?
Stencil Revolution has a lot more than just Christmas stencils. (See my Home Sweet Home sign linked below.) One thing that I love about their stencils is that every stencil pattern comes in a wide variety of sizes. As I mentioned in the video, they start at around 6″ x 6″ and go up to around 30″ to 40″!
If you enjoyed this Christmas stencil project, you might also like these:
- How to Make a Vintage Style Home Sweet Home Sign — also with a stencil
- 18 Rustic Style DIY Christmas Ornaments
- How to Stencil a Christmas Sign with a Silhouette
- How to Paint with Stencils
- How to Stencil Nativity Ornaments on Wood Scraps
Thanks for reading! Leave a comment and let me know if you’ve stenciled any Christmas decorations this year. And you can always ask questions if something isn’t clear in my instructions. We share at these blog parties.
‘Til the next project,


Jennifer Wise says
I never would have thought of this! What a neat gift idea, too. Love it! Pinning. 🙂
#inspirememondaylinkup
Mother of 3 says
What a wonderful way to re-use old cutting boards. They are all so pretty too. Pinned.
Chas Greener says
Such a great idea! Love this. Thanks for sharing on To Grandma’s House We Go!
Kippi says
I love this idea!!! I will be making a trip to the Goodwill tomorrow!
Jerri says
See old cutting boards at yard sales and thrift shops all the time but I never would have thought to do this! Great idea! Thanks for joining us for Friday Favorites. I’m featuring you this week.
Emily says
This is such a creative way to re-use cutting boards! Thanks for sharing at Merry Monday party. I’ll be including your Christmas cutting board signs in my Features at our next party. Have a great week!
Maria says
Fabulous holiday recycle! Love the look
Linda at Mixed Kreations says
I love to upcyle old cutting boards. Makes for a simple upcyle, and some pretty home decor! Love both of these stencils.
Avis says
First time to your site tried to watch video on cutting board got nothing but ad for Diseney. What is with that?
ducttapeanddenim says
Thanks for visiting our blog! The video ads help pay for the costs associated with the blog. There should only be a 15-30 second ad at the beginning of the video. Please let me know if you see it more often or if it’s longer… or if you see anything unappropriate for a crafting blog. Thanks!