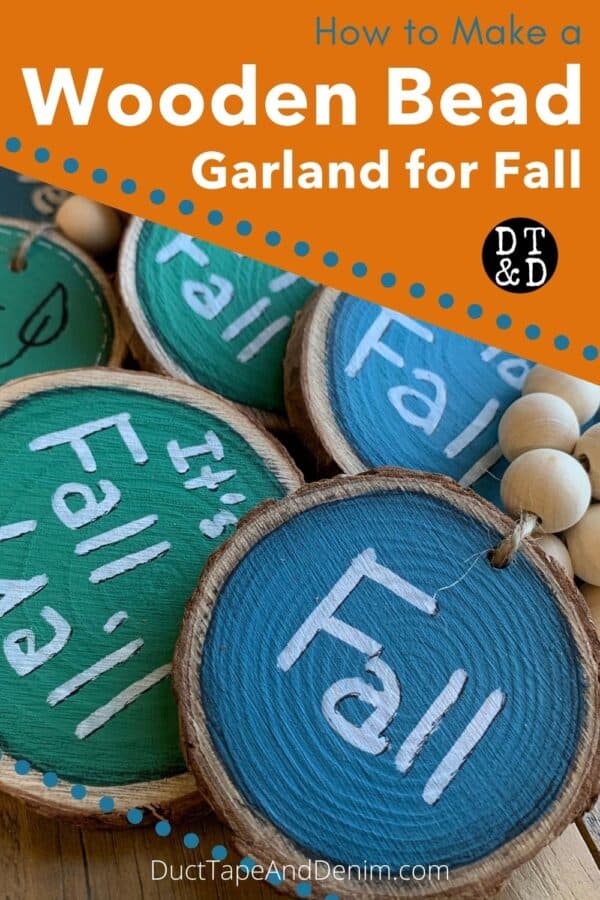
I have been in love with these wood slice ornaments this year. We’ve used them in LOTS of projects. Today we’ll be making a wooden bead garland ornament and a fall ornament without beads — two options for your fall tree.
Pin This Project!
This post contains affiliate links. You won’t pay any more when you use these but I will earn a small commission on any purchases you make after clicking on them and I greatly appreciate it. Thanks for helping support my little blog!!!
{{{ Sign up for our email newsletter and get ALL my future projects sent straight to your inbox! }}}
Supplies for these Fall Ornaments
- wood slice ornaments
- jute
- 16mm wooden beads
- scissors
- acrylic craft paint — We used Moody Blue and Eucalyptus Leaf by DecoArts for this project.
- flat craft paintbrush
- white paint marker
- soft black charcoal pencil
- thin micron pen, black
{{{See a complete list of what’s in my toolbox and supply cabinet.}}}
How to Make Wooden Bead Garland Ornaments
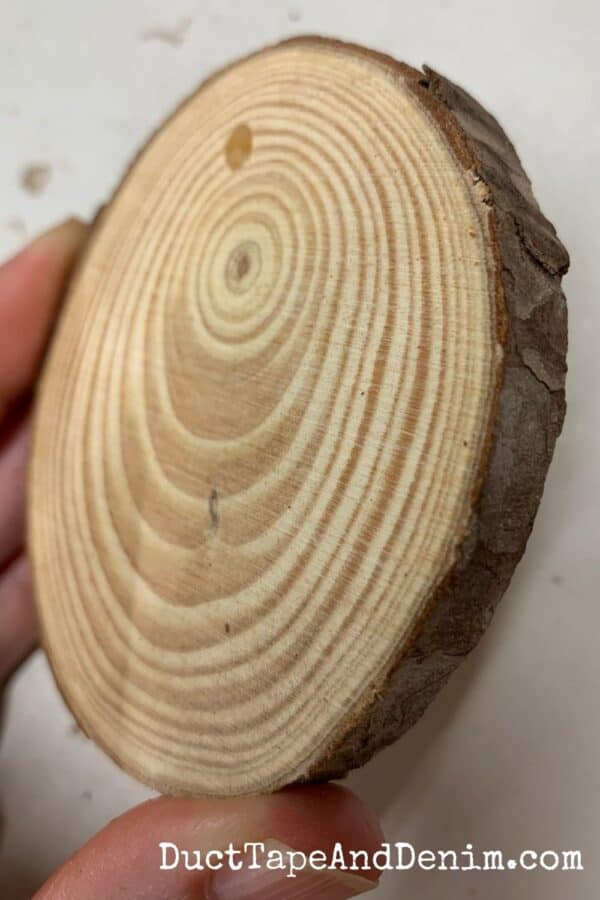
We actually started out by cutting these wood slices ourselves. But we use so many of them it’s just much easier to buy them already cut and drilled. Now I just buy them on Amazon (see links above).
Step One: Paint Background
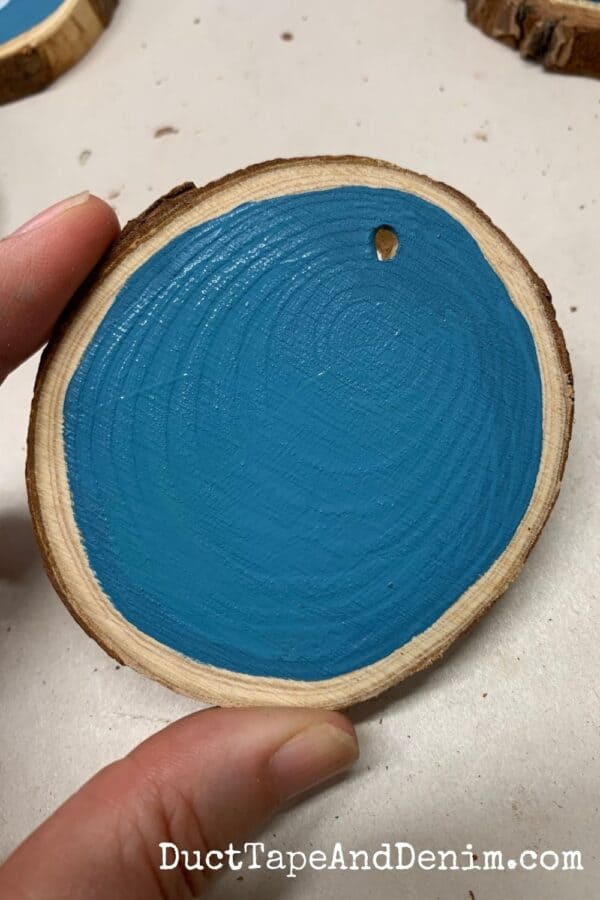
To paint these wood slices, I just squirted a little paint in the middle and spread it around with my flat paintbrush. I gave these two coats, leaving a little blank space around the edge.
Step Two: Write Words & Add Details
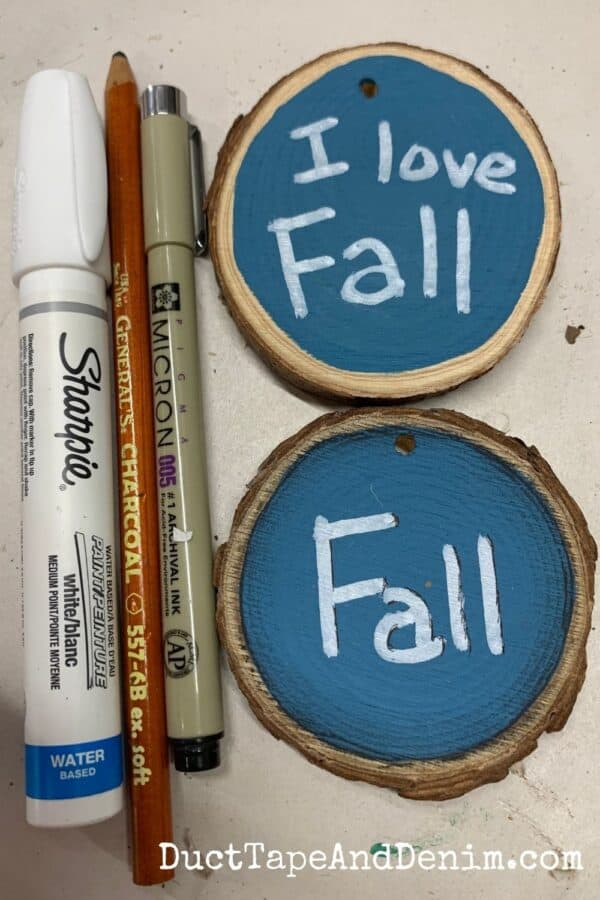
Next, I wrote the fall words with a white paint marker. There’s a water-based Sharpie marker in the photo but I actually usually use my Uchida oil-based paint pens. They’re a little smelly but they work great.
I thought the ornament looked unfinished so I added a few more details — black “shadows” around the letters and a smudged charcoal line around the edges. (See video below to watch me do this.)
Step Three: Add Beads
Here’s where you decide what you want your ornament to be… a single ornament? a bead loop ornament/garland? or a long garland for your tiered tray or centerpiece.
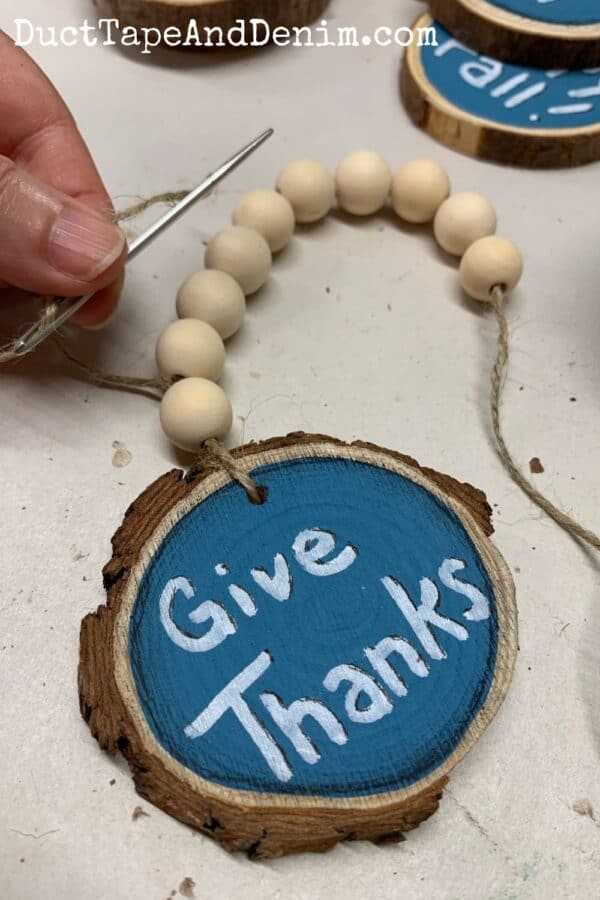
Here’s one that I’m turning into a looped ornament. After stringing the jute through the hole, I made both ends go through one of the beads before separating them and adding 9 – 16mm beads to each individual string. Then I just tied the ends, but not too tightly, so they can still be flexible.
Wood Bead Garland & Ornament Video Tutorials
As with most of our projects, it may be easier to understand what I did if you actually see me do it. So here’s the video I did live on Facebook.
And here’s the video to show how we make the longer wooden bead garlands.
Finished Wood Slice Ornaments
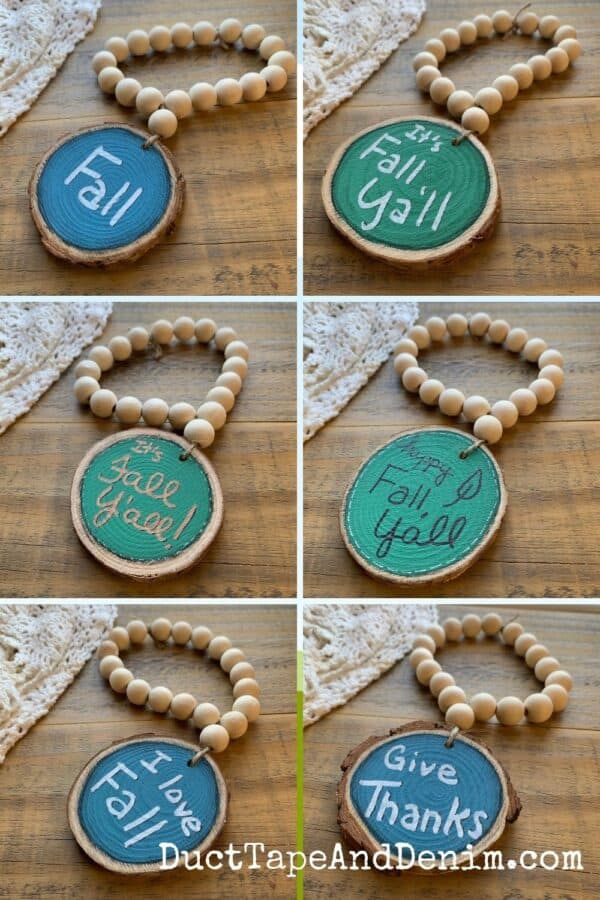
And here they are finished! We used these to decorate our wood pumpkins and sold the rest in our Etsy shop and in our booth at Craft Gallery in Waco.
More DIY Fall Crafts
If you enjoyed this fall DIY craft project, you might also like these:
- How to Make a Fall Wreath Out of a Rake
- How to Make a Wood Pumpkin Candle Holder
- 5 Cheap & Easy DIY Fall Decor Projects
- DIY Wood Slice Christmas Ornaments
- 62 Best Fall Crafts from Country Living
Thanks for reading! Please share our projects on your social media accounts!
‘Til the next project,

Leave a Reply